2008 Aston Martin DB9 Volante – Paintwork Rectification Detail
")
This DB9 was brought to me just after the owner bought the car, It was in great condition with a low mileage, but was in real need of some TLC to make the car look its best, he wanted the insightly protection film removed which had discoloured over time, and he noticed the paintwork wasn’t looking as sharp as it could have, displaying the usual fine scratches and swirl marks, I knew the car would require a good few hours of polishing, so it was left with me for four days.
This is how the car arrived, you can clearly see the edges of the protection film where polish residue has also become trapped.
")
")
")
")
")
The car was thoroughly washed, along with any tar and iron contamination being removed,
")
")
")
Moved indoors, all exterior surfaces were then clayed to remove any remaining contamination, then the protection film was carefully removed using a small amount of heat, the owner much prefers the look of a painted finish, he isn’t too bothered about picking the odd stone chip whilst he enjoys driving the car so did not want a new film applied.
")
")
")
")
")
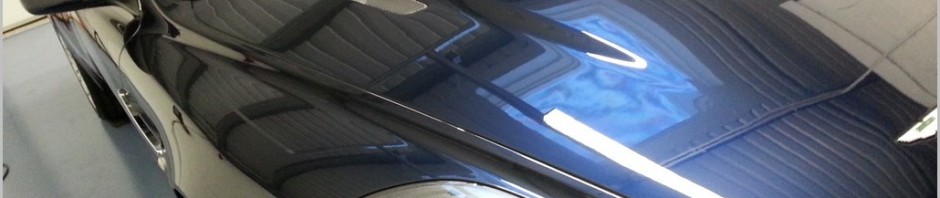
ith the film removed it is clear to see on the unprotected paint how wash marring and weather damage has dulled the finish over the years, I began polishing the bonnet before working my way down both side of the car, the paint was a joy to polish and completed using a Festool rotary machine polisher, there was a variety of defects discovered from panel to panel, some very deep marks, along with wet sanding haze which had never been fully removed when the car was new, all these Astons are wet sanded when new to create a mirror finish free of orange peel, its just a shame that it is usually a process which is rushed at the factory, a two to three stage polish was required throughout.
Before polishing
")
After
")
")
")
")
")
Someone has been here before and left some nasty circular scratches and holograms behind on some areas of the bonnet.
")
")
")
")
")
")
")
")
")
")
Moving onto the front nearside wing, the paint here was very badly marred, and host to a few deep scratches in the clear coat, a few polishing sets were carried out here, but unfortunately the deepest marks could not be fully removed but rounded off instead to ensure a thick enough layer of clearcoat was retained.
")
")
")
")
")
")
Nearside door before
")
")
")
Nearside quarter panel before
")
After
")
I discovered that this panel had recently been resprayed which had left over spray on the taillight,
")
")
Moving onto the bootlid and rear bumper
")
")
")
")
")
")
")
")
")
")
")
")
Here on the offside quarter panel you can the wet sanding haze left behind by the factory sanding process.
")
")
")
")
Offside door
")
")
")
")
")
")
")
")
")
")
")
")
Intricate areas rectified.
")
")
")
")
")
Now time for the finishing touches, plastic, and rubber trim cleaned and ressed, exhaust tips polished, glass cleaned inside and out, polishing dust removed from nooks and crannies, wheel sealant applied, and the fabric roof treated with 303 fabric guard.
")
")
")
")
")
")
")
")
")
")
")
The protection went on last, since this car will be garaged and used only on rare occasions, the durable but glossy wax Z Titanium was applied, two coats to ensure even coverage.
")
And the final shots.
")
")
")
")
")
")
")
")
")
")
")
")
")
")
")
")
")
")
")
")
")
")
And some pictures taken outside

")
")
")
")
")
")
To arrange a consultation for your car please contact www.rgkdetailing.co.uk
Thanks for reading
Richard