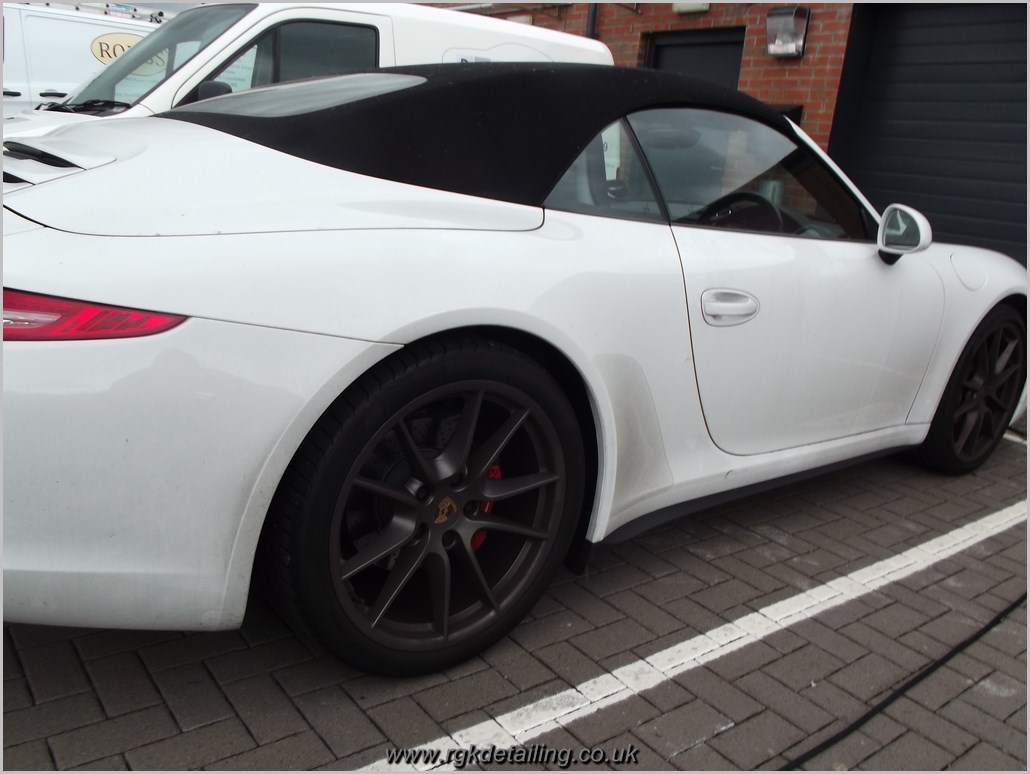
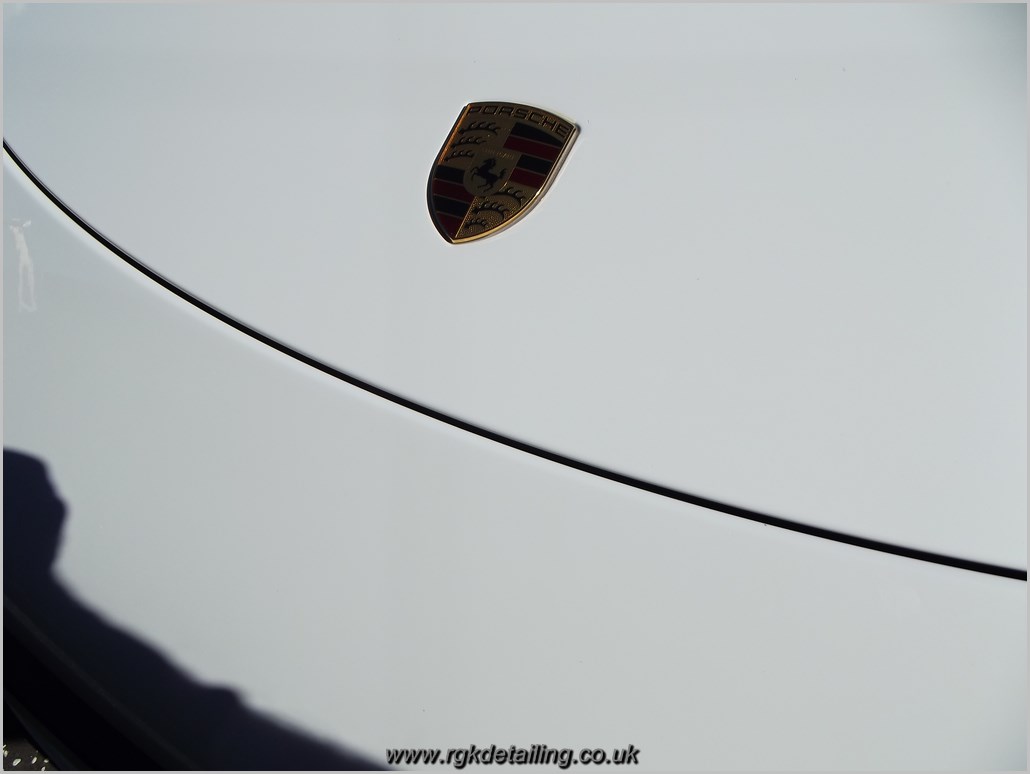
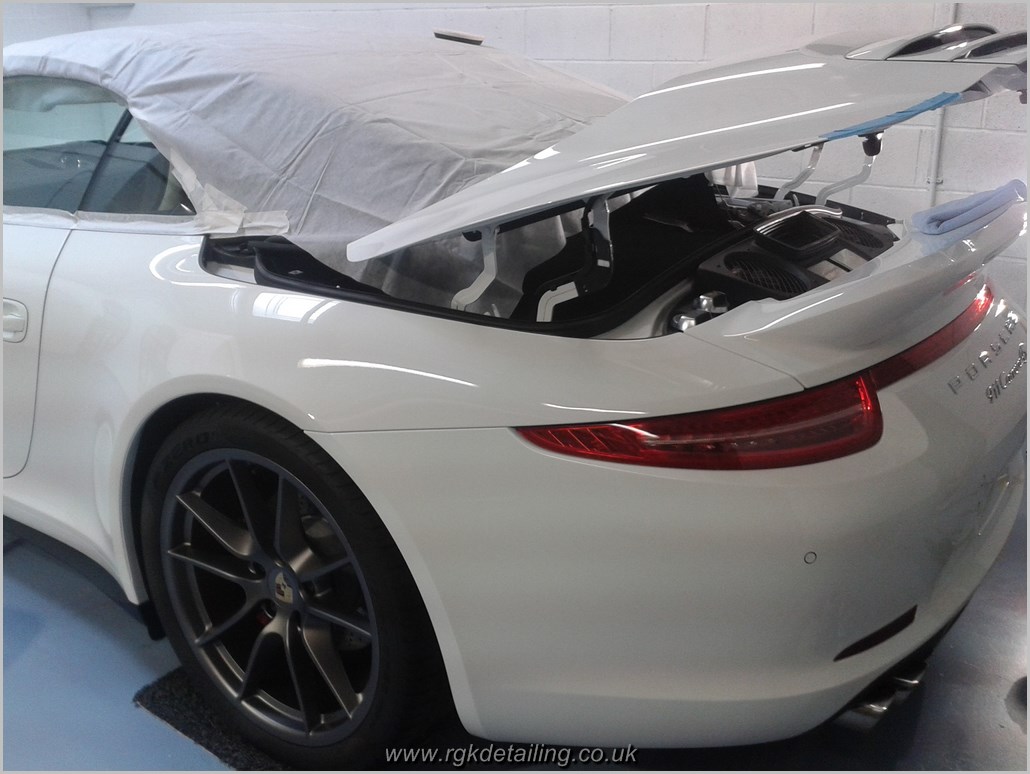
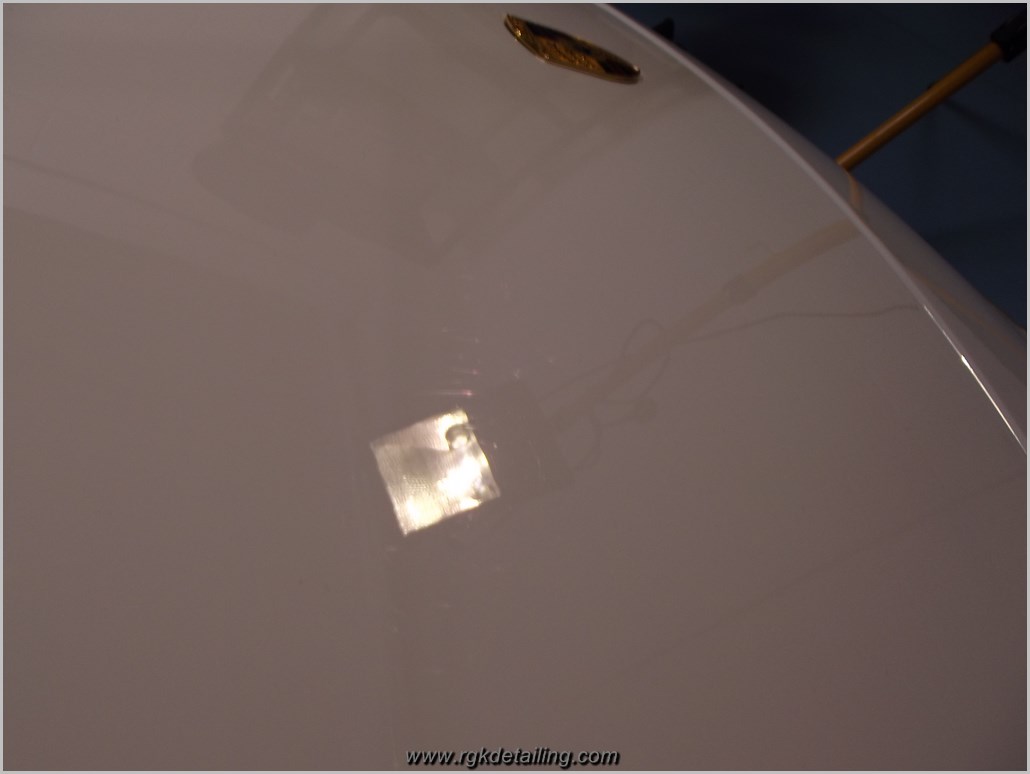
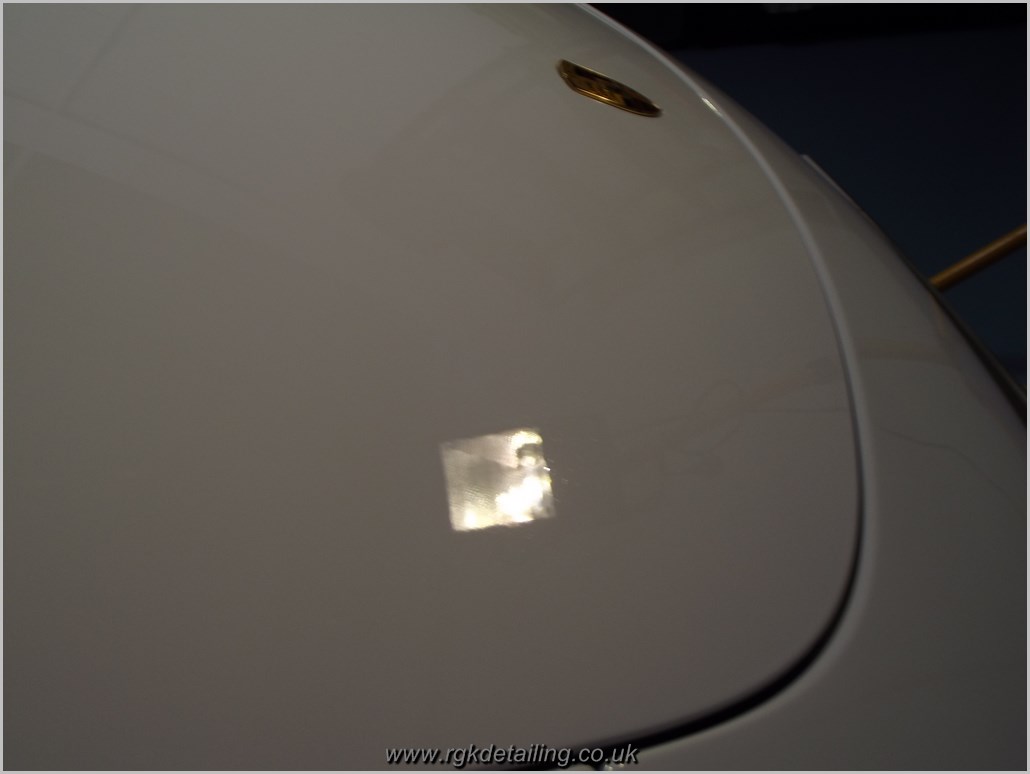
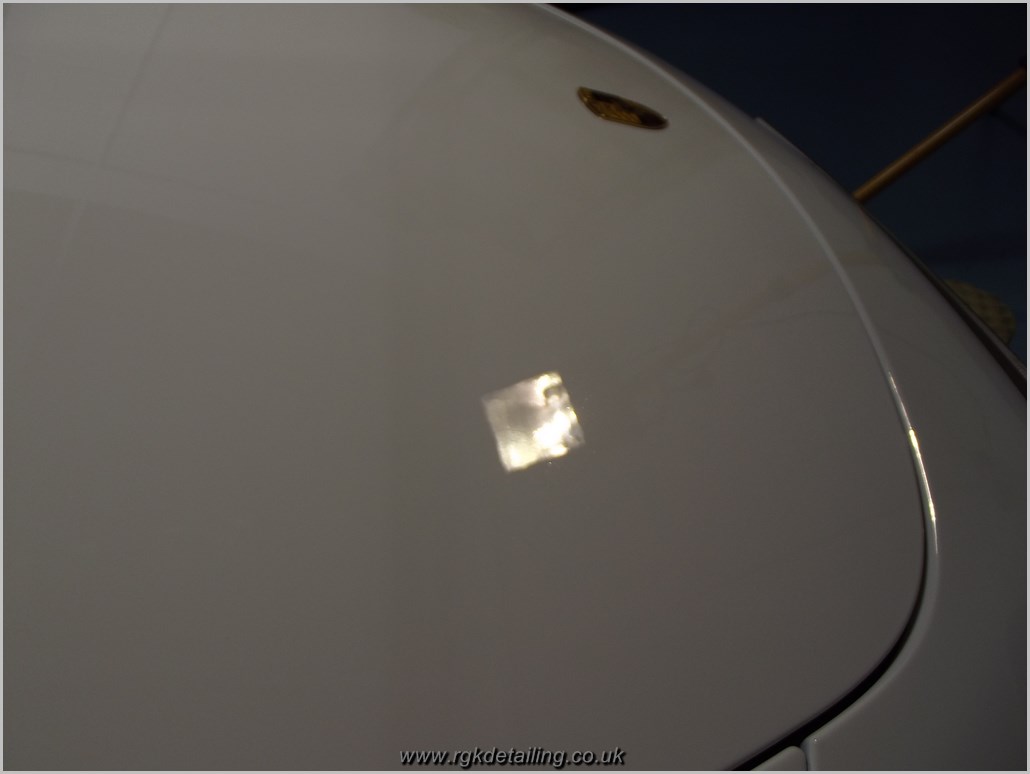
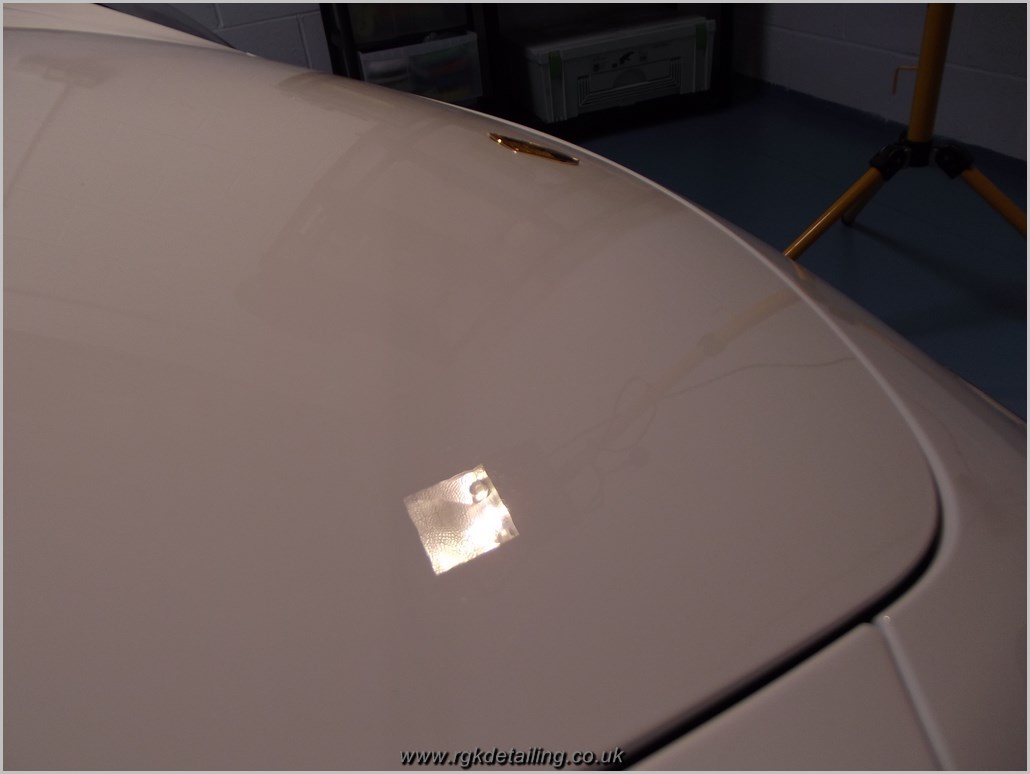
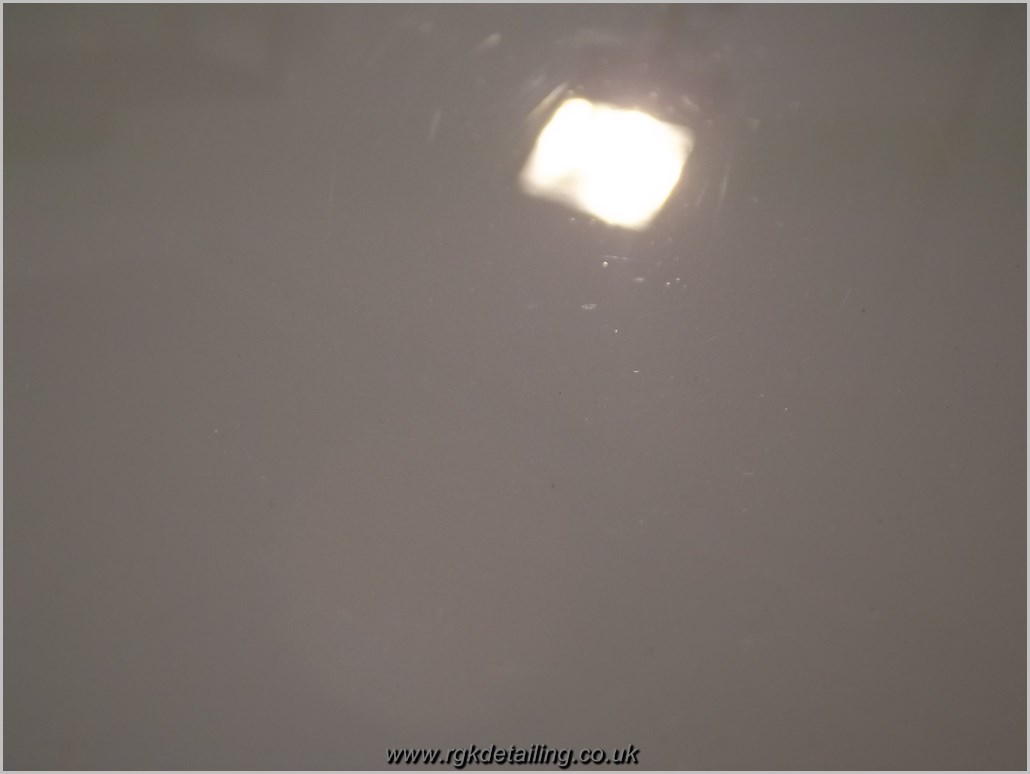
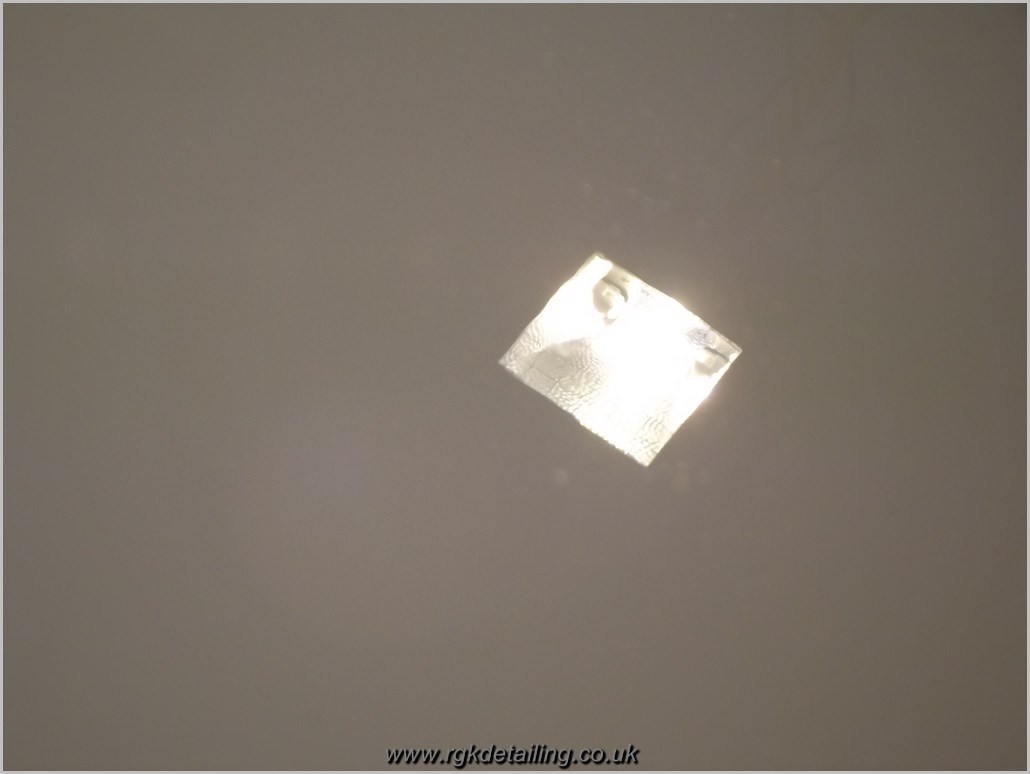
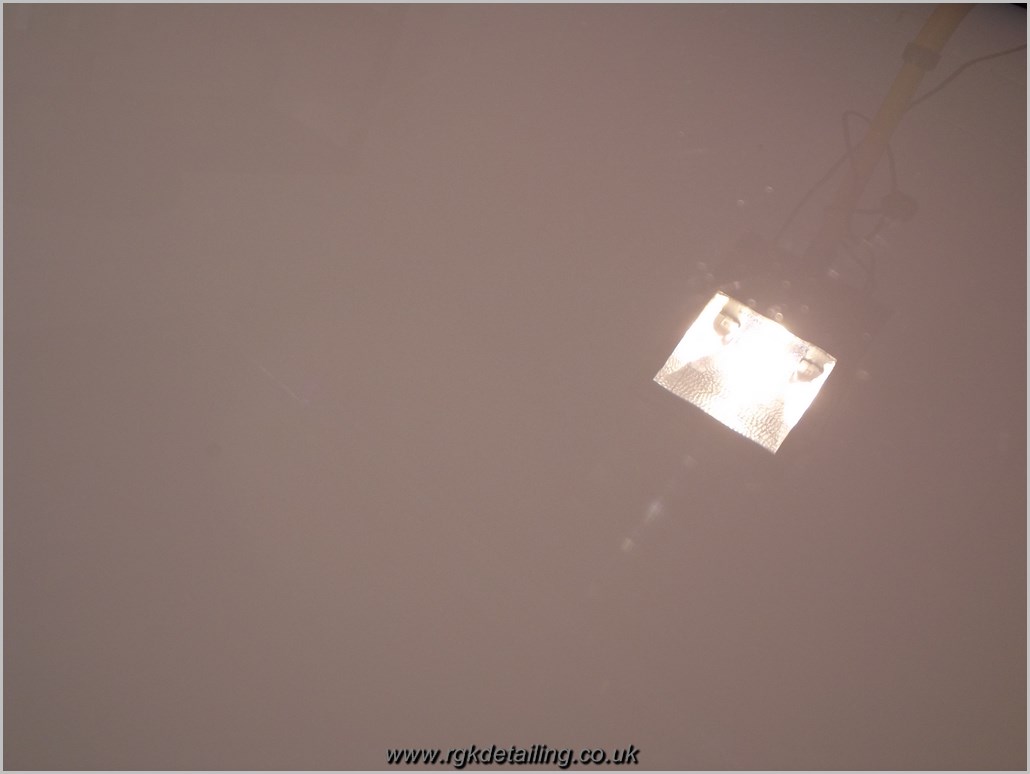
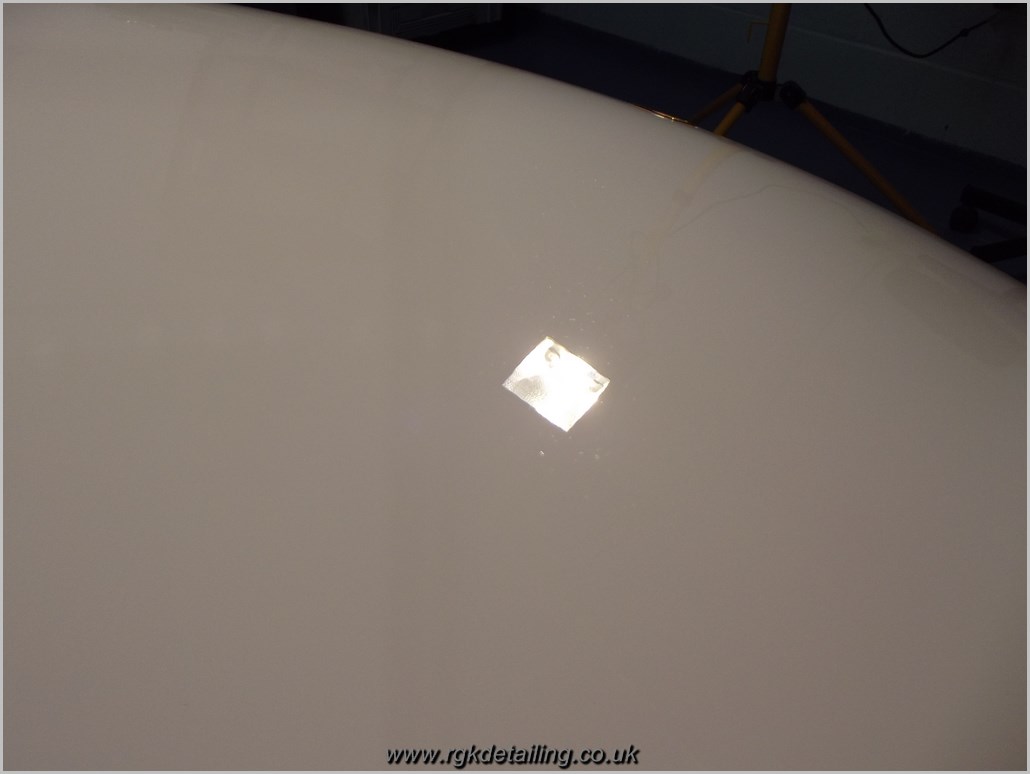
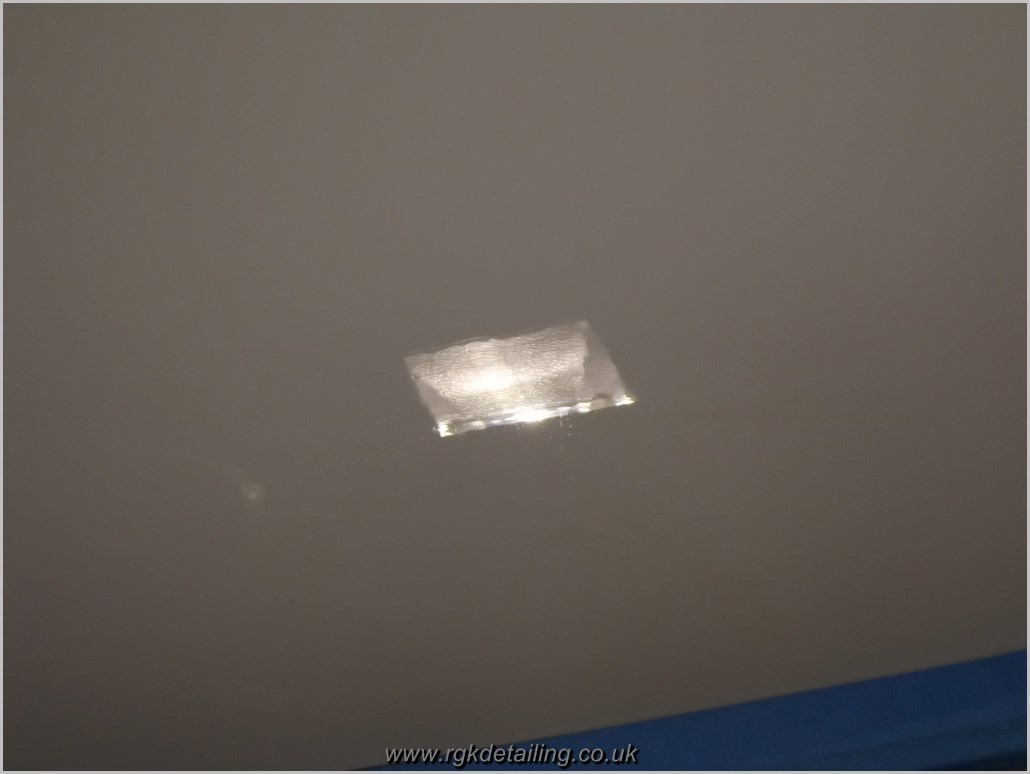
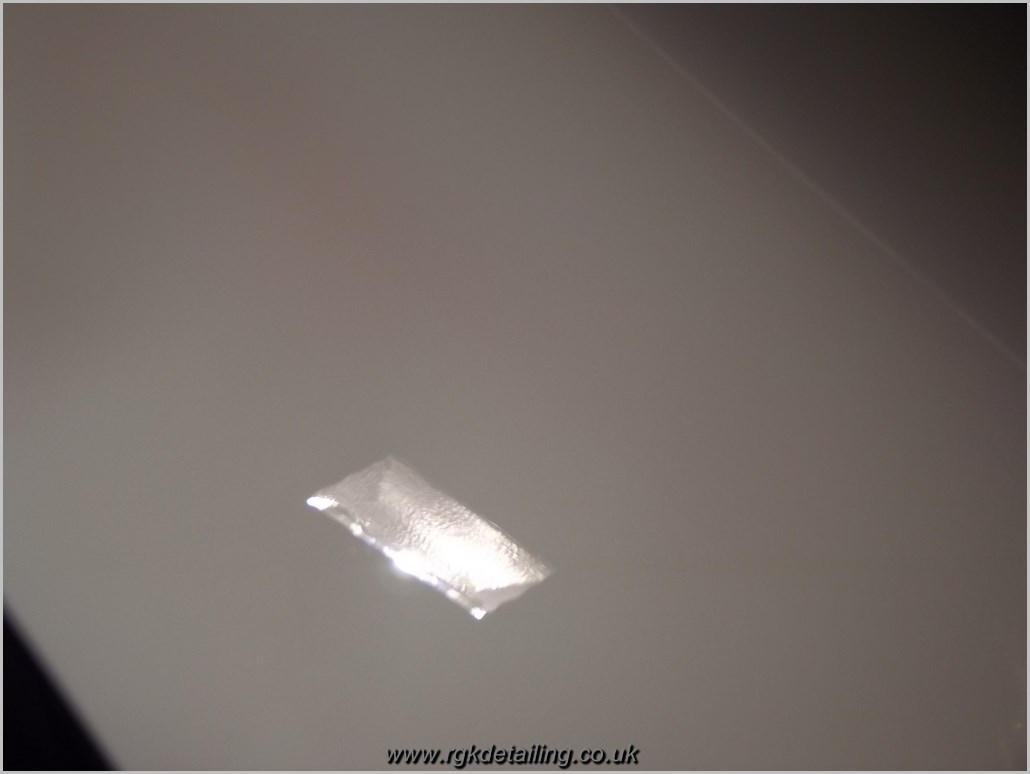
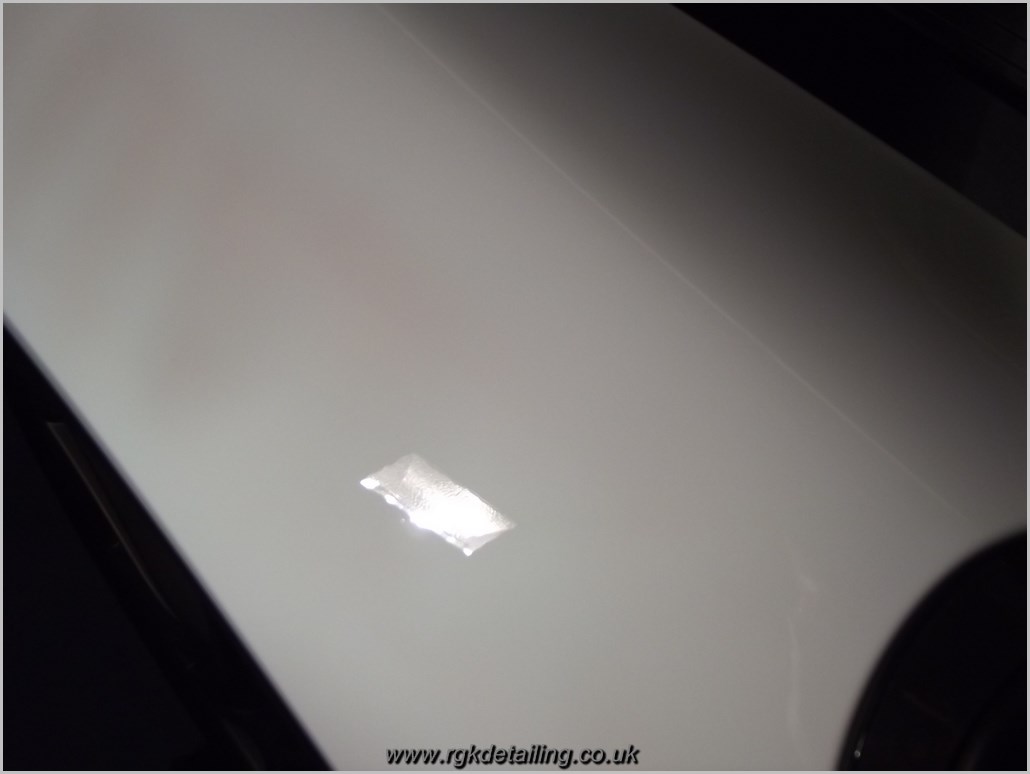
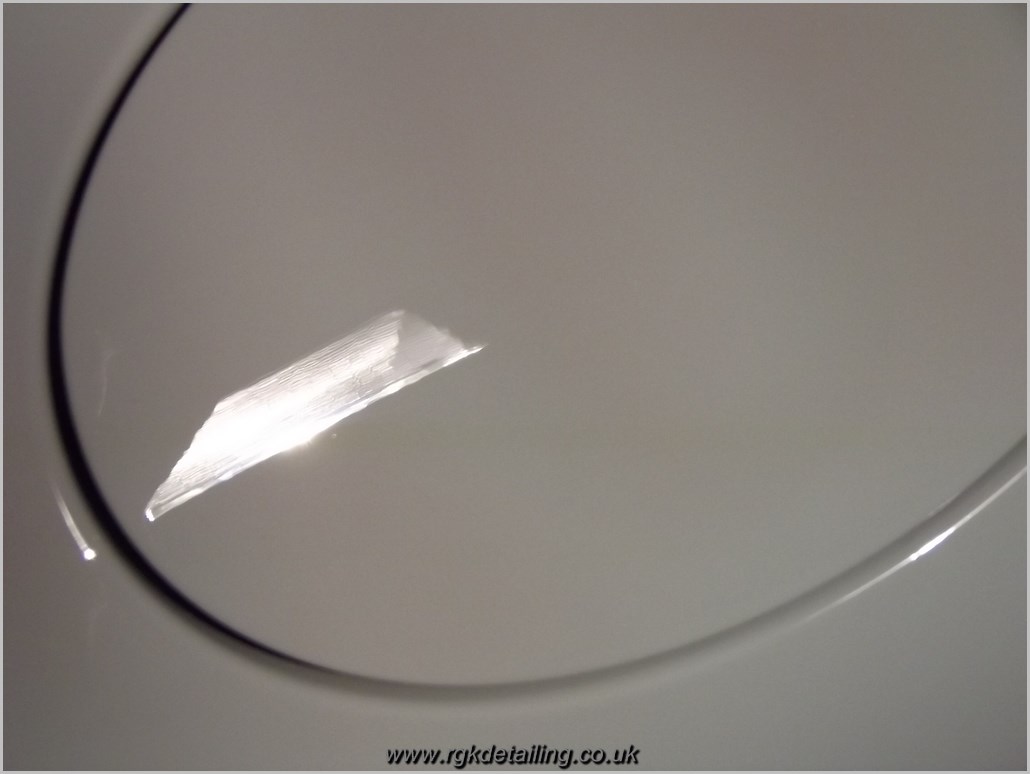
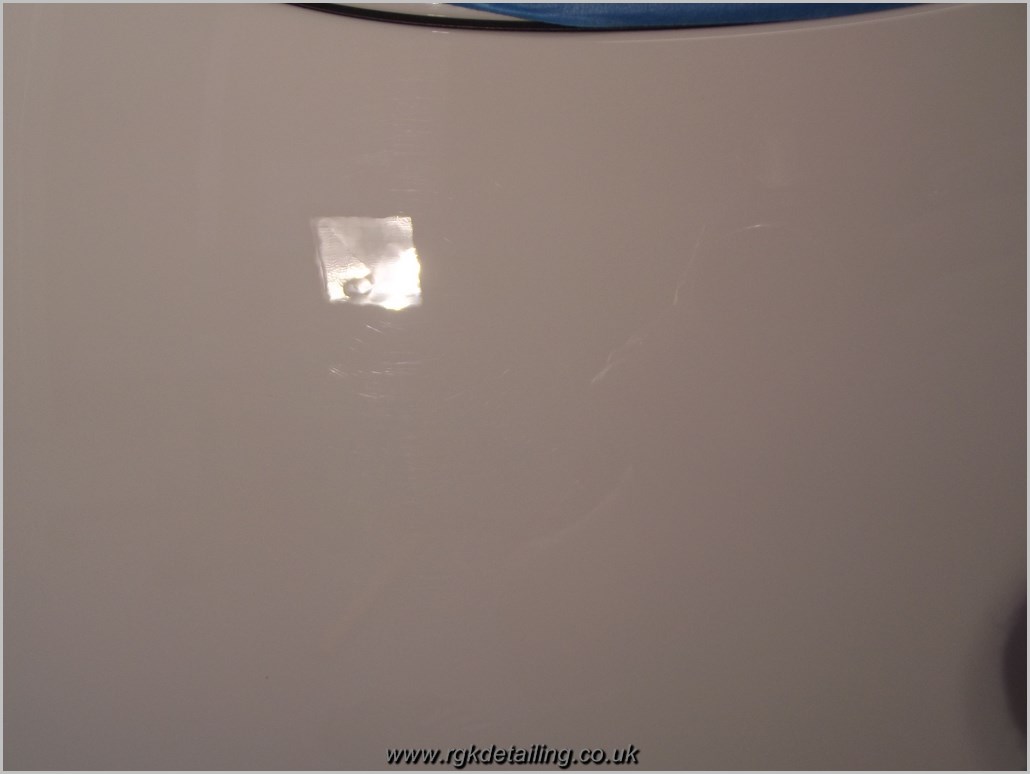
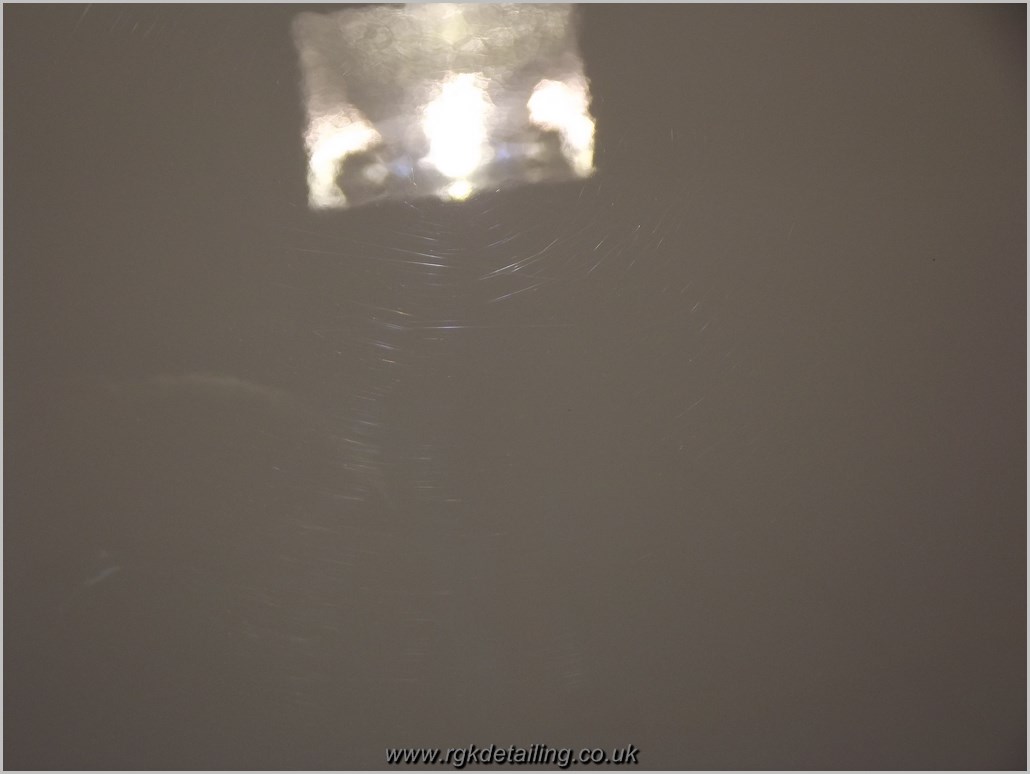
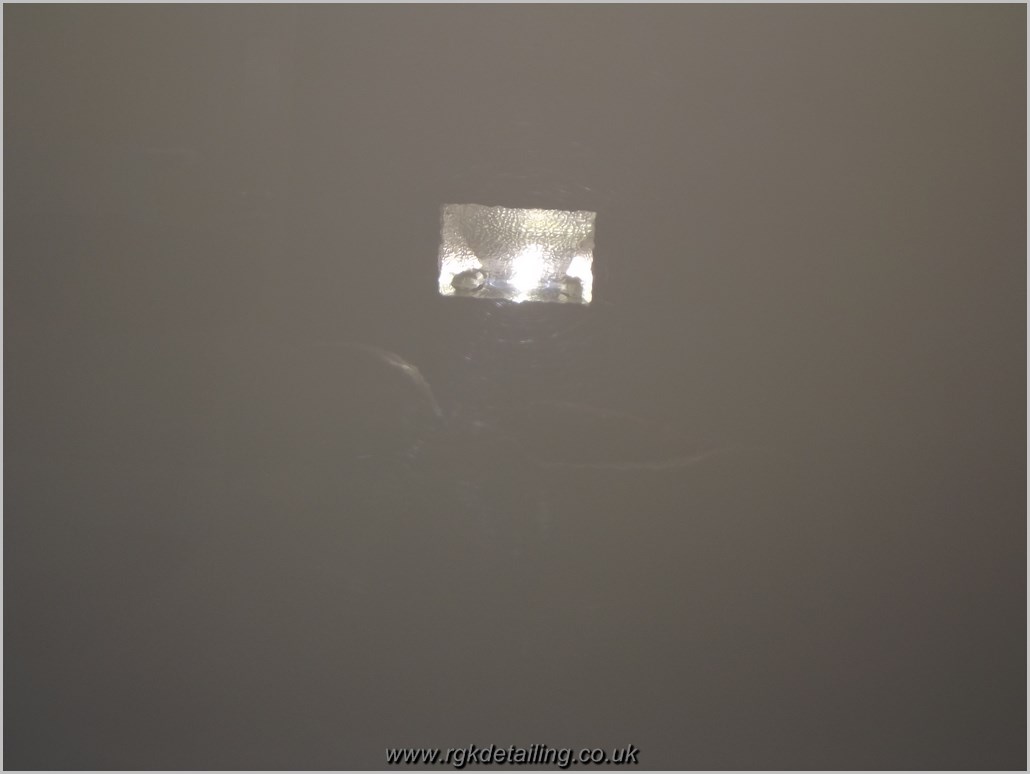
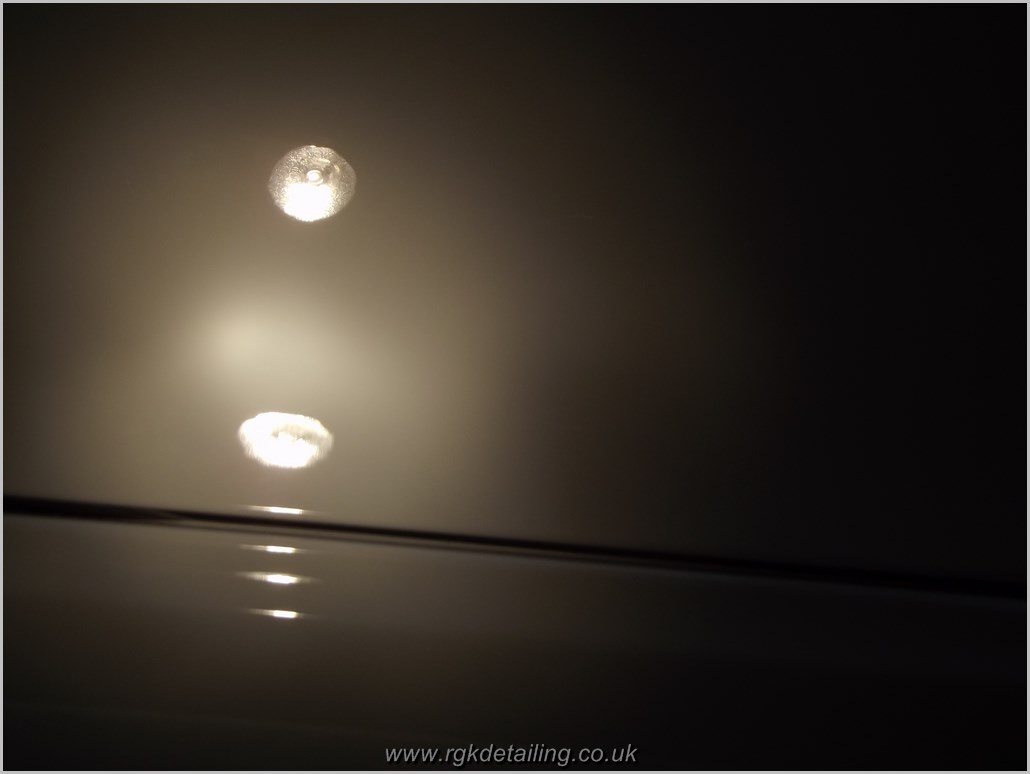
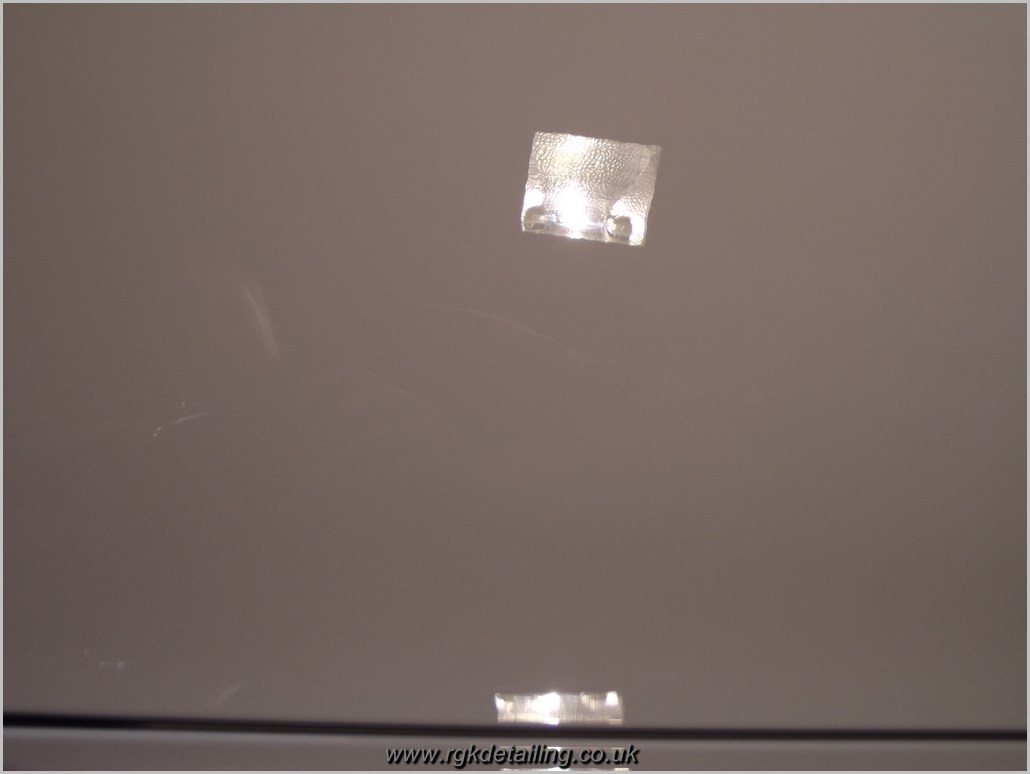
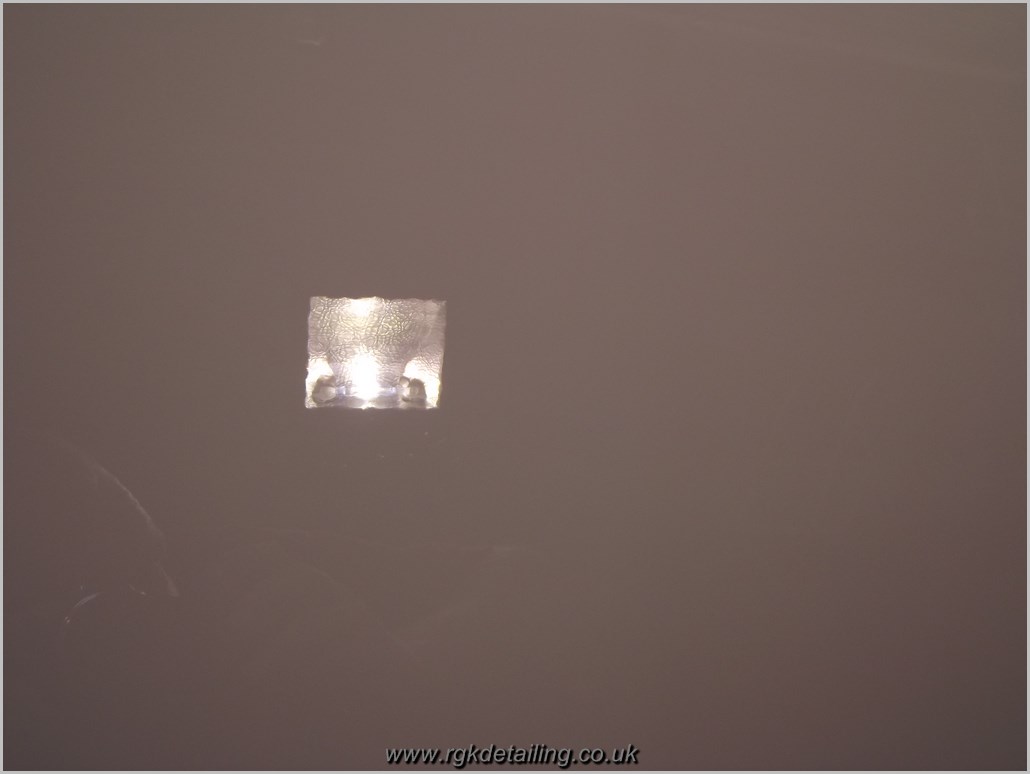
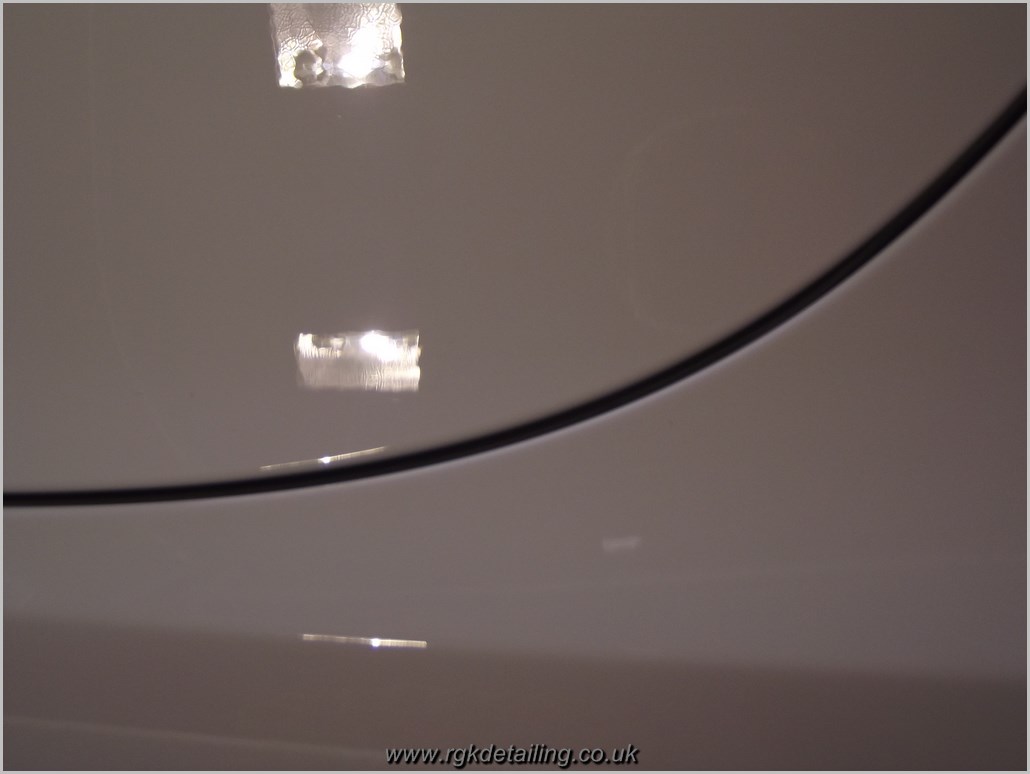
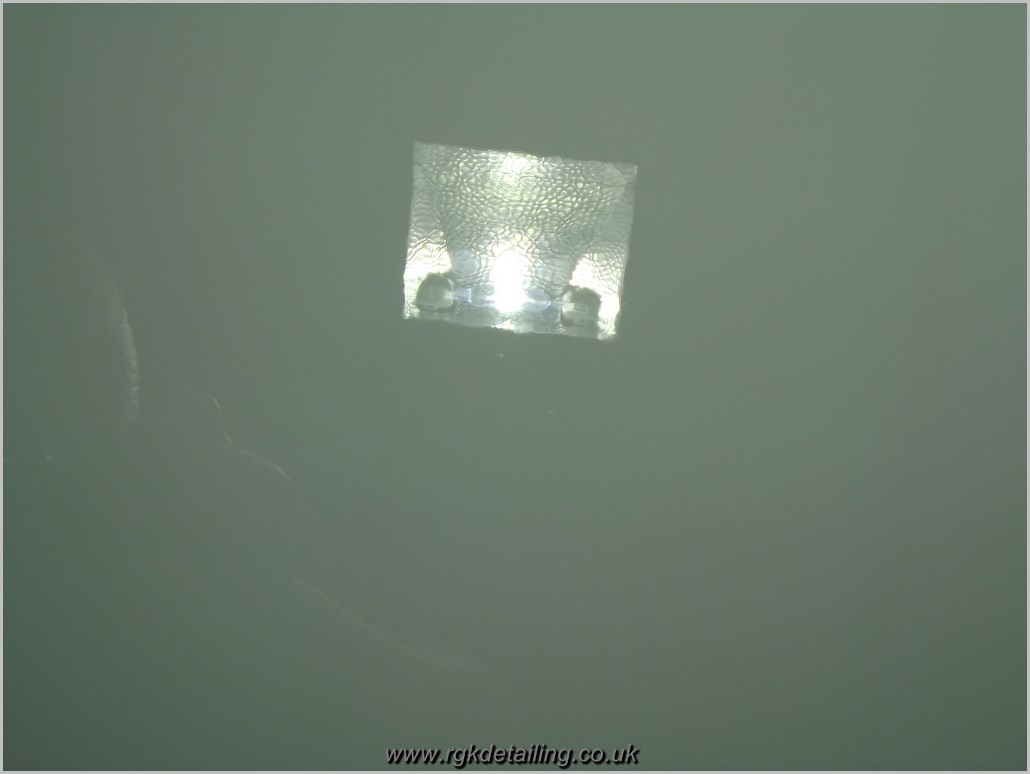
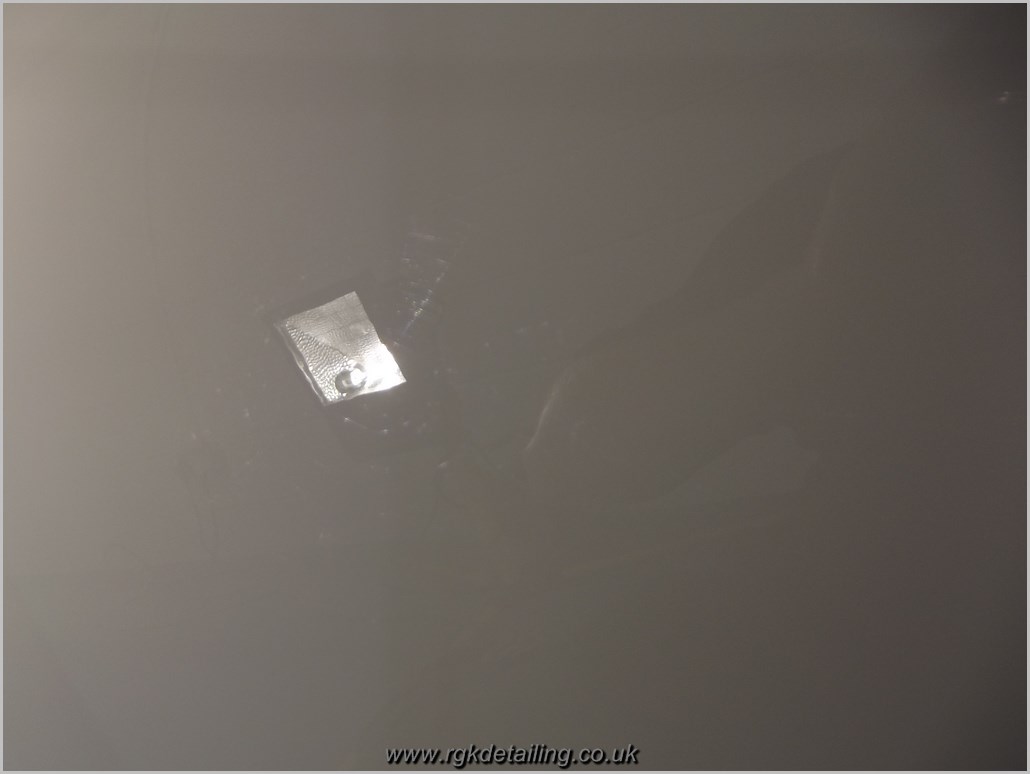
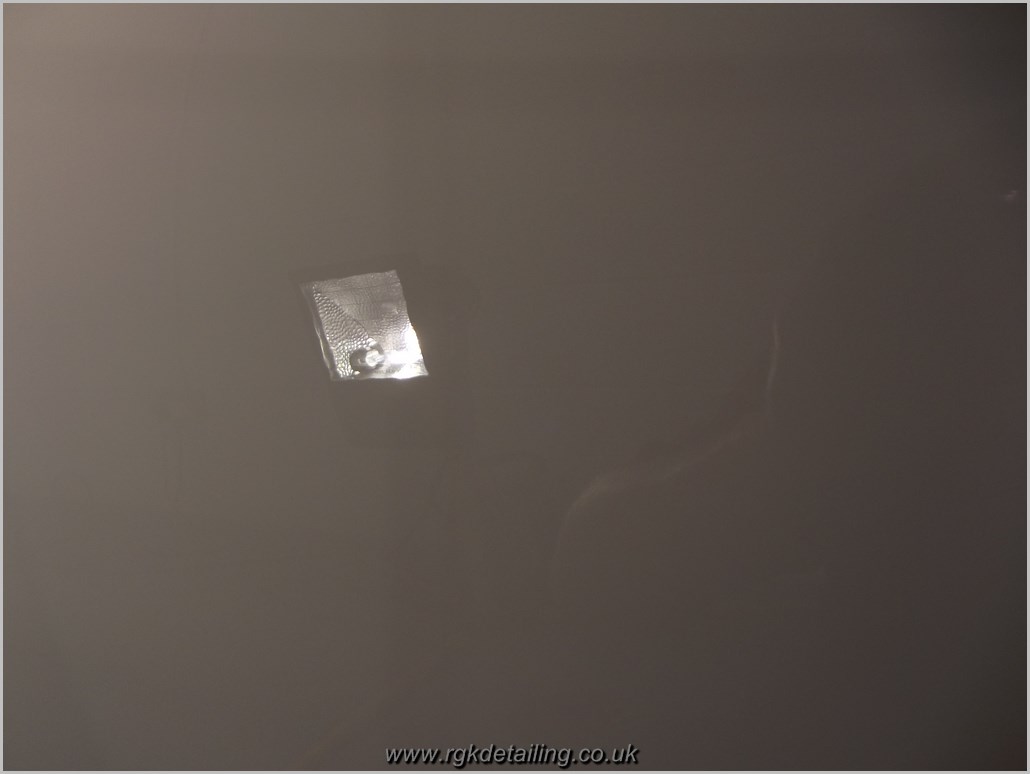
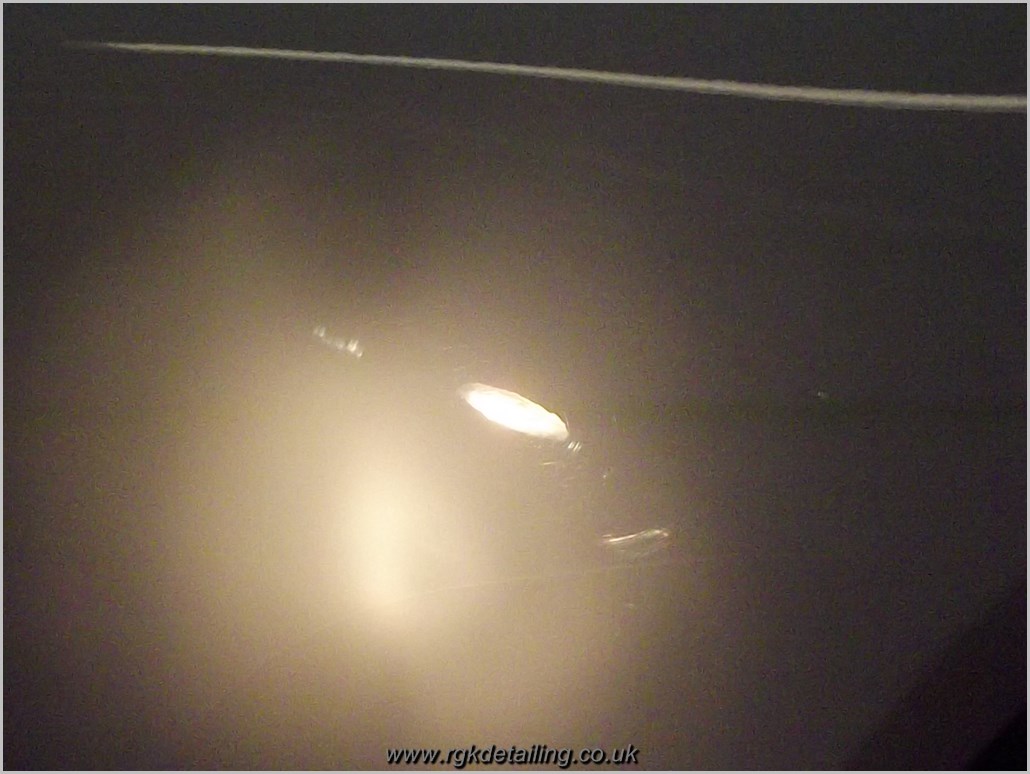
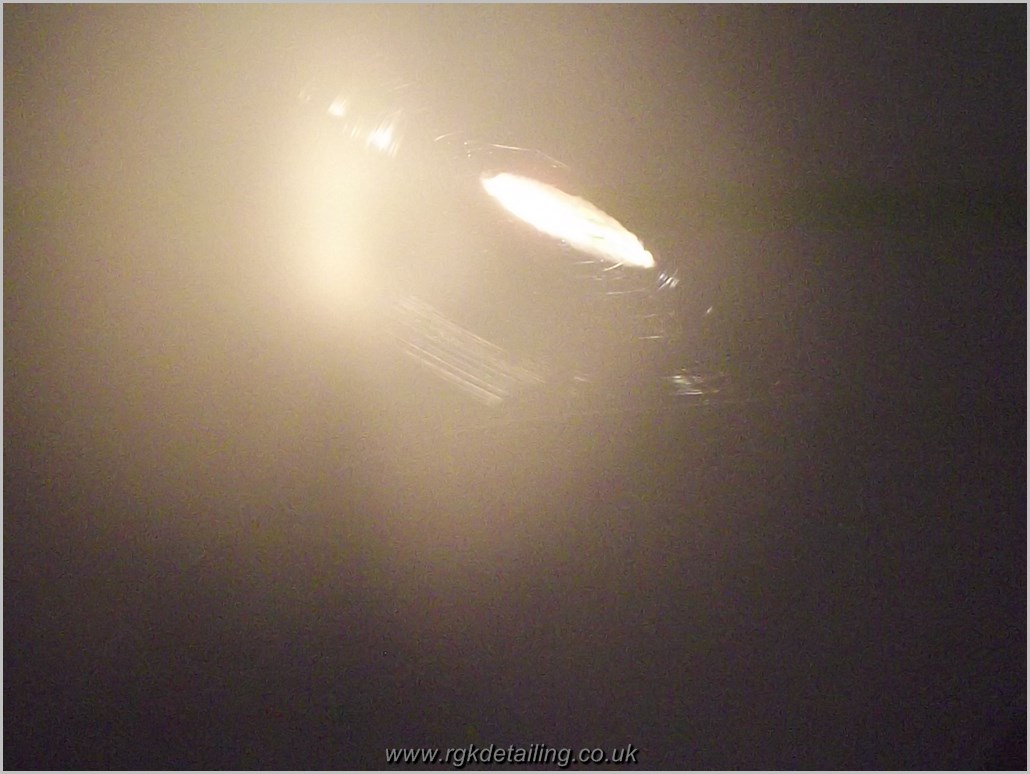
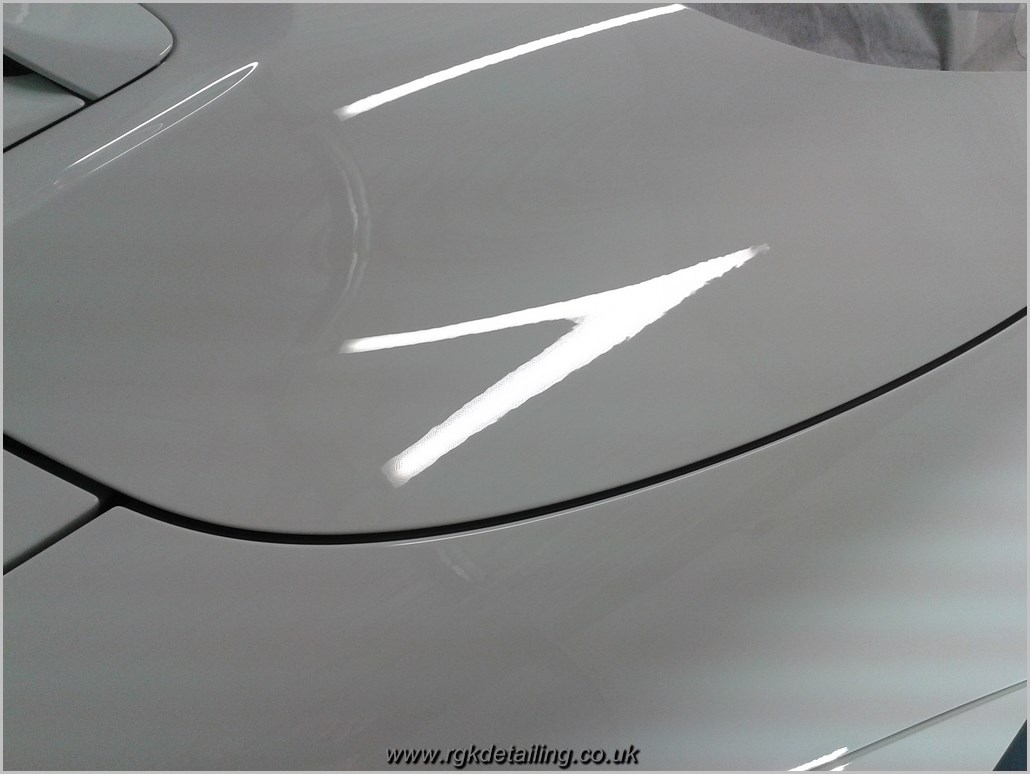
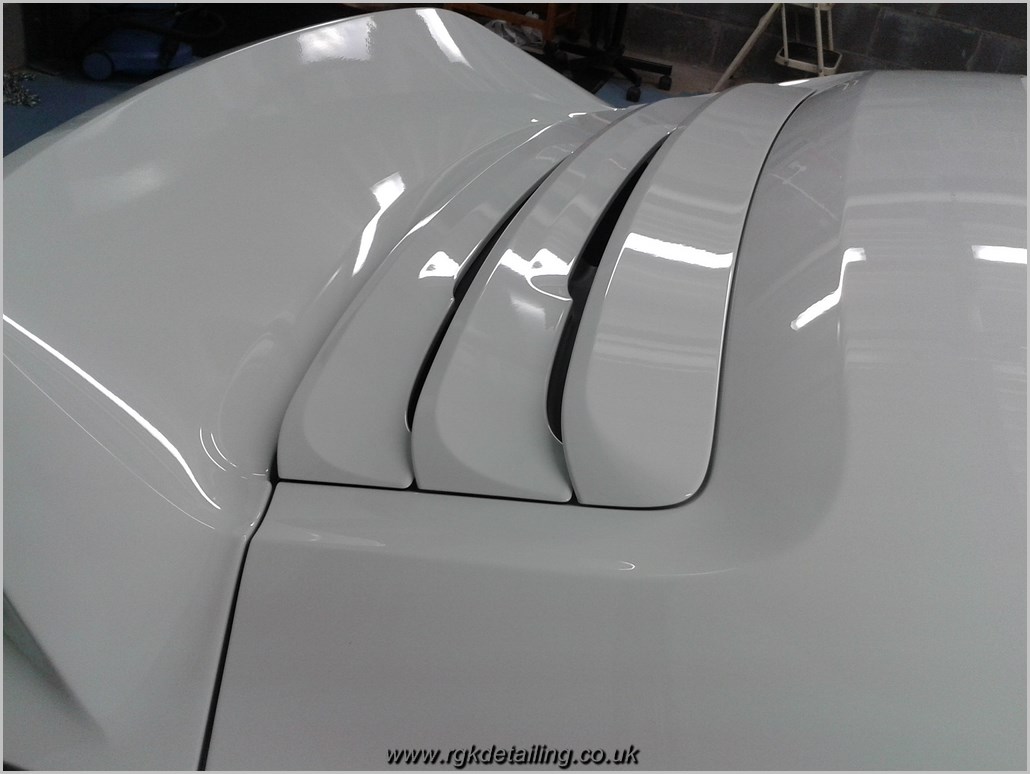
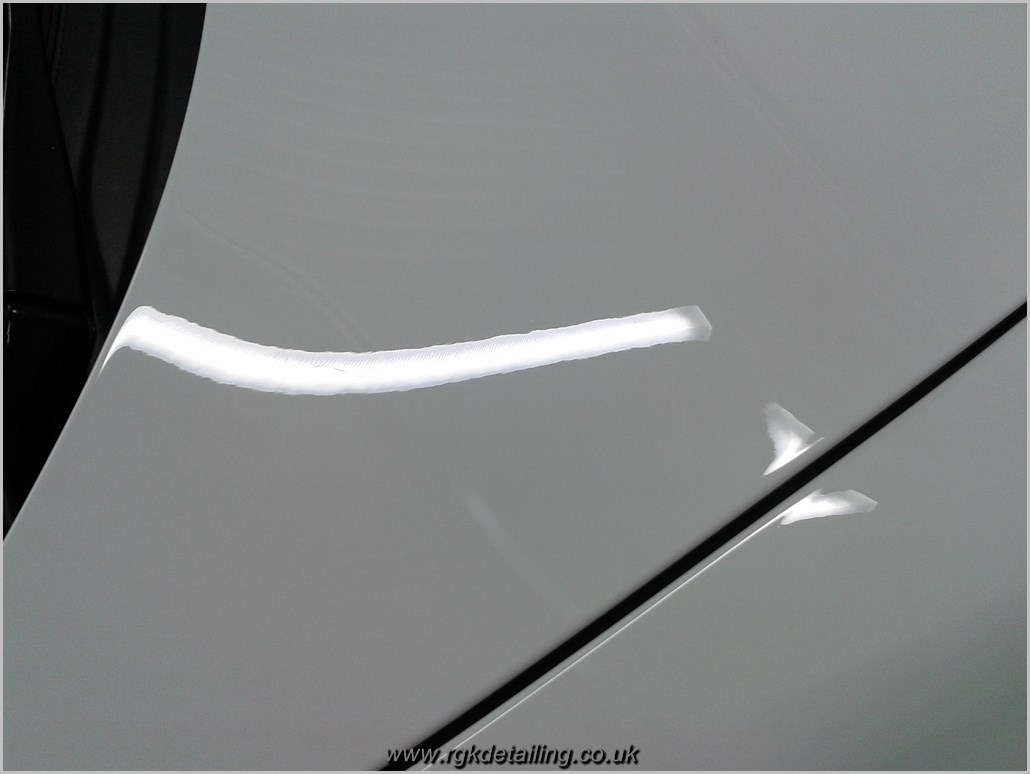
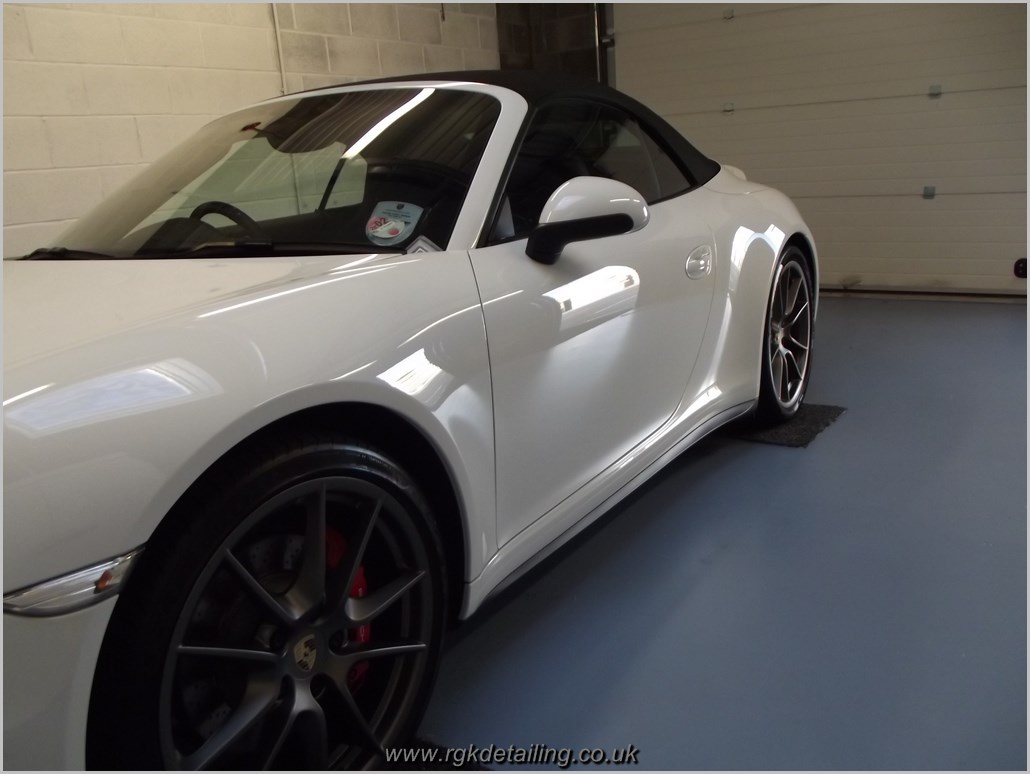
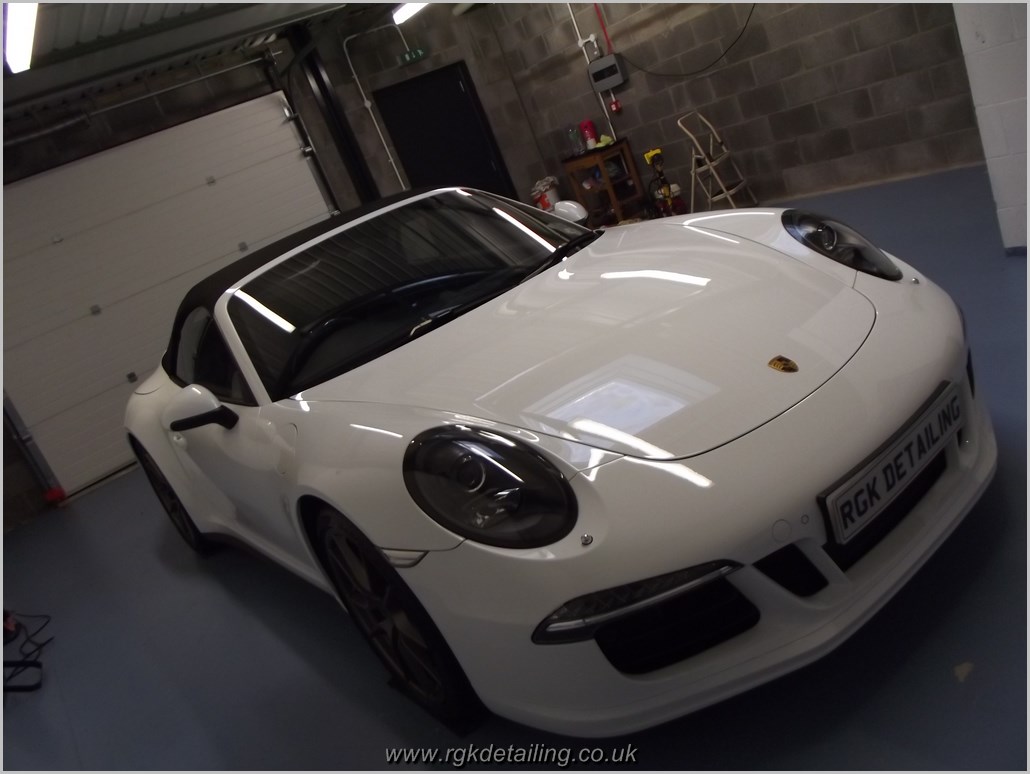
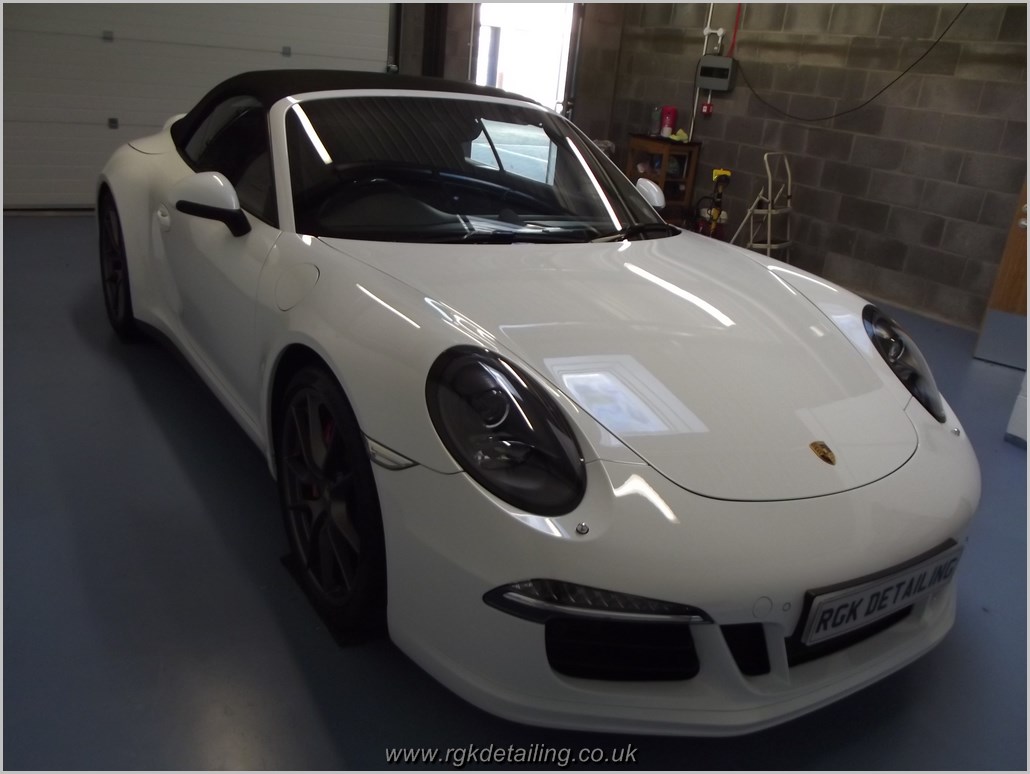
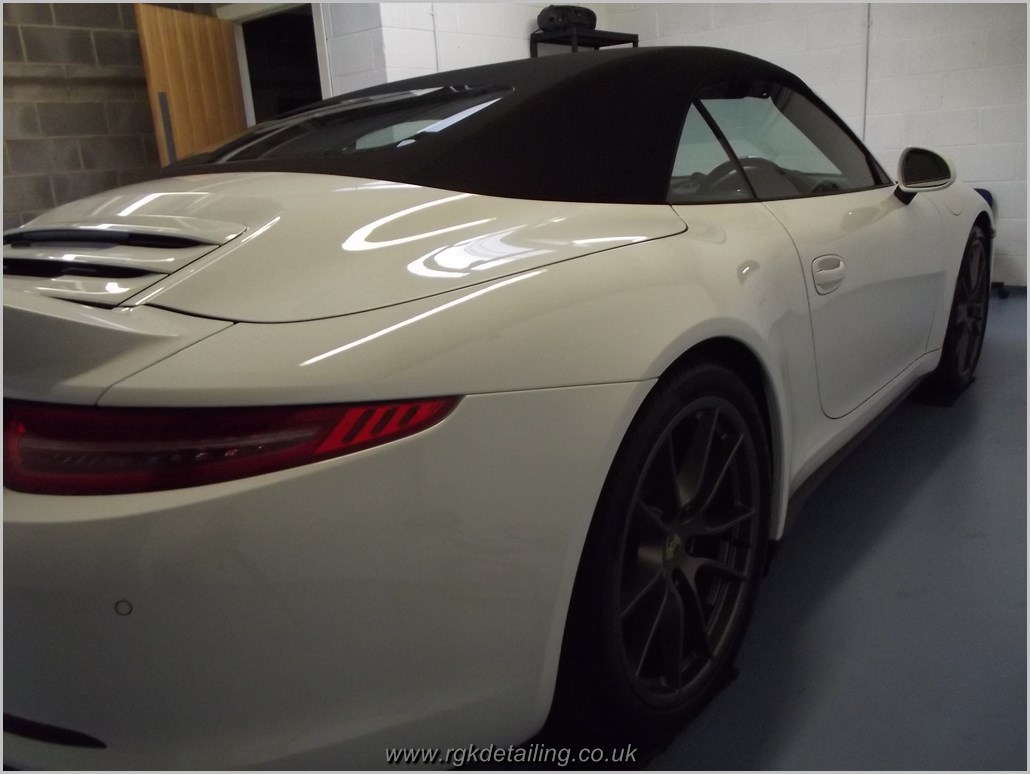
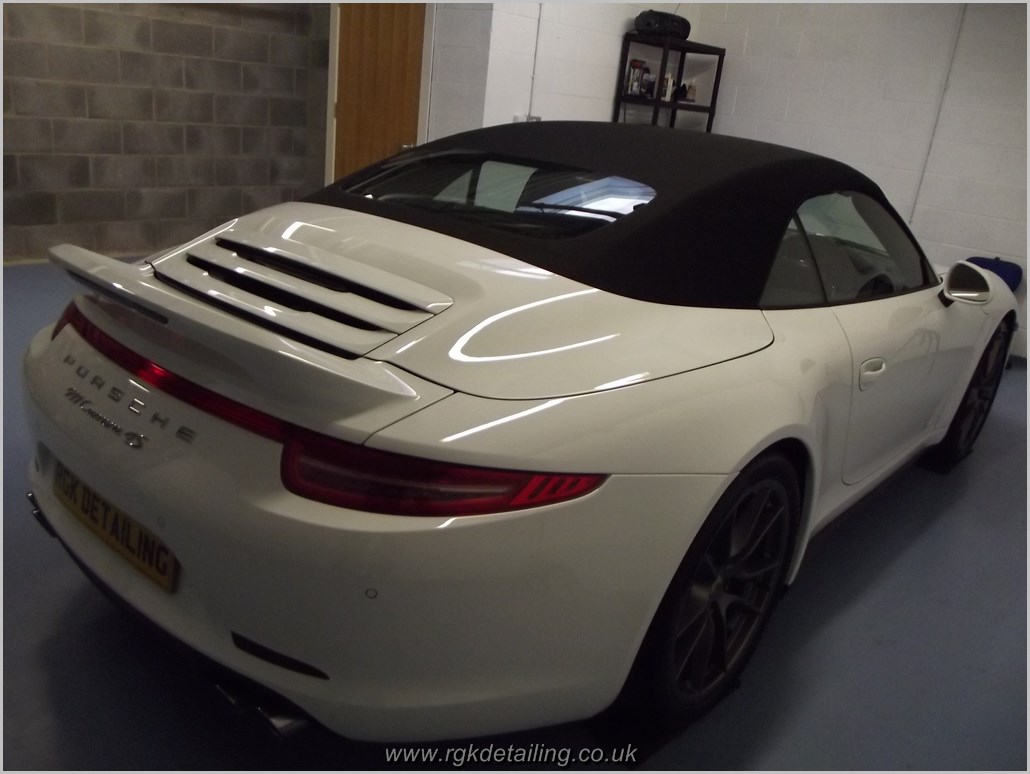
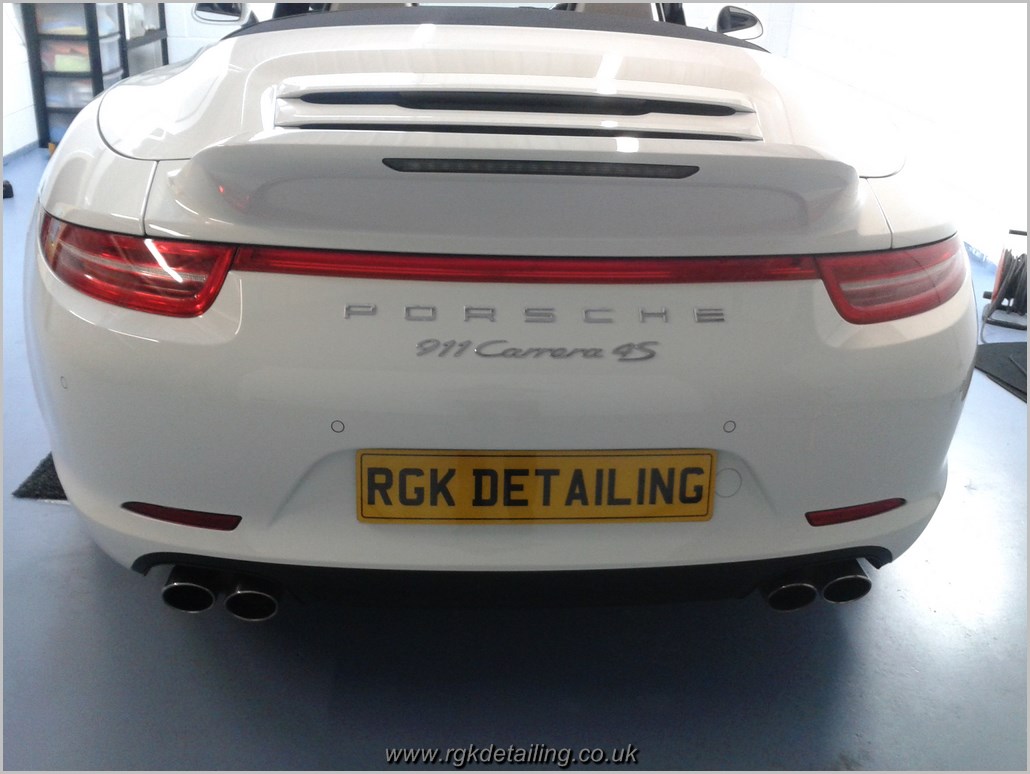
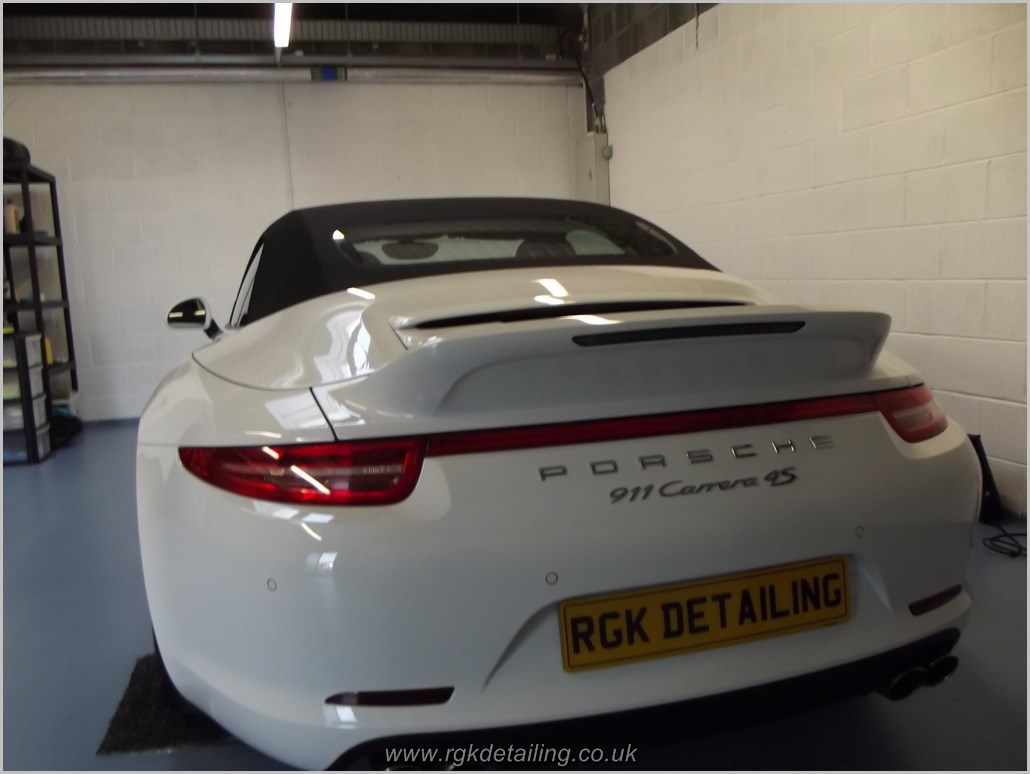
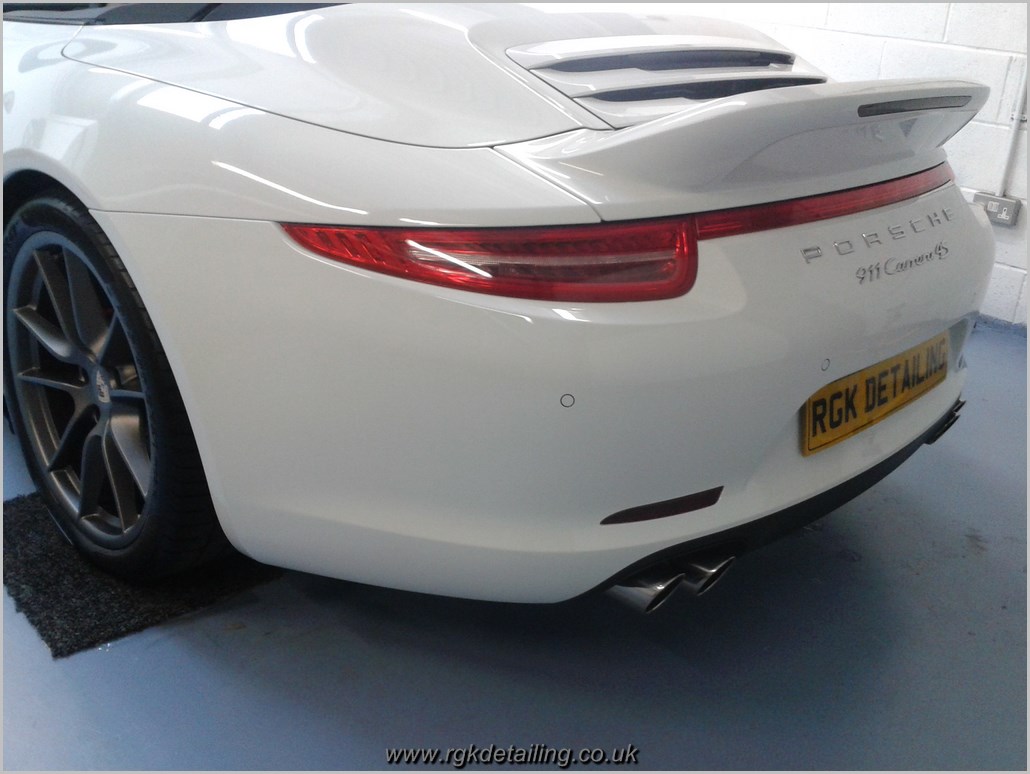
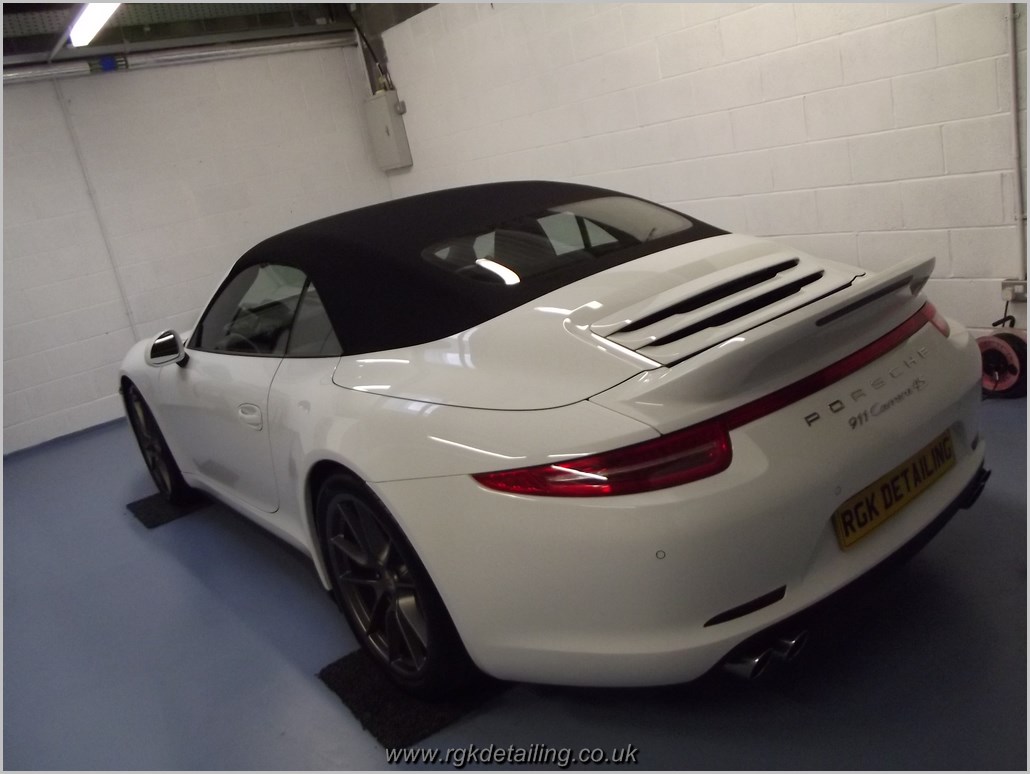
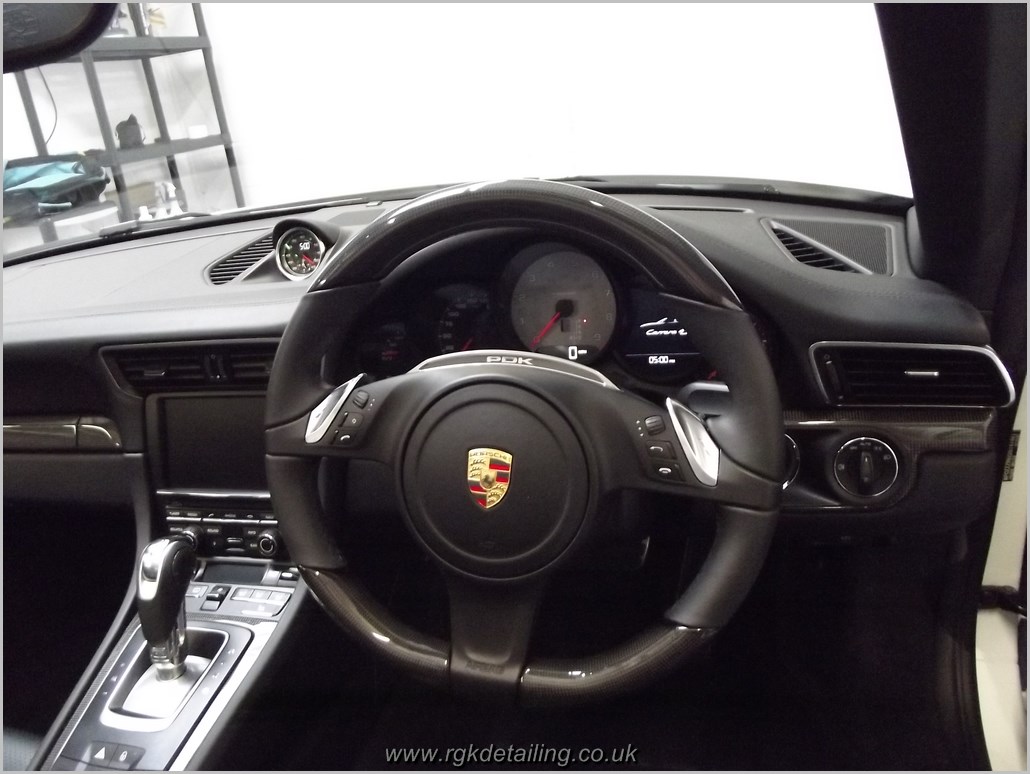
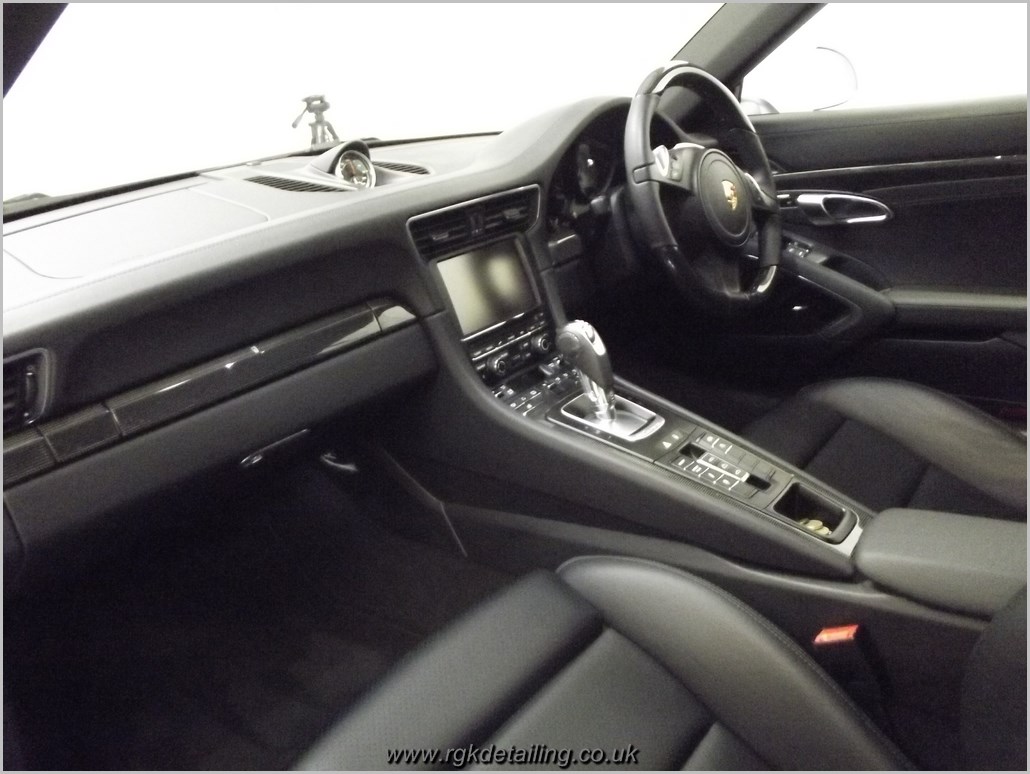
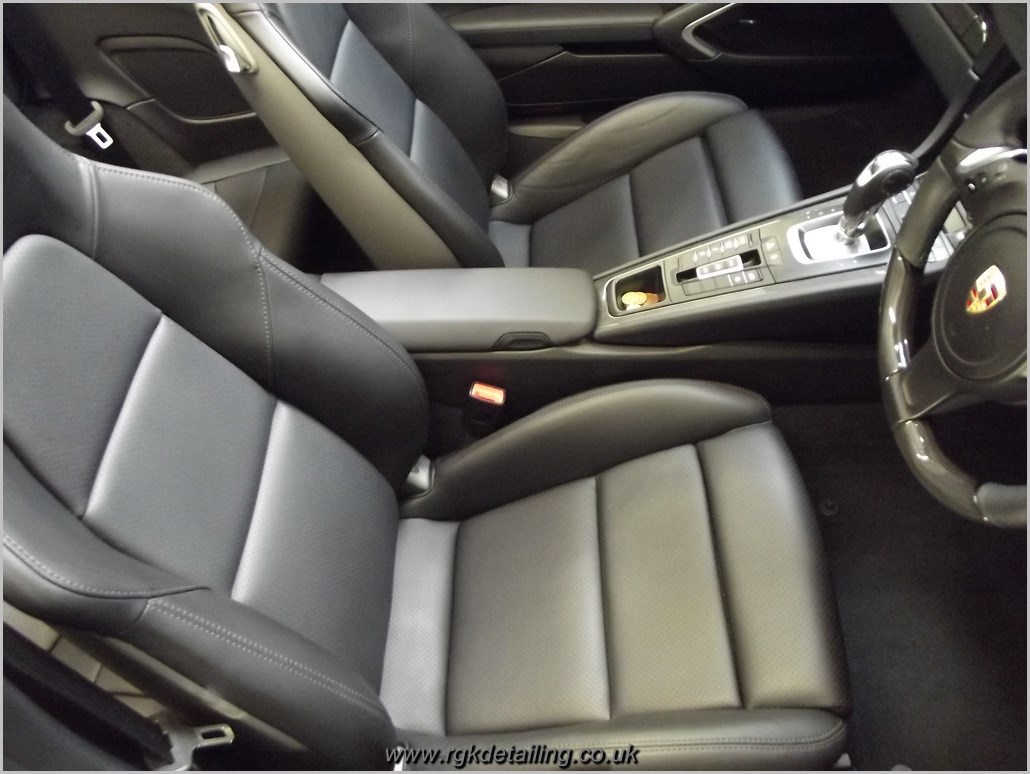
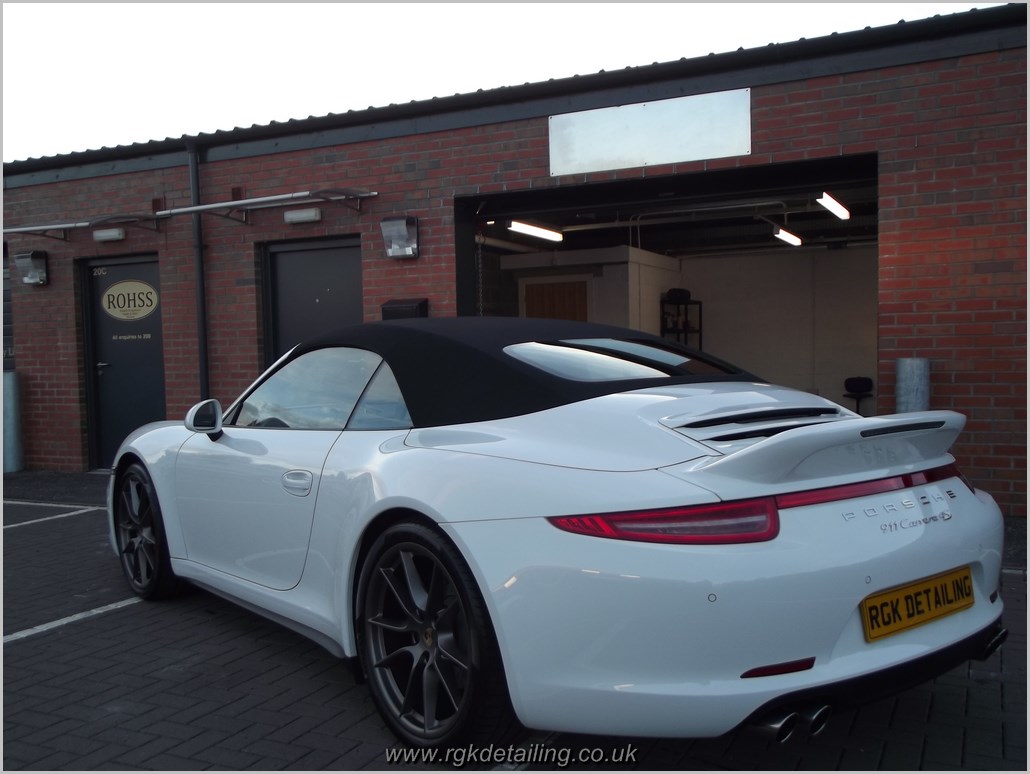
Here we have a 2013 Porsche 911 Carrera 4S, which was treated to a minor paintwork rectification detail, this was the first car in our new fully insured, and secure unit, which is a 20 minute drive from Glasgow, and 40 minutes from Edinburgh.
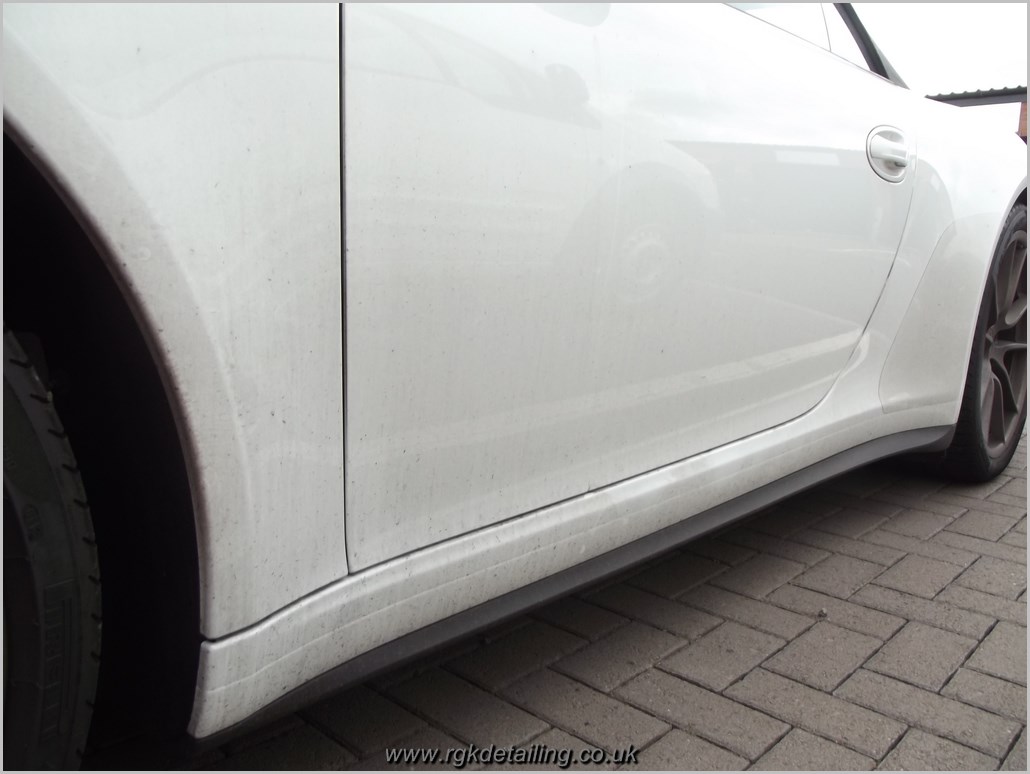
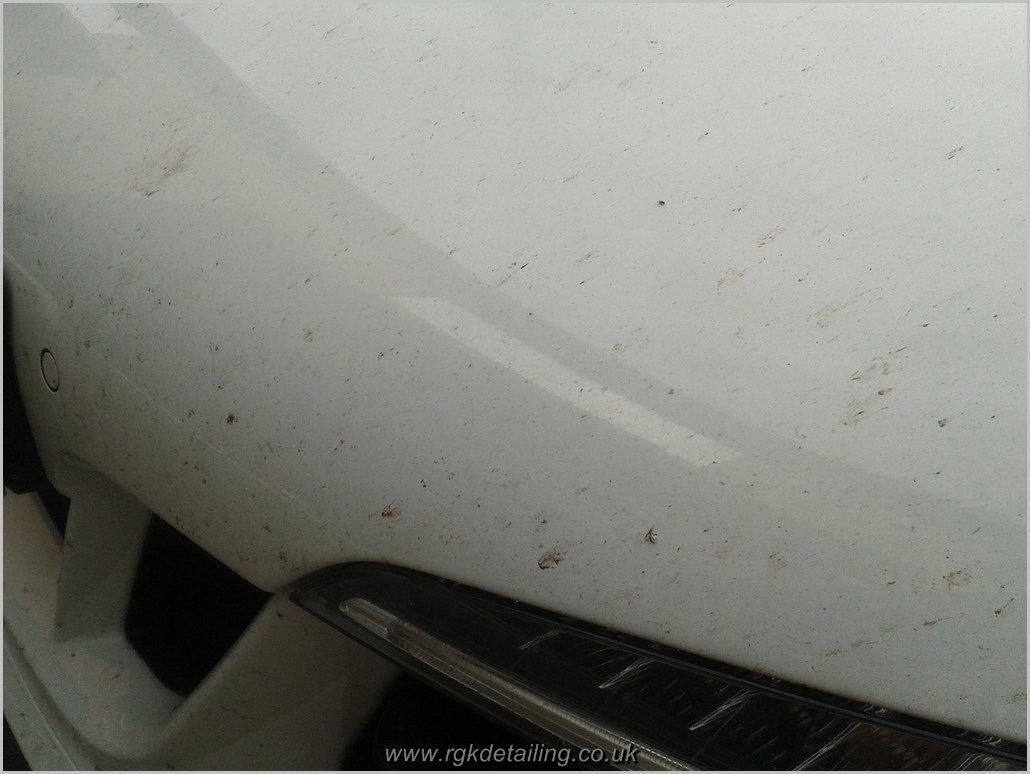
The owner of this 2013 Porsche 911, contacted me after enjoying a few thousand very enjoyable miles taking part in the Cannonball Run throughout Europe this summer, the car however also had not been cleaned in this time, resulting in a thick layer of dirt build along with the usual harmful contaminants, the owner had also noticed numerous paint defects when the car was new, and asked if these could also be removed, my brief then was to do what was required to return the car to better than new condition, before being garaged over the winter months.
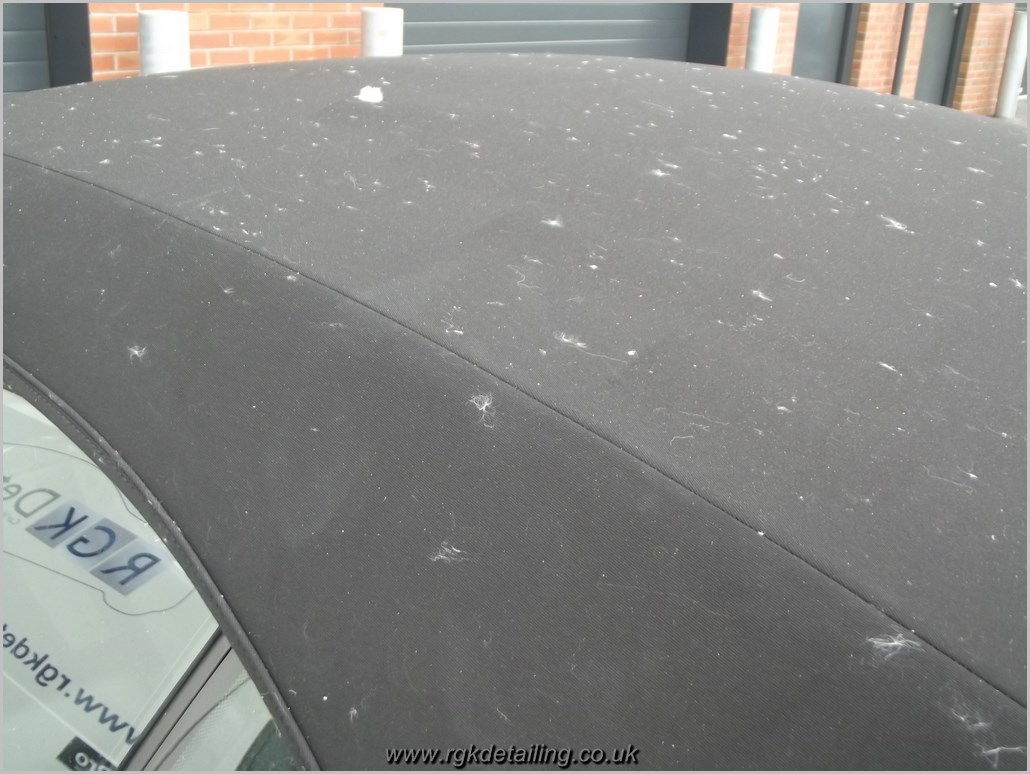
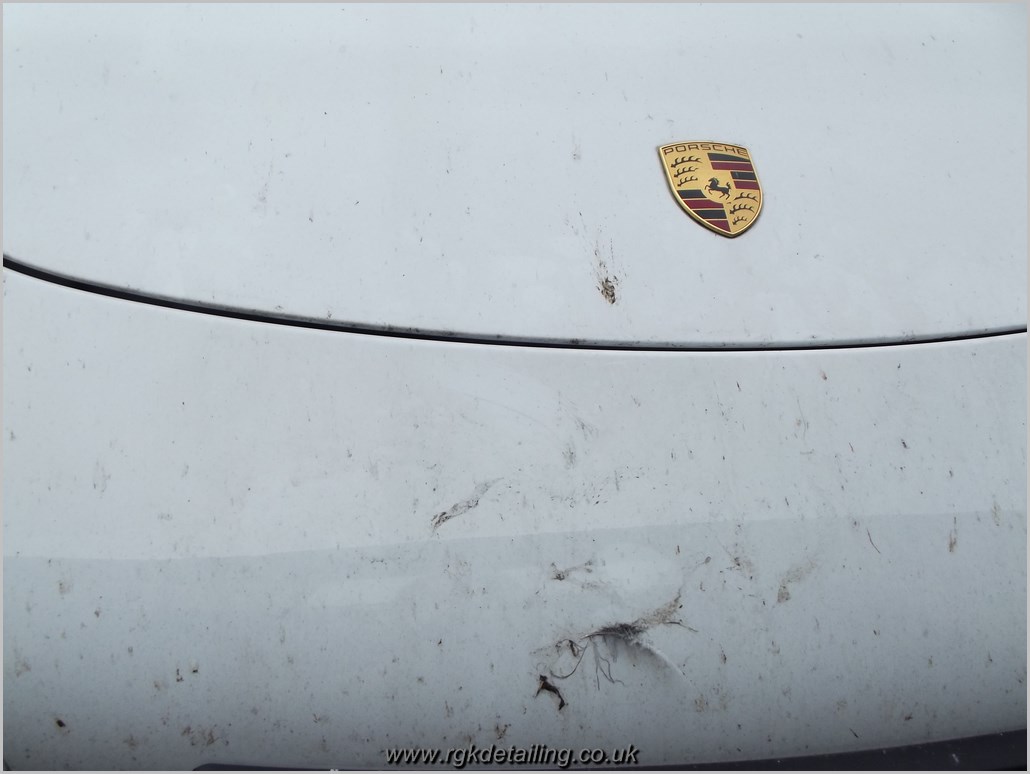
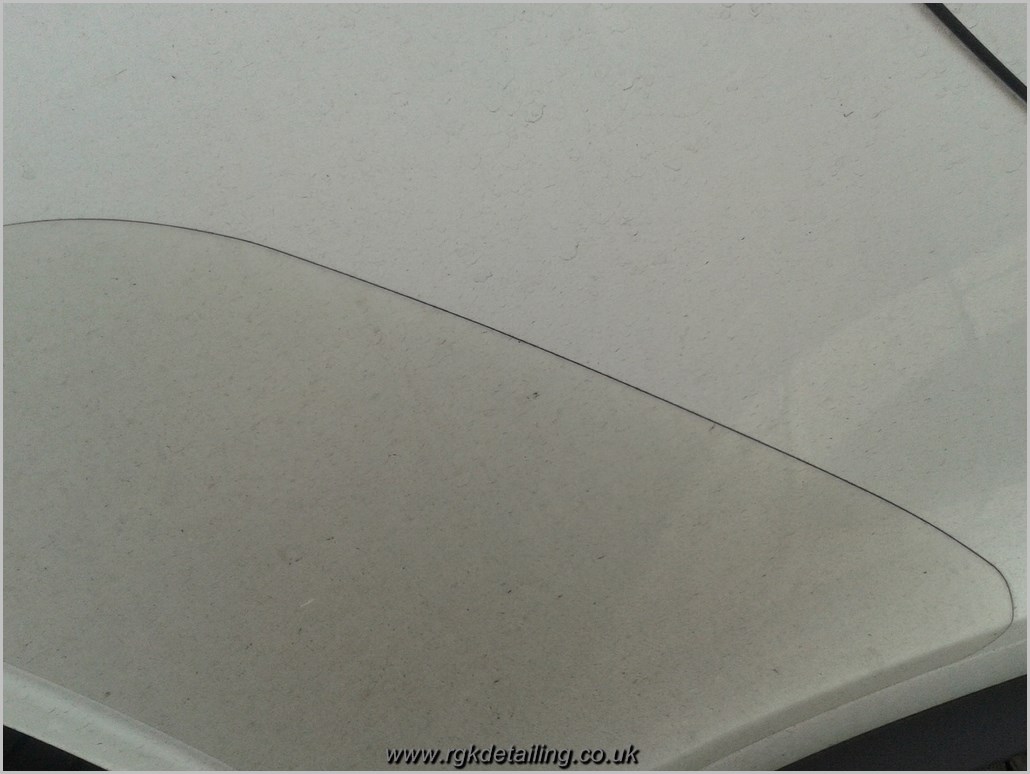
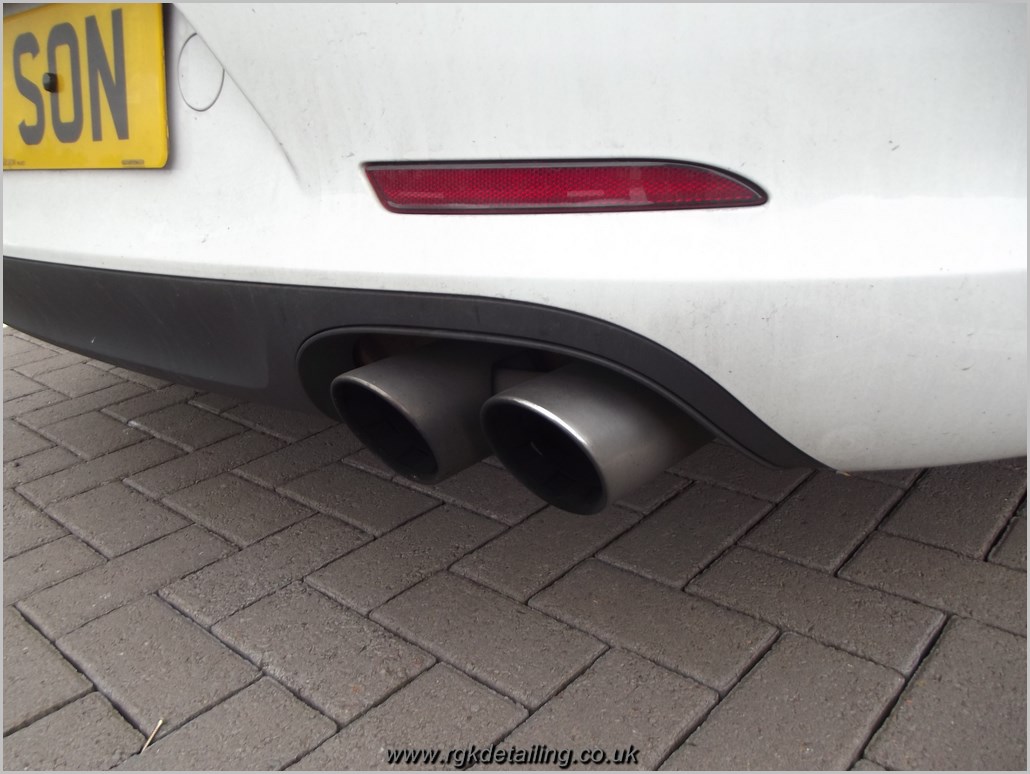
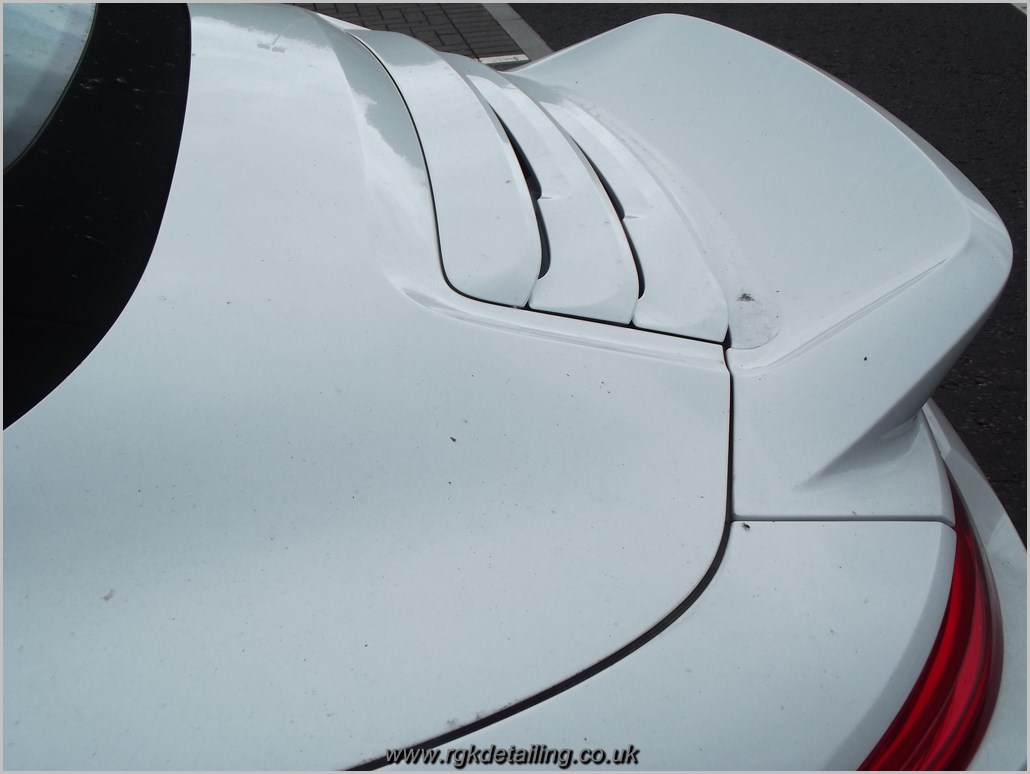
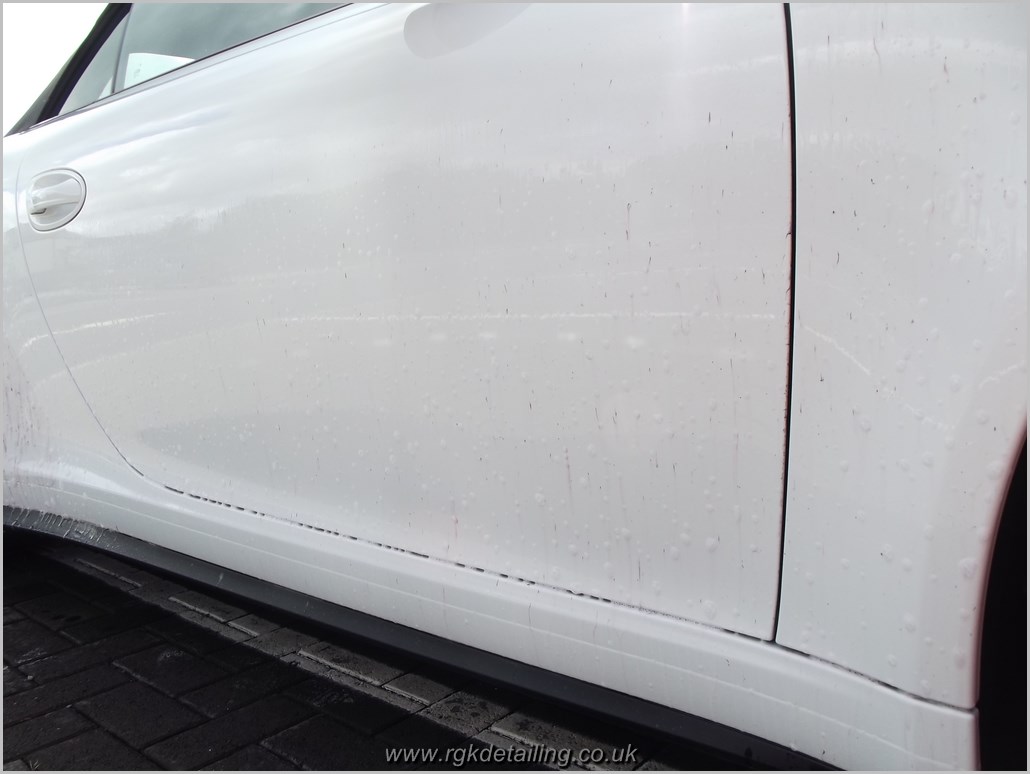
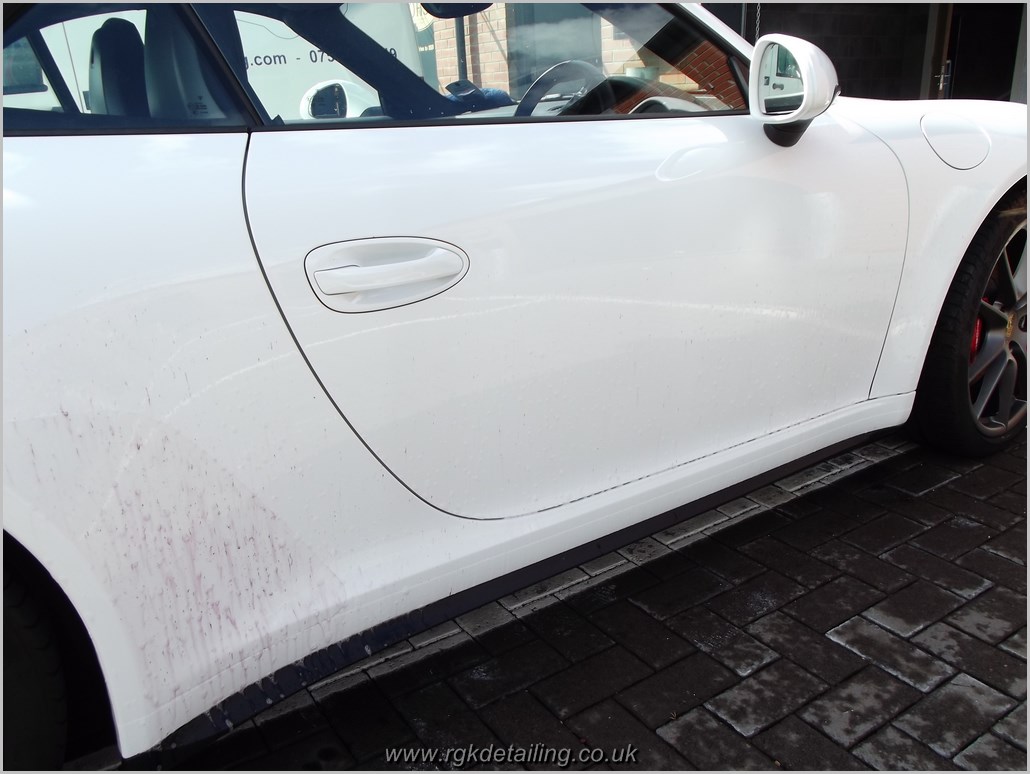
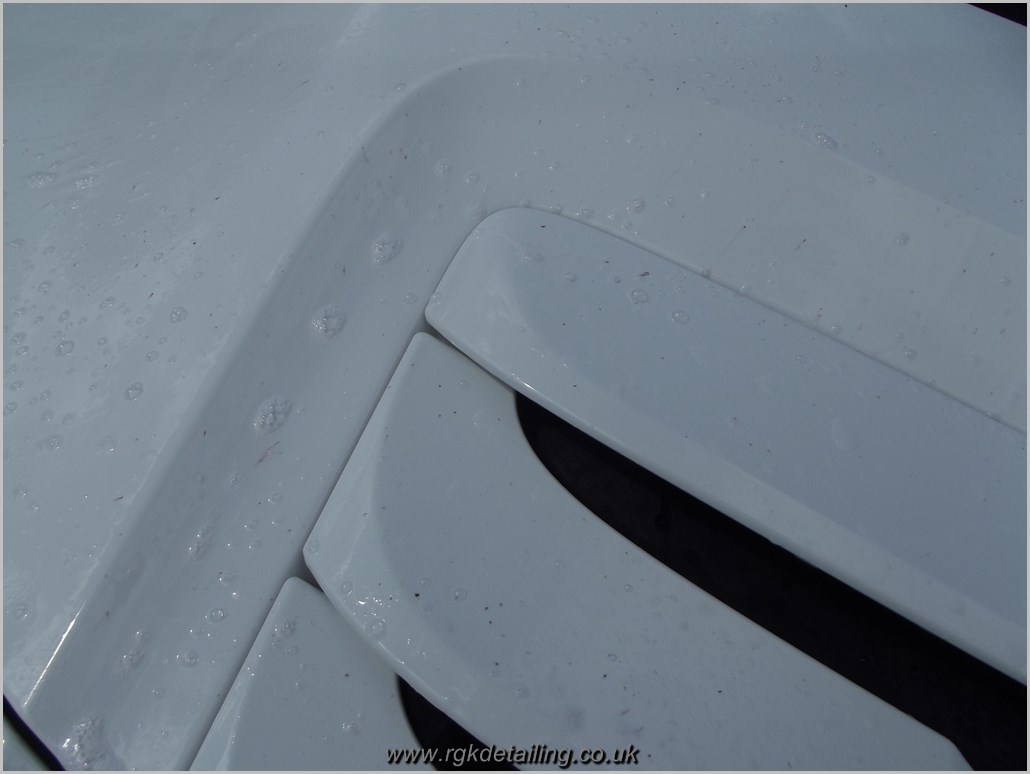
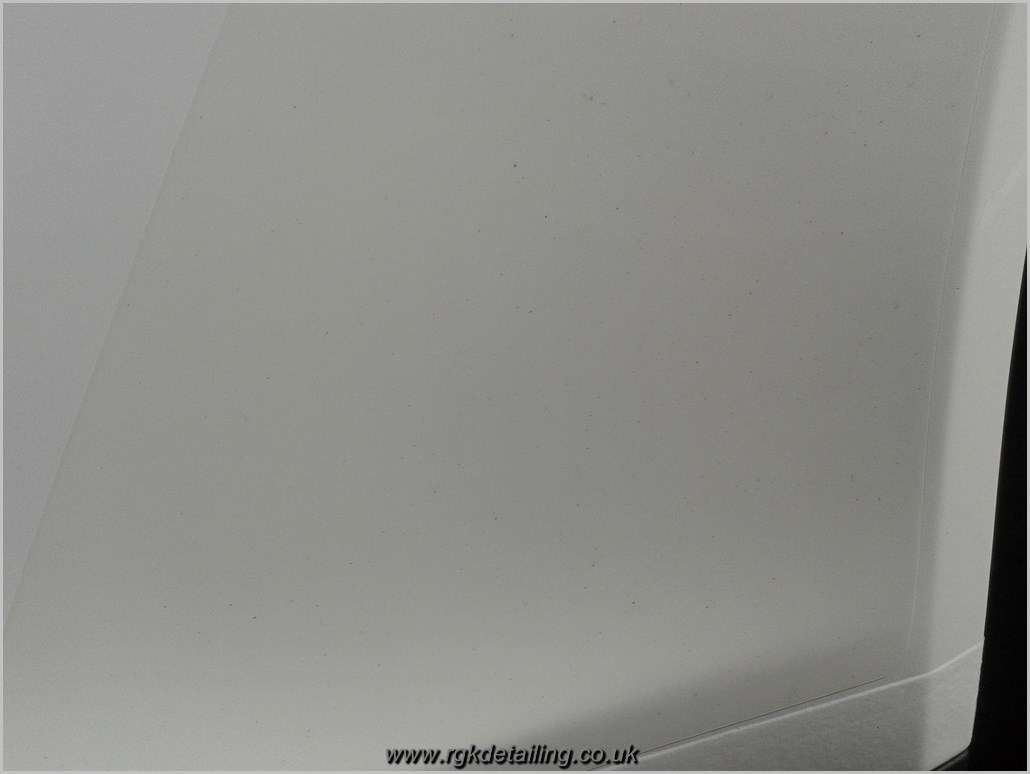
This is how the car looked before any work commenced.
To begin with the car is soaked in degreaser, to help break down the dirt and grime which has built up, before being power rinsed, this prevents the paintwork being scratched through contact washing.
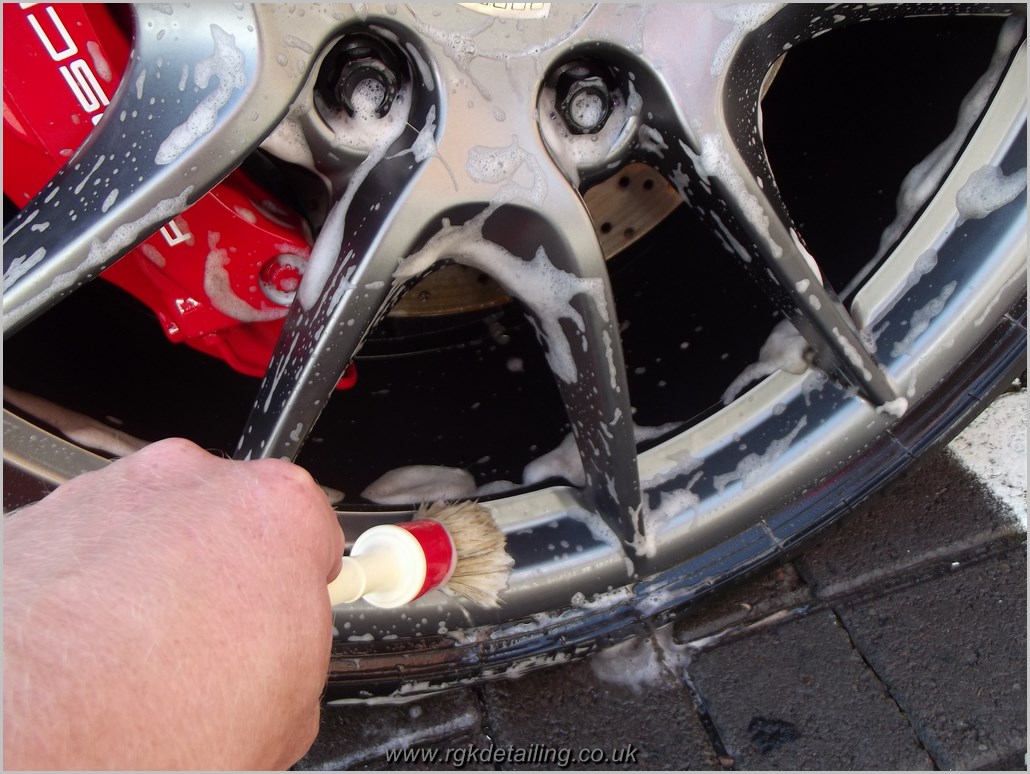
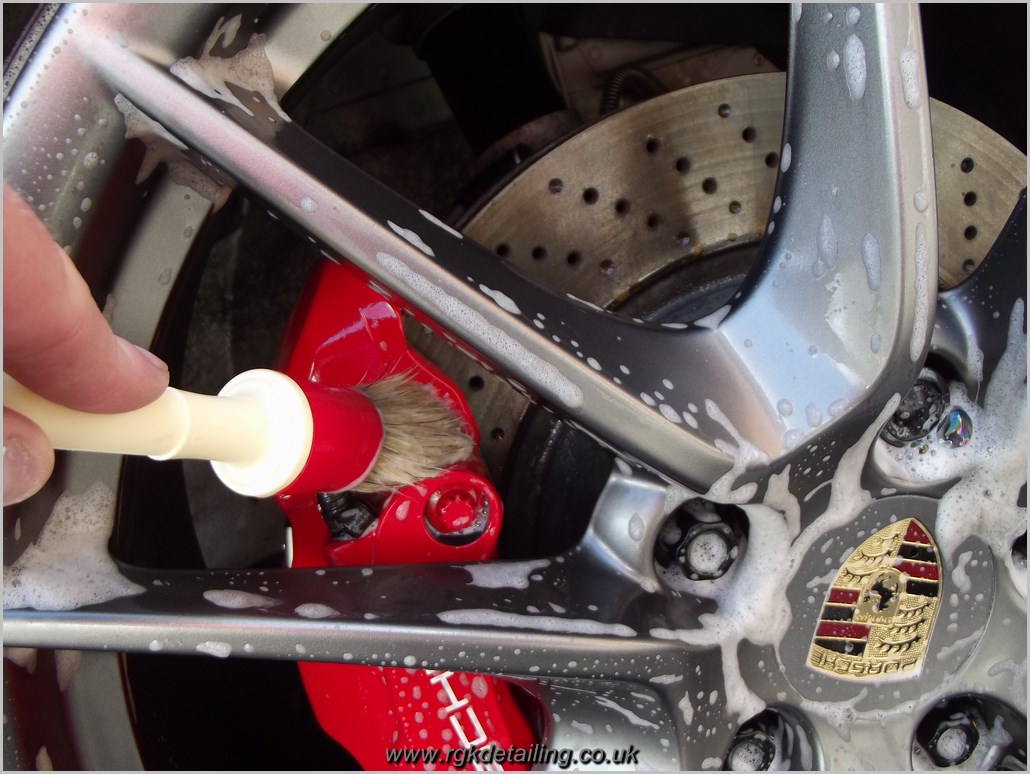
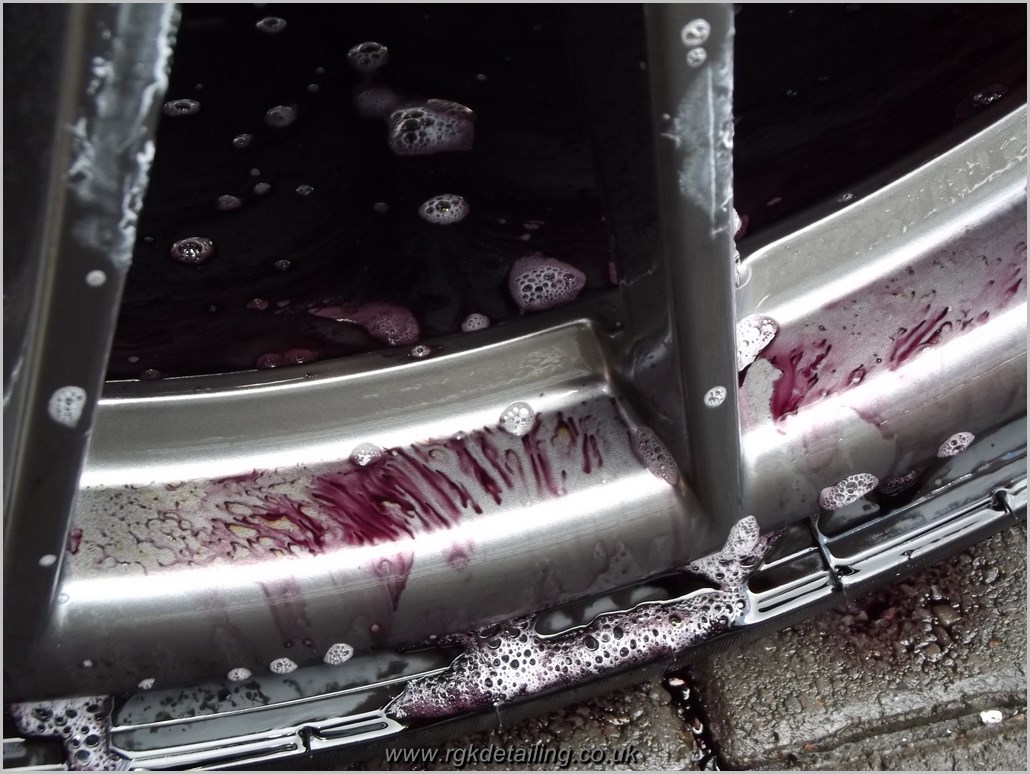
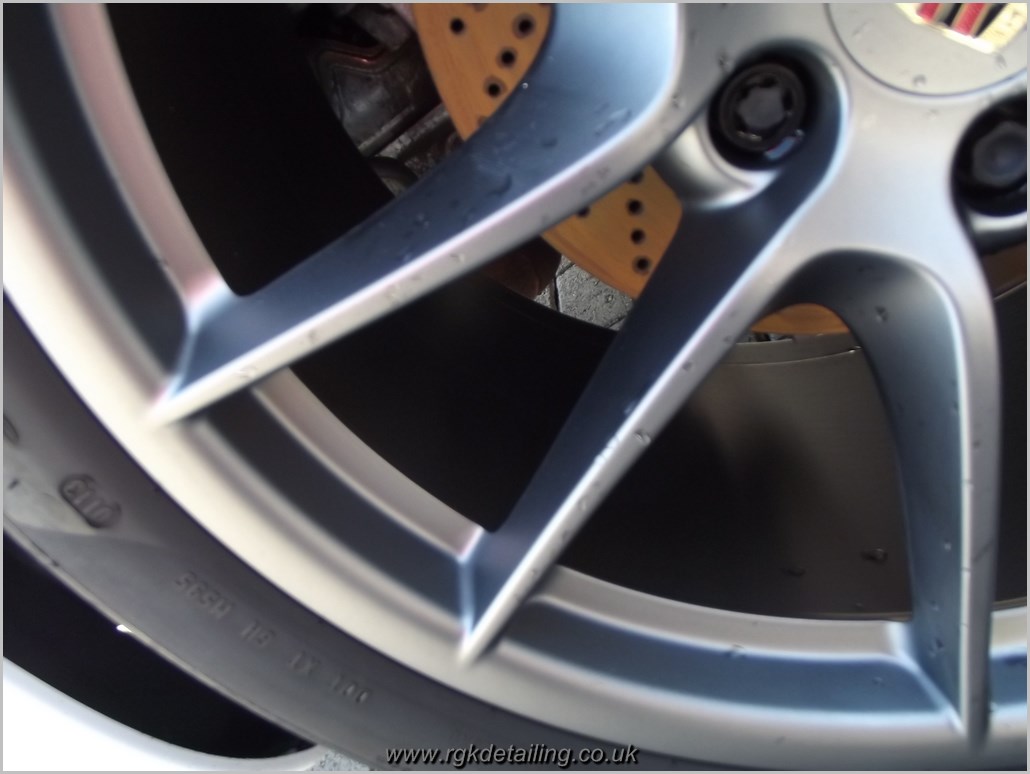
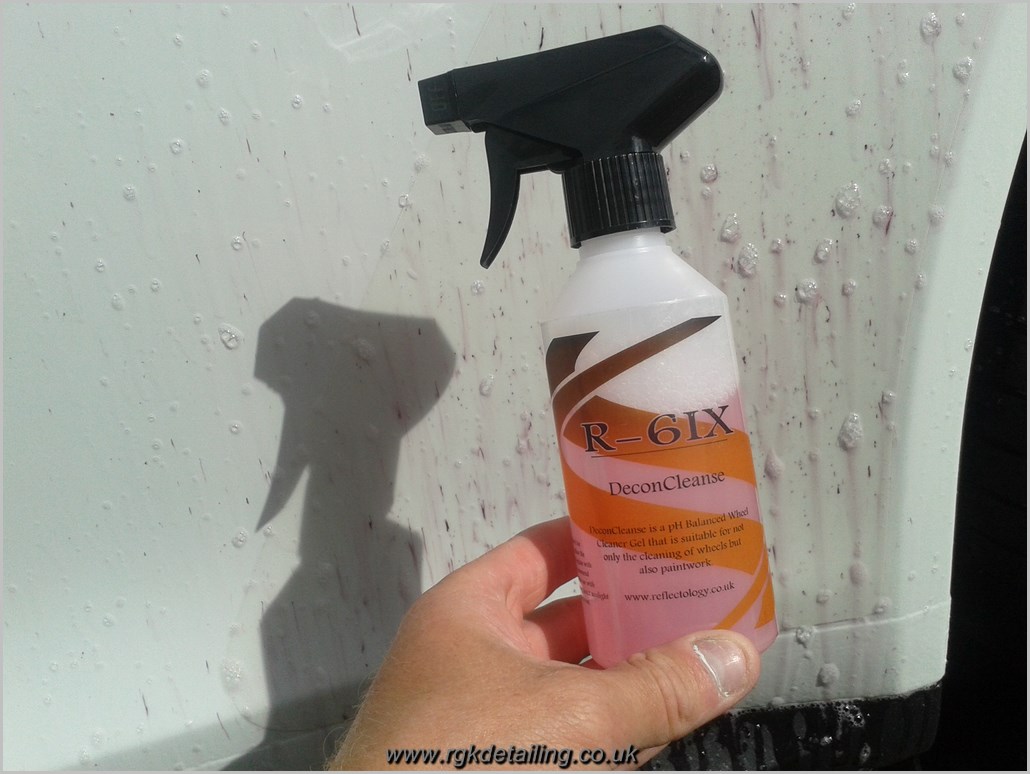
A variety of brushes are then used to clean the wheels inside and out, an Iron remover is then used to break down any iron deposits that have built up.
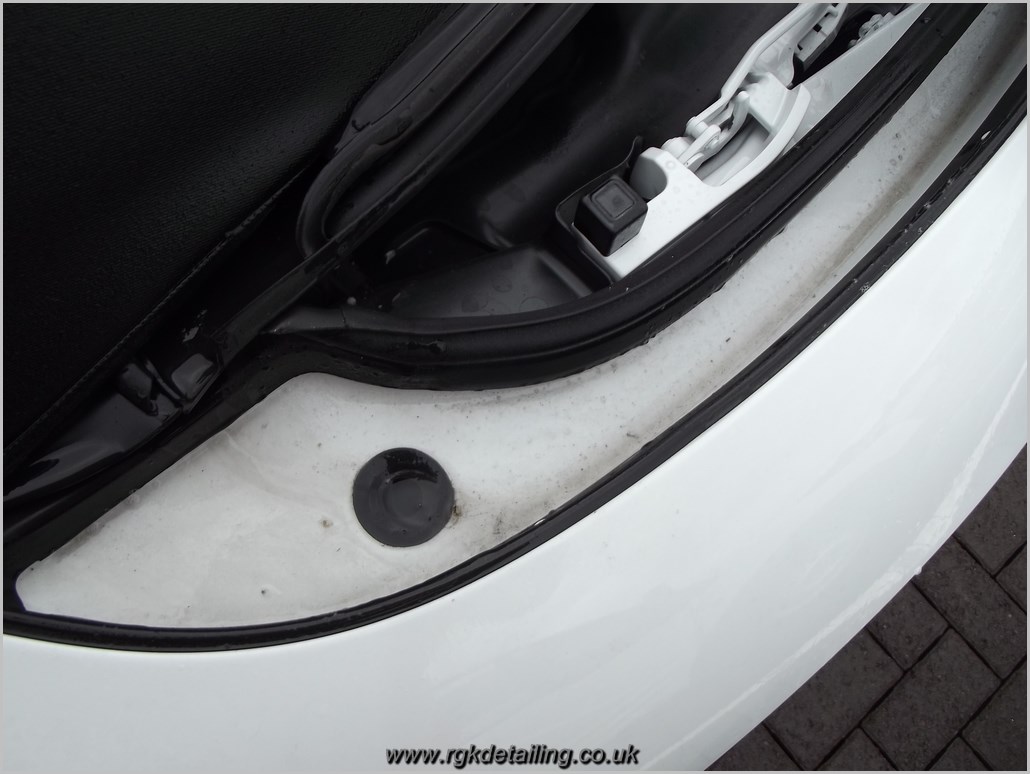
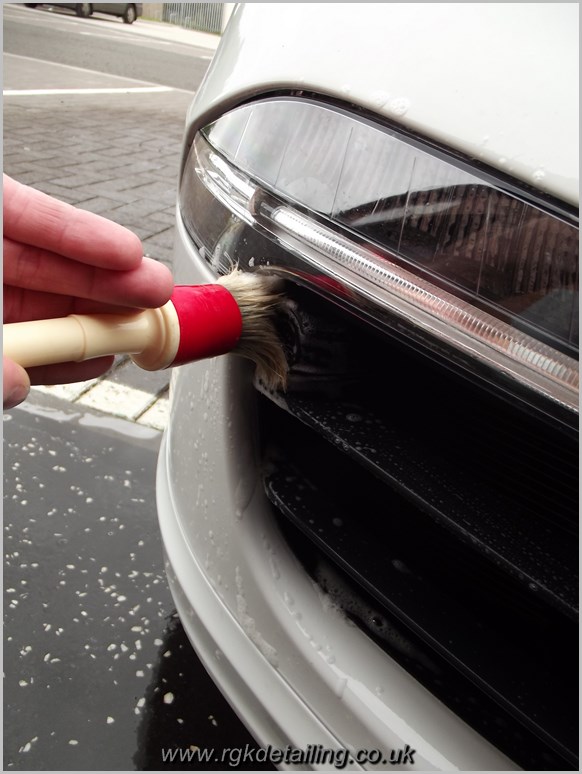
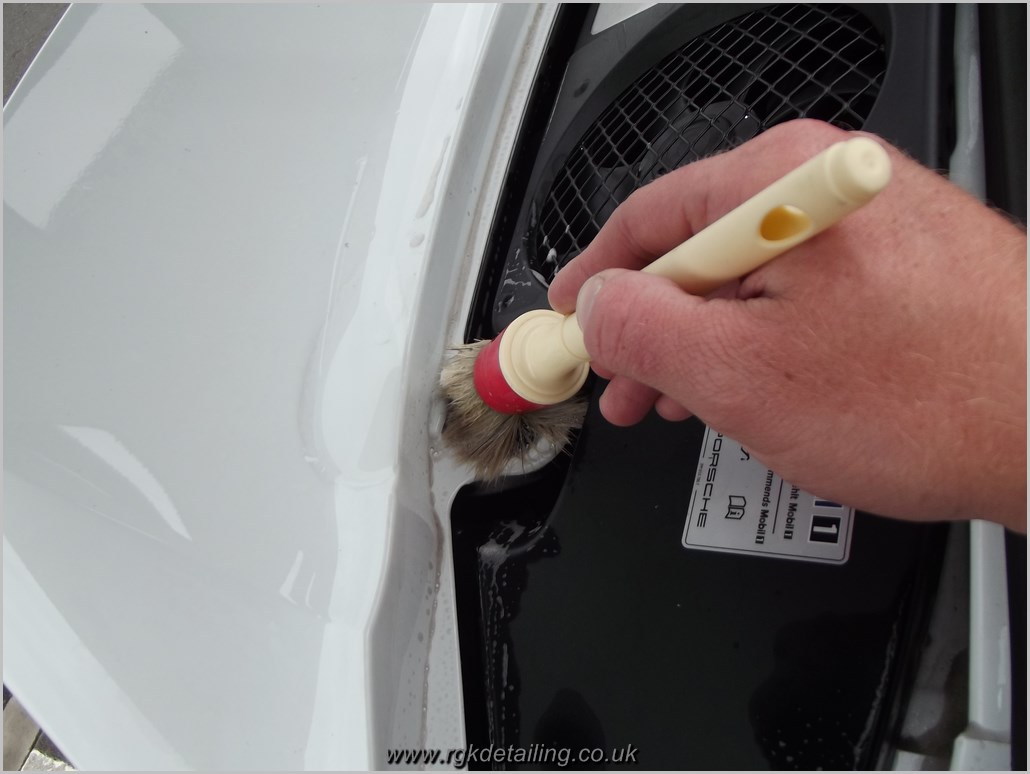
All intricate trim, door gaps, and window surrounds were then thoroughly cleaned of dirt and grime build up.
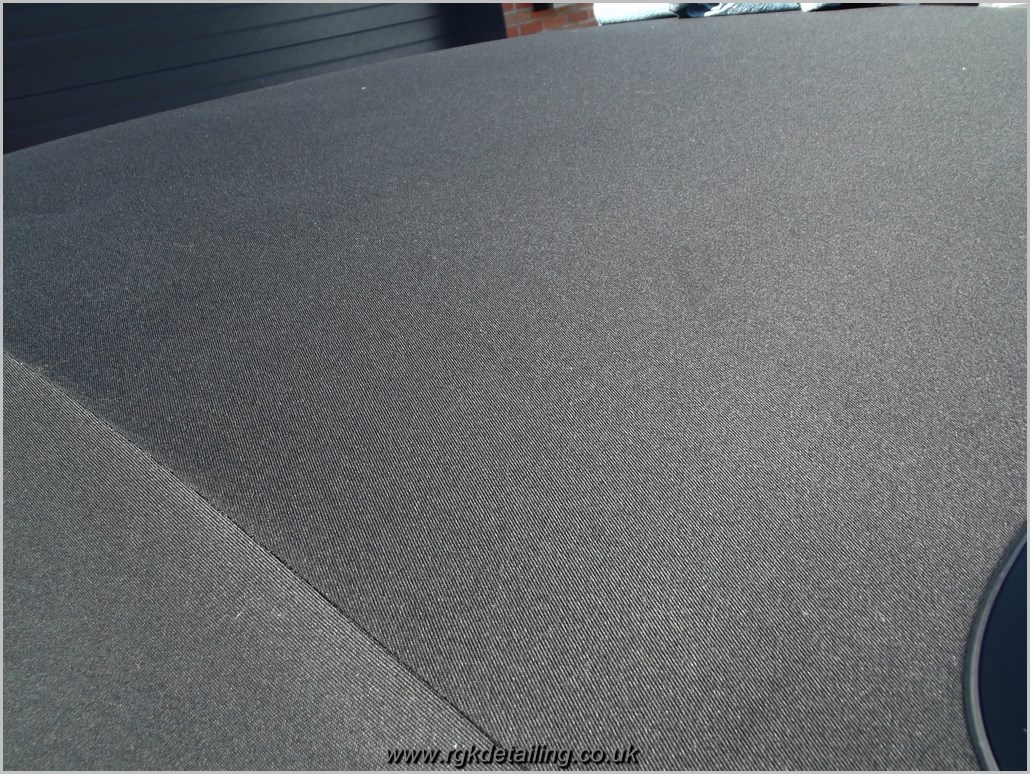
The fabric roof was then given a thorough clean, prior to final vacuuming, and water proofing which would be done once the car had been moved into my unit, the car was then given a gentle contact wash using a plush Carpro wash mitt, Reflectology R1NE as the shampoo, and two buckets to help keep grit away from the wash mitt, after a thorough rinse any tar and iron deposits were removed.
Before
During
After
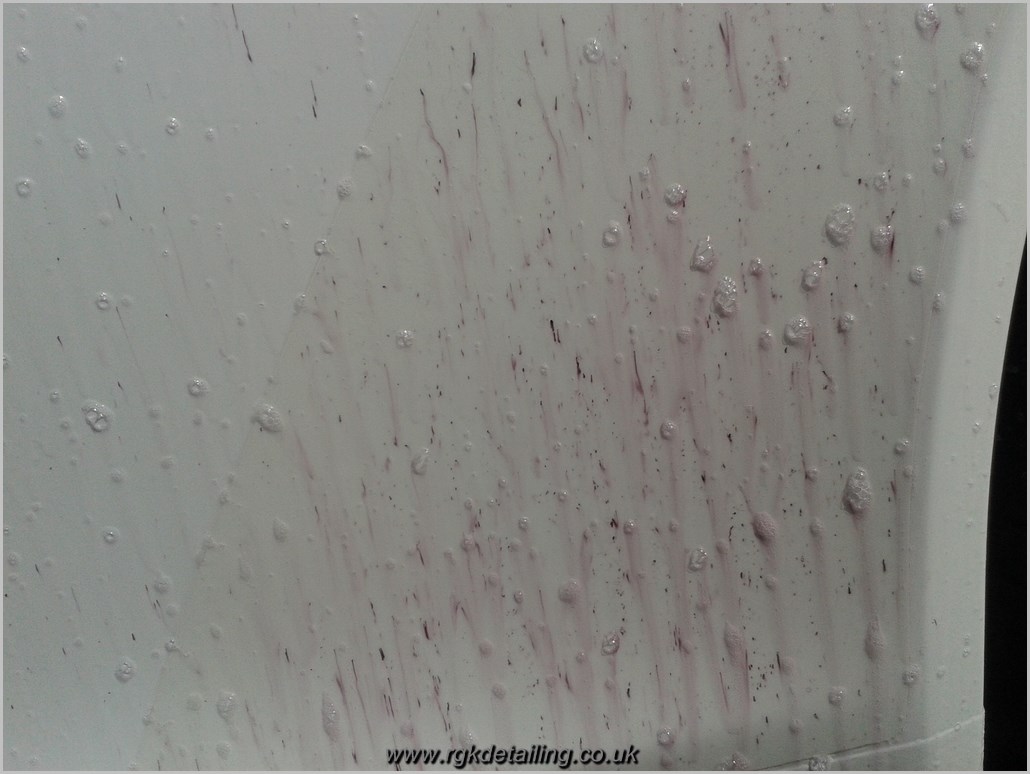
Iron remover was then applied,
Before
During
After iron removal
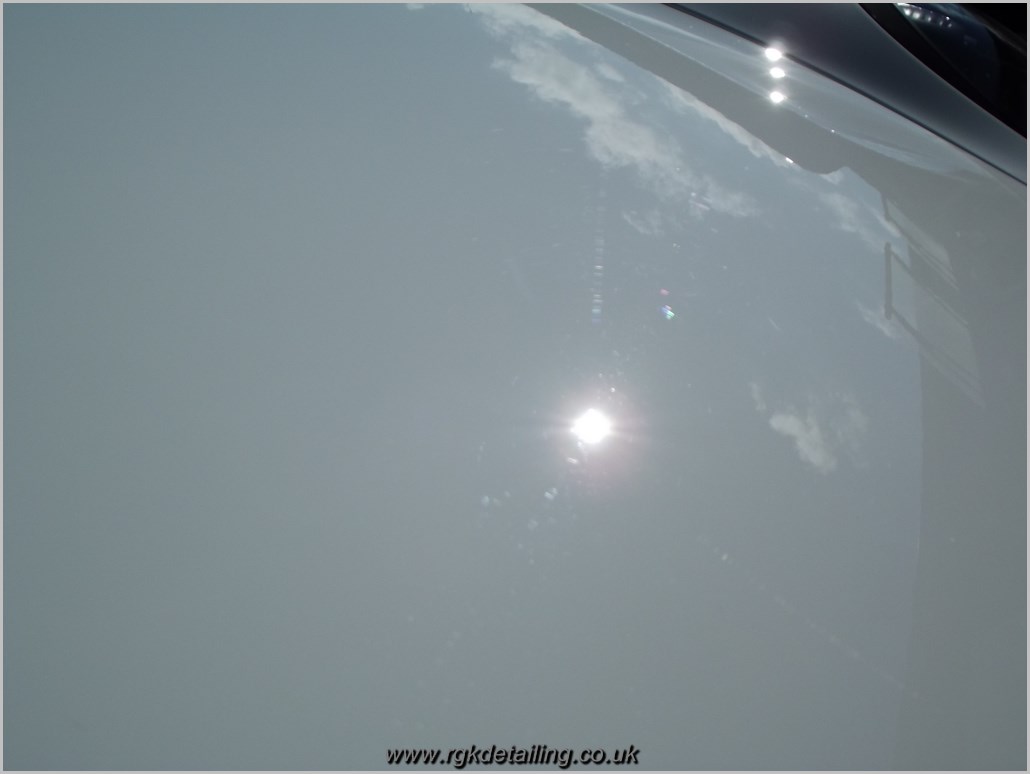
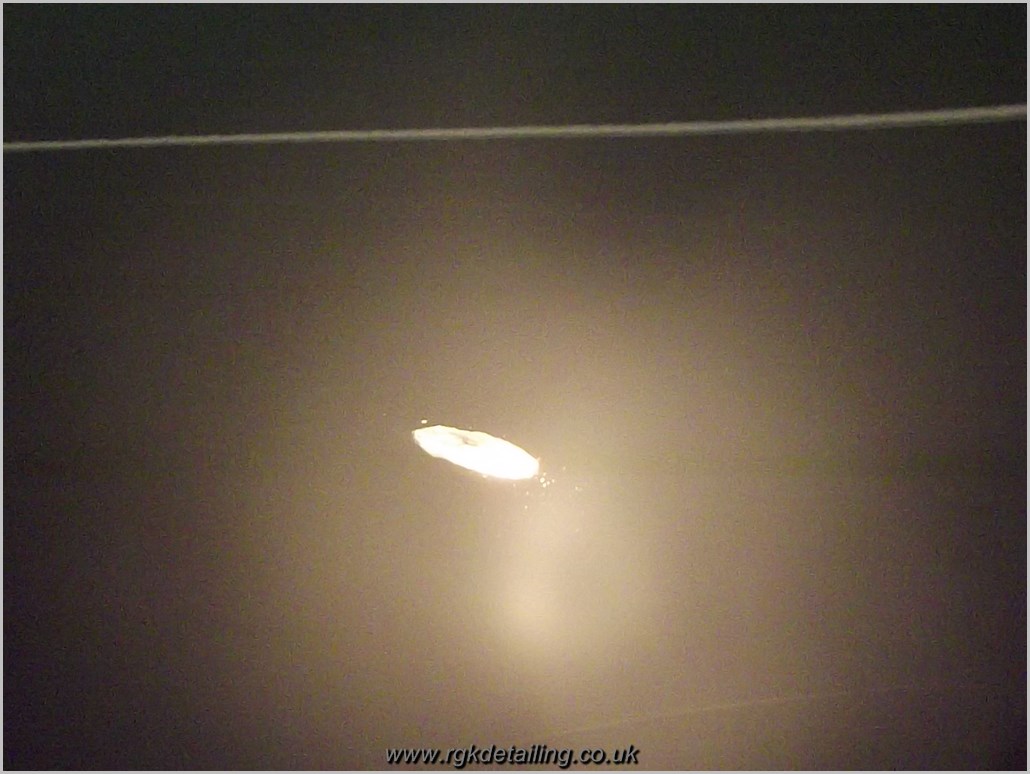
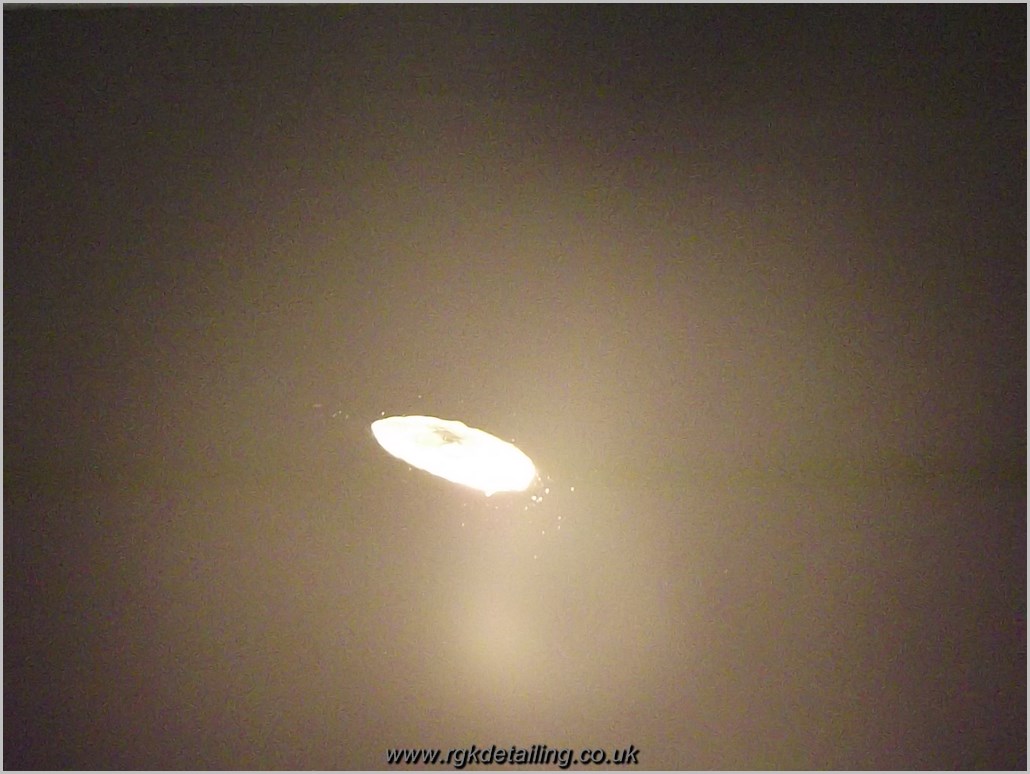
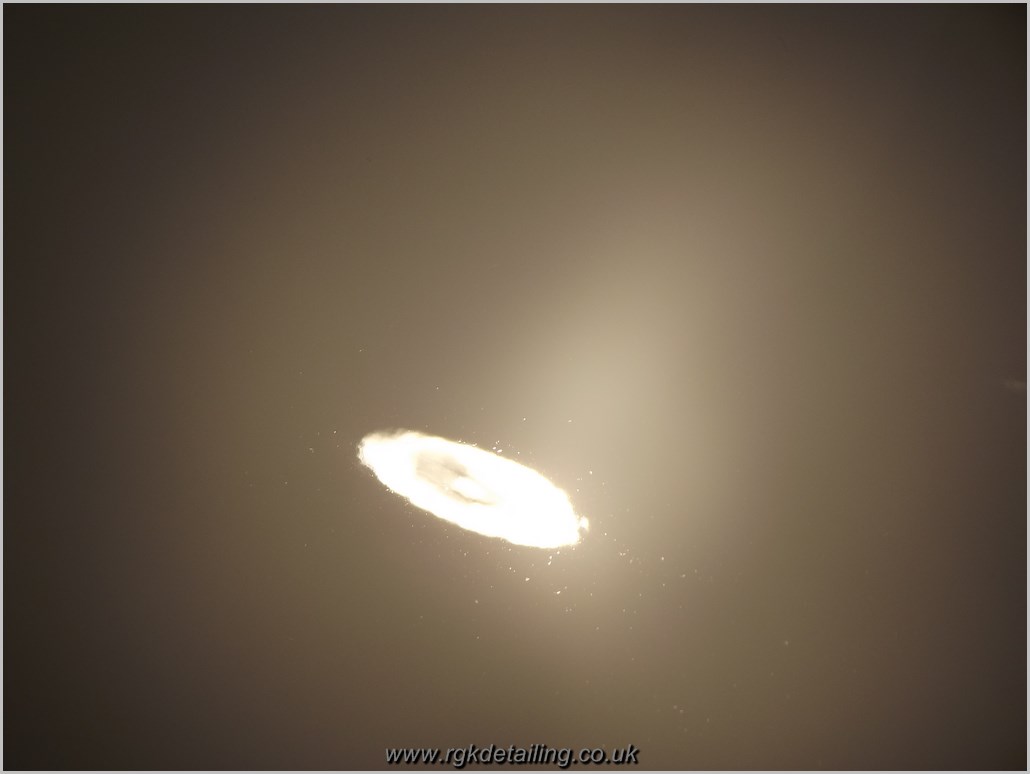
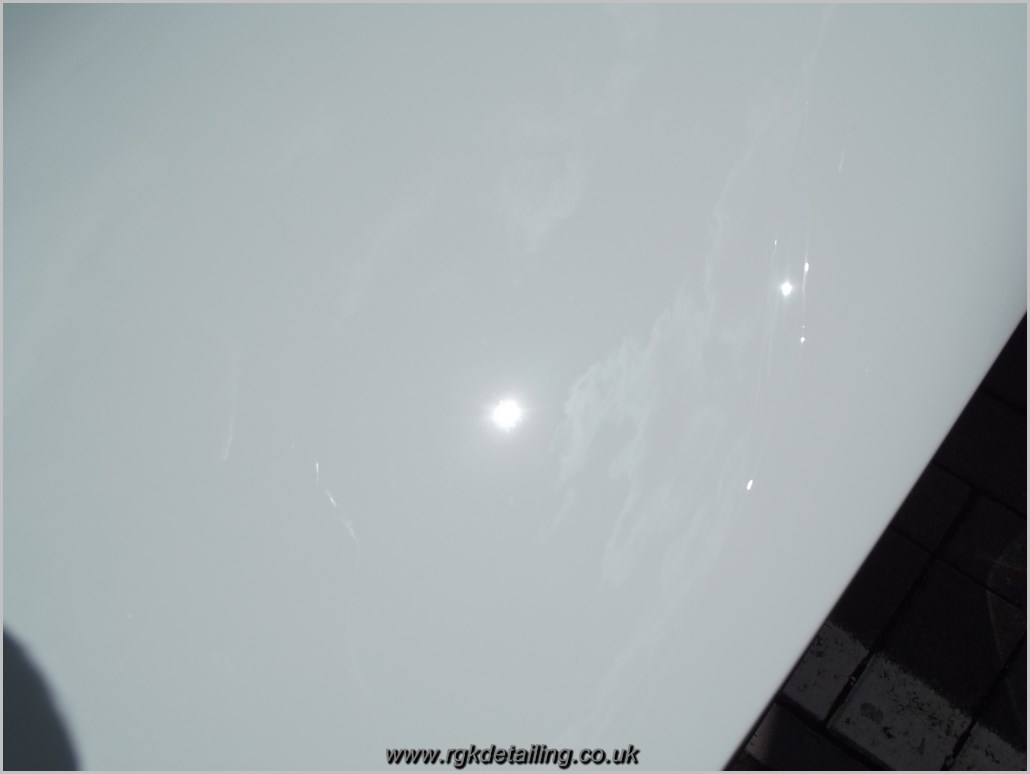
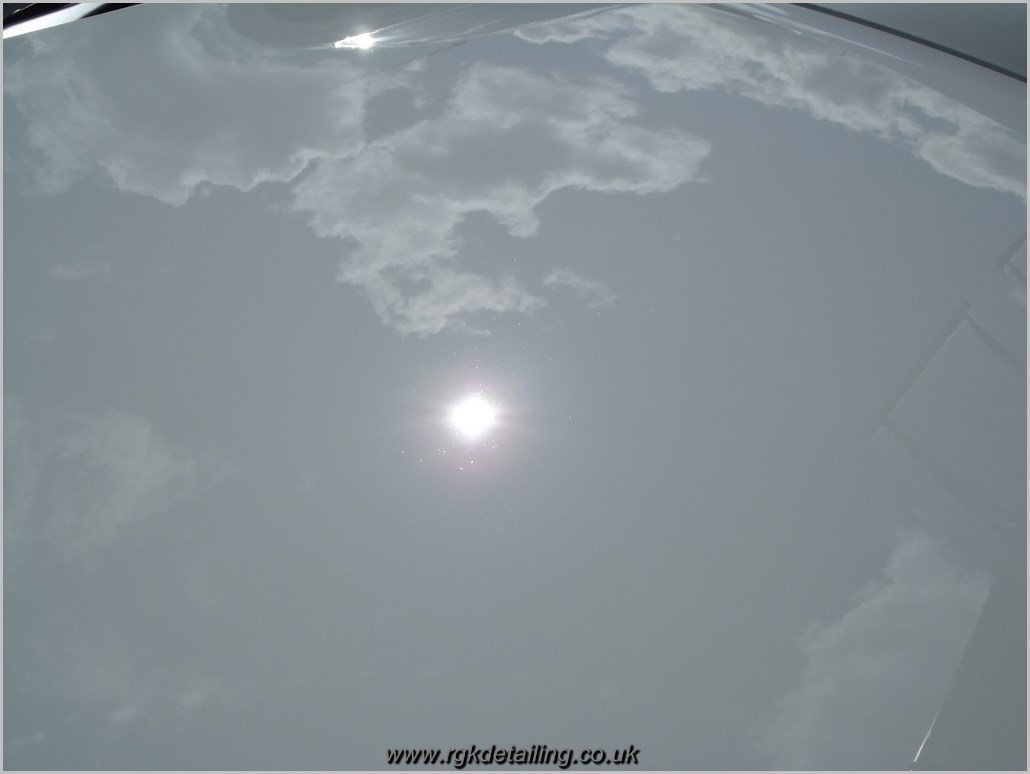
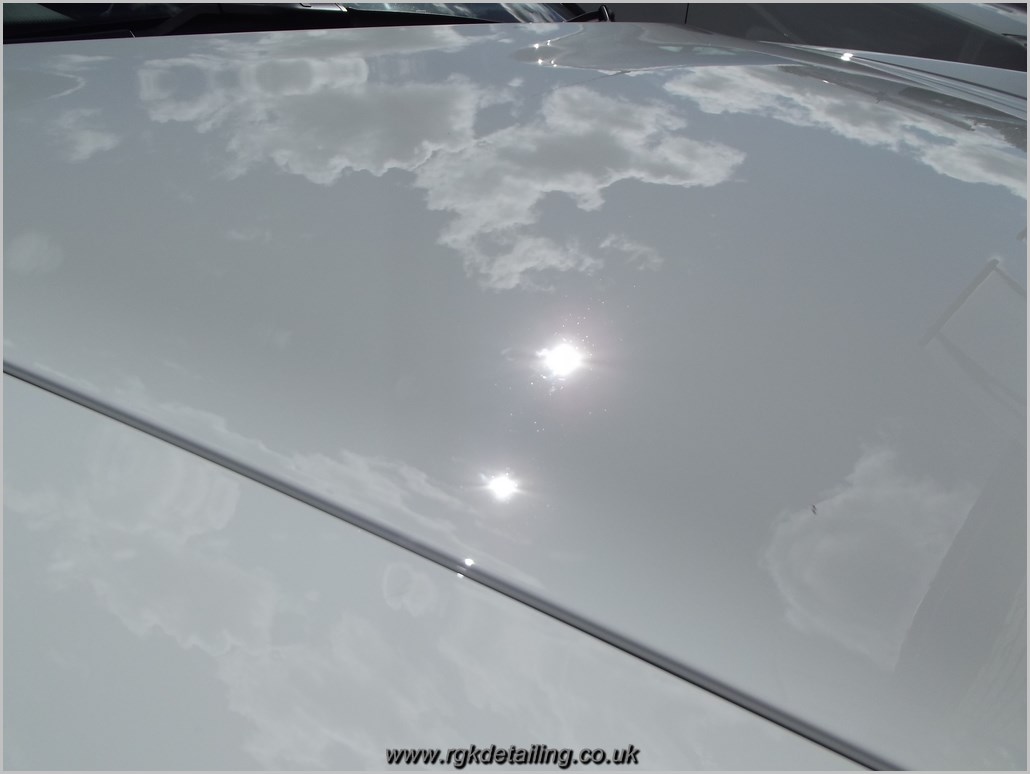
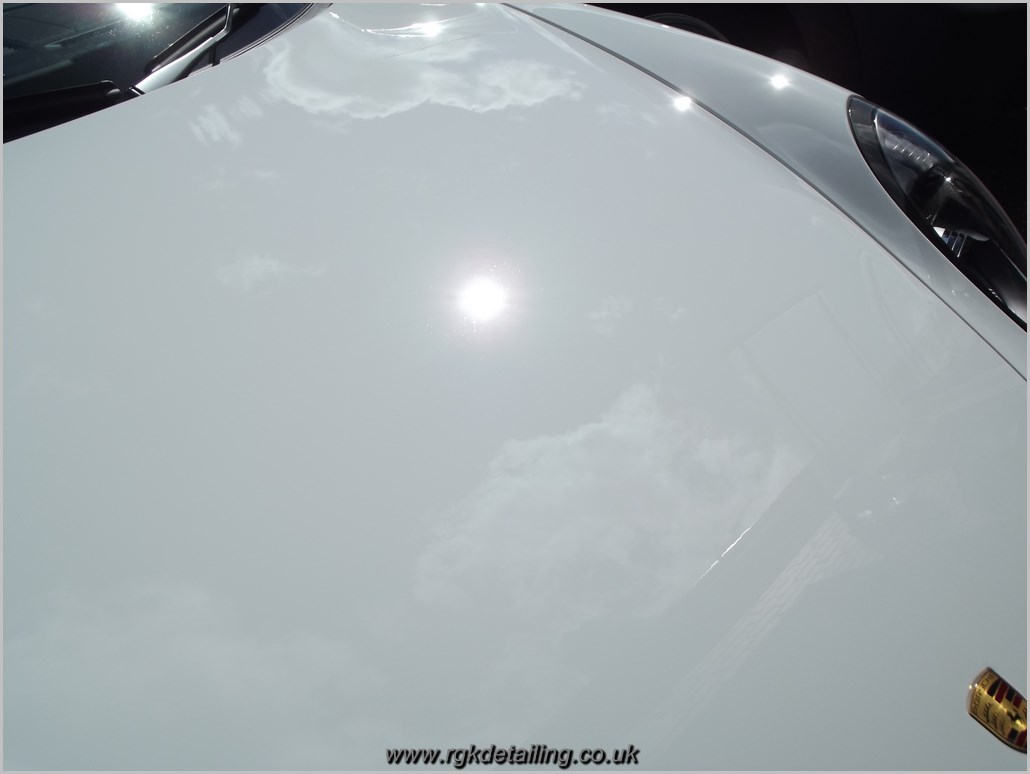
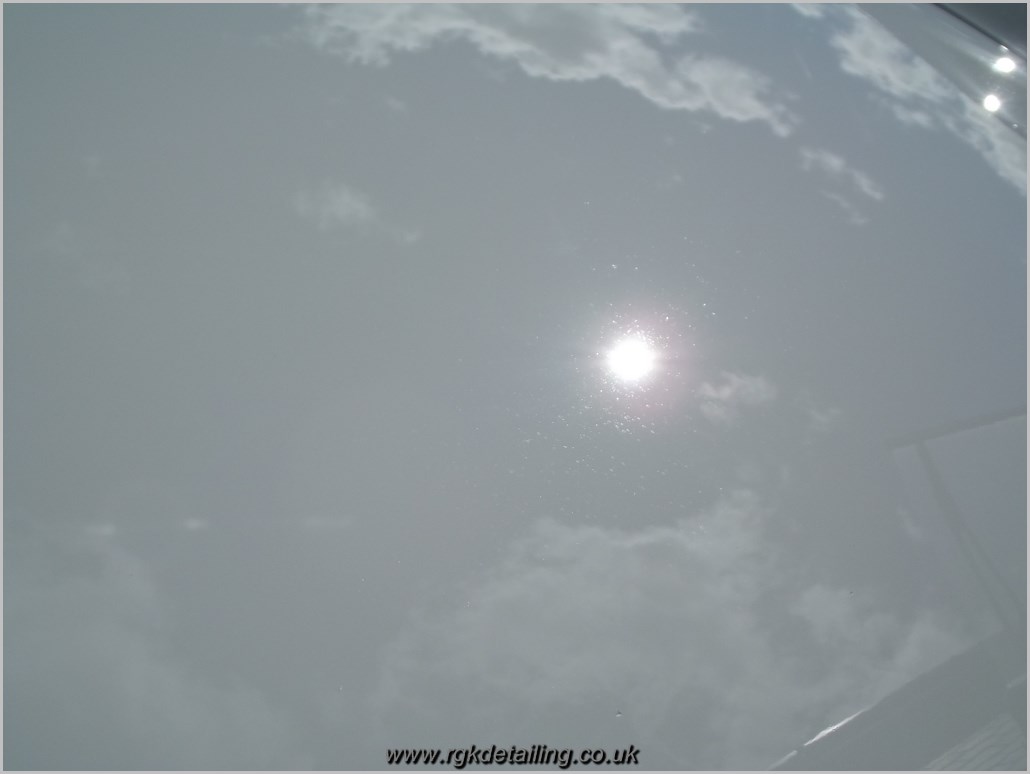
With the sun now out, this gave me the opportunity to capture the aforementioned swirl marks under direct sunlight.
The 911 was moved into the unit, and all exterior surfaces were clayed to help remove any remaining bonded contaminants, the roof was dried off, vacuumed, 303 Fabric Guard applied, and covered before any polishing commenced.
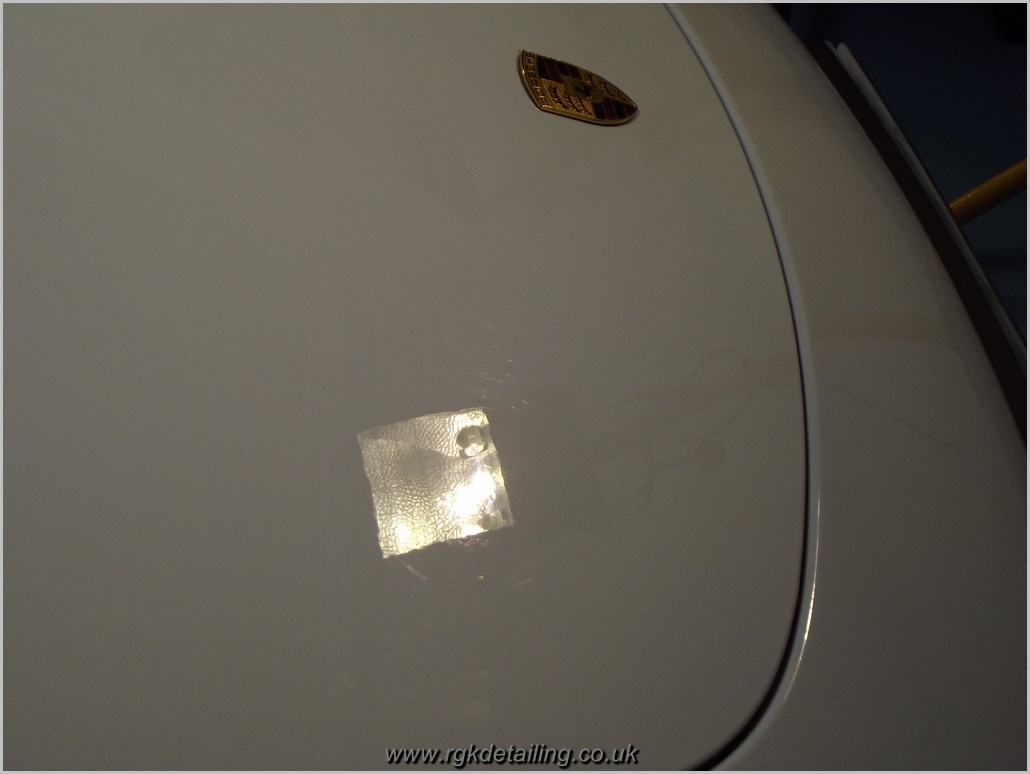
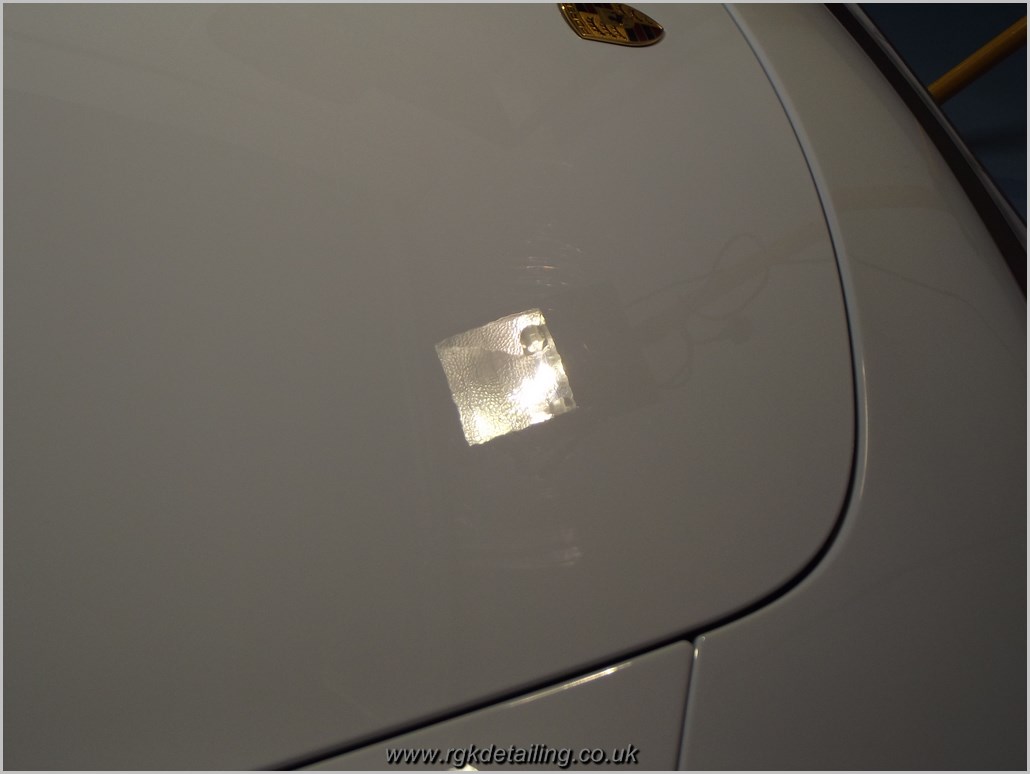
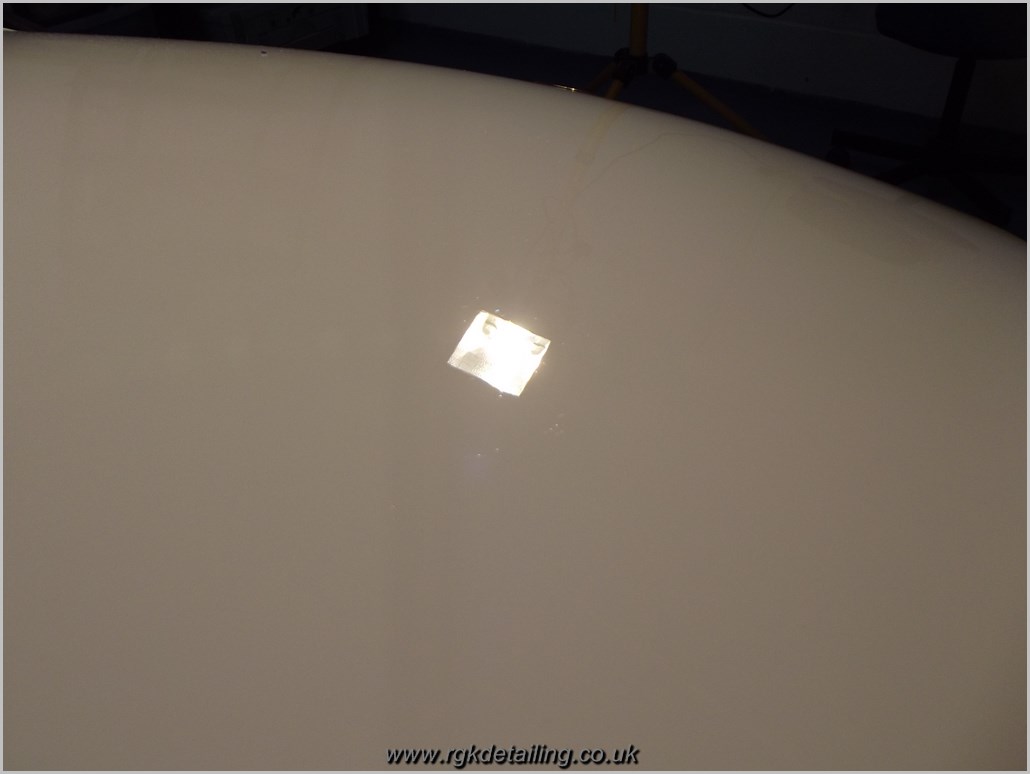
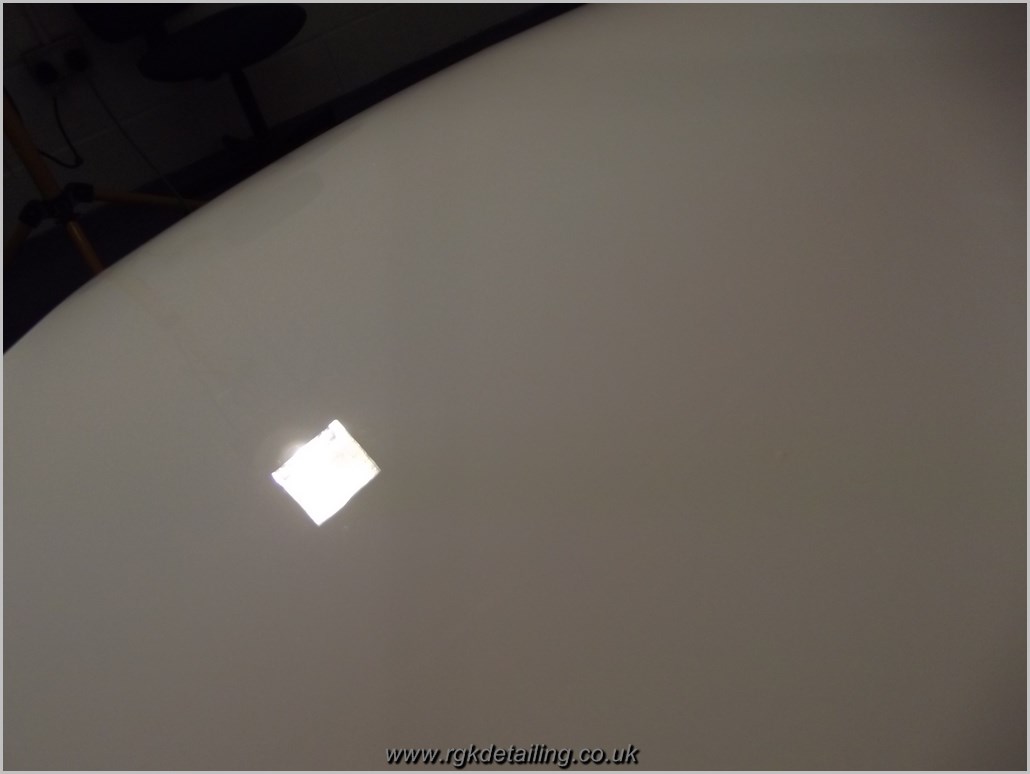
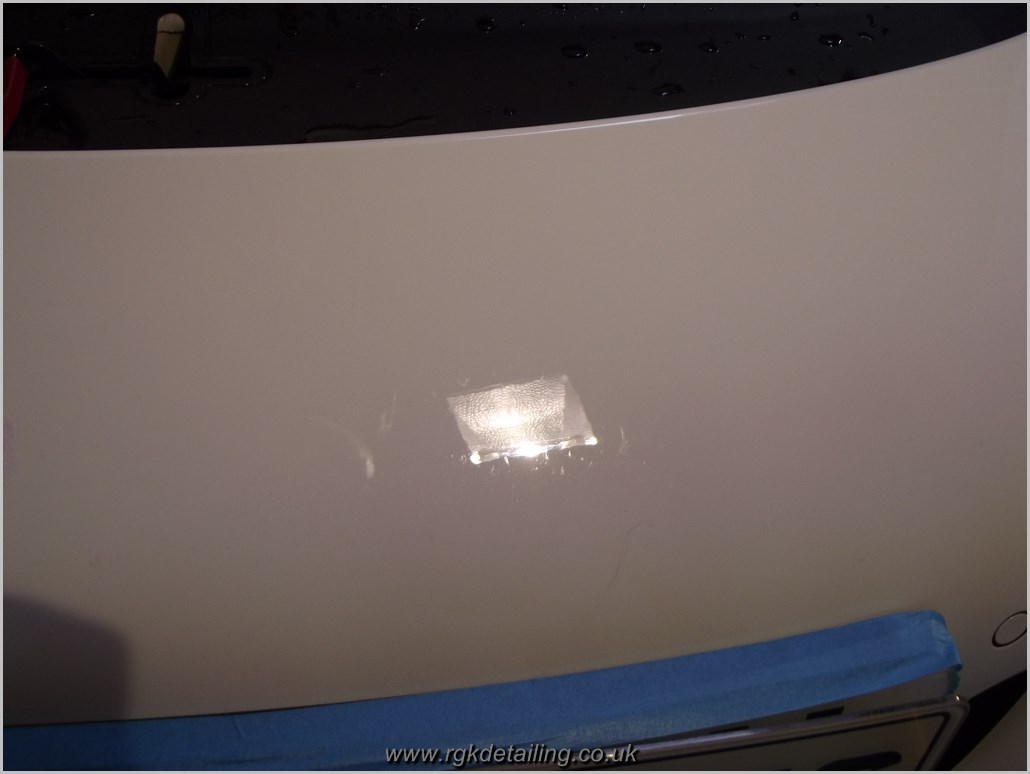
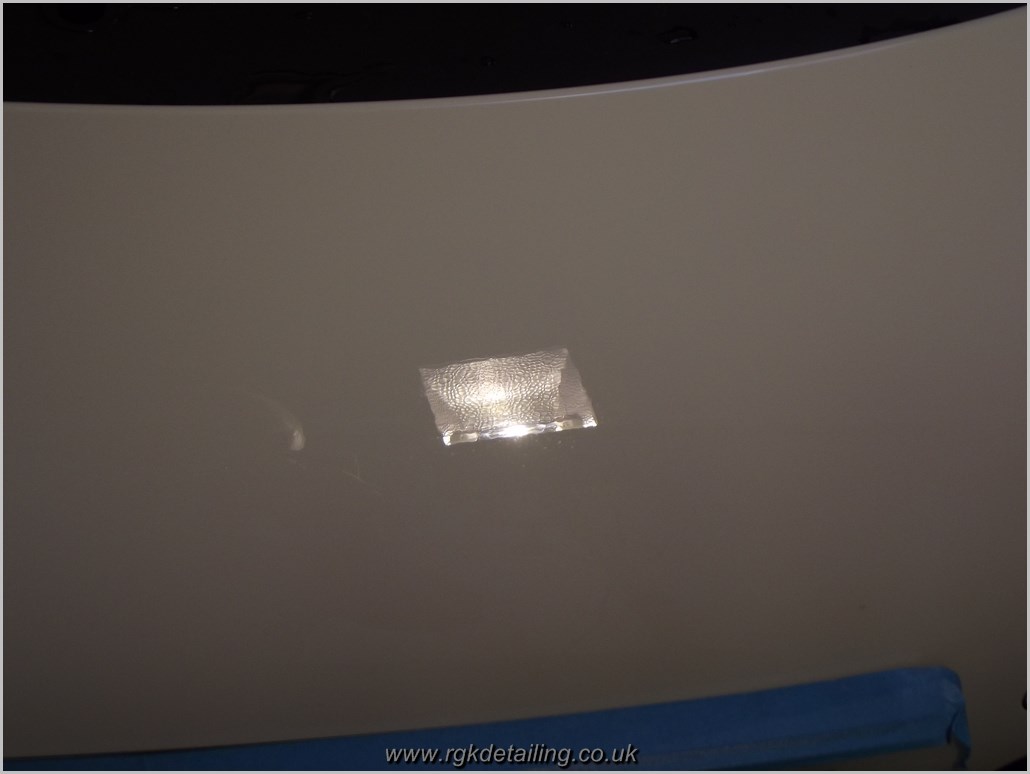
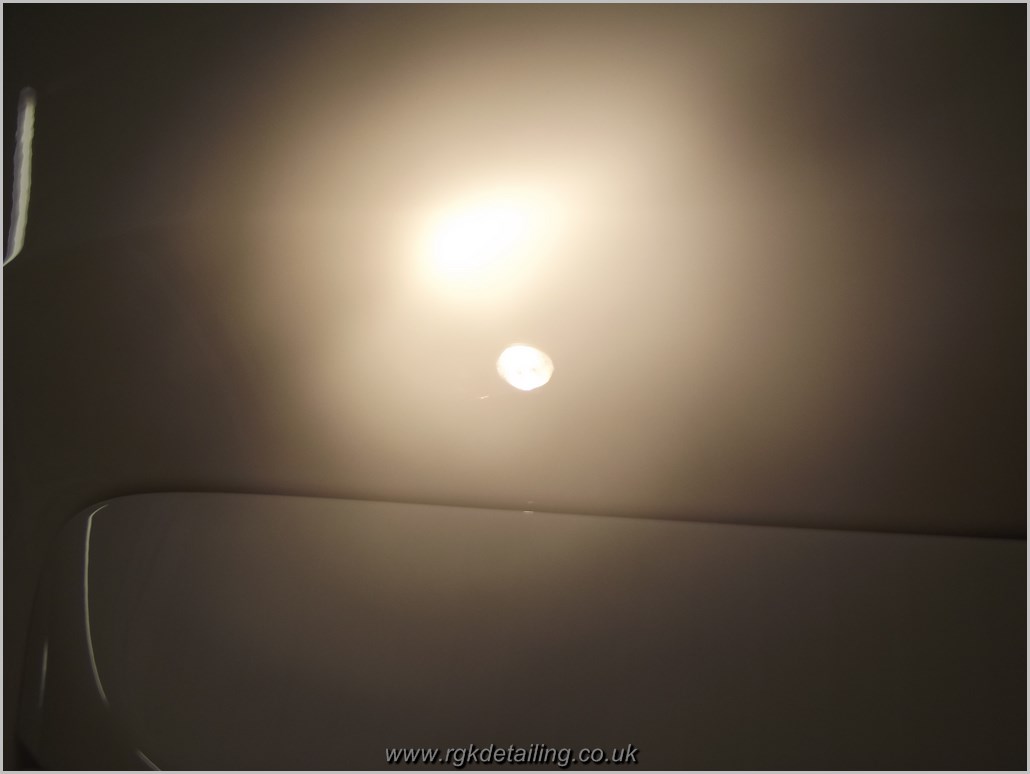
I began polishing on the bonnet, where I discovered the swirl marks were actually very deep.
Several paint depth readings were taken, with polishing being undertaken using a Hexlogic polishing pad, and swapping between Menzerna PF2300, and PF2500 on a Festool Shinex Rap150, a few additional polishing sets were required to help round off the deeper marks present prior to refining, whilst conserving enough clear coat for future polishing if needed.
After
Before
After
Before
After
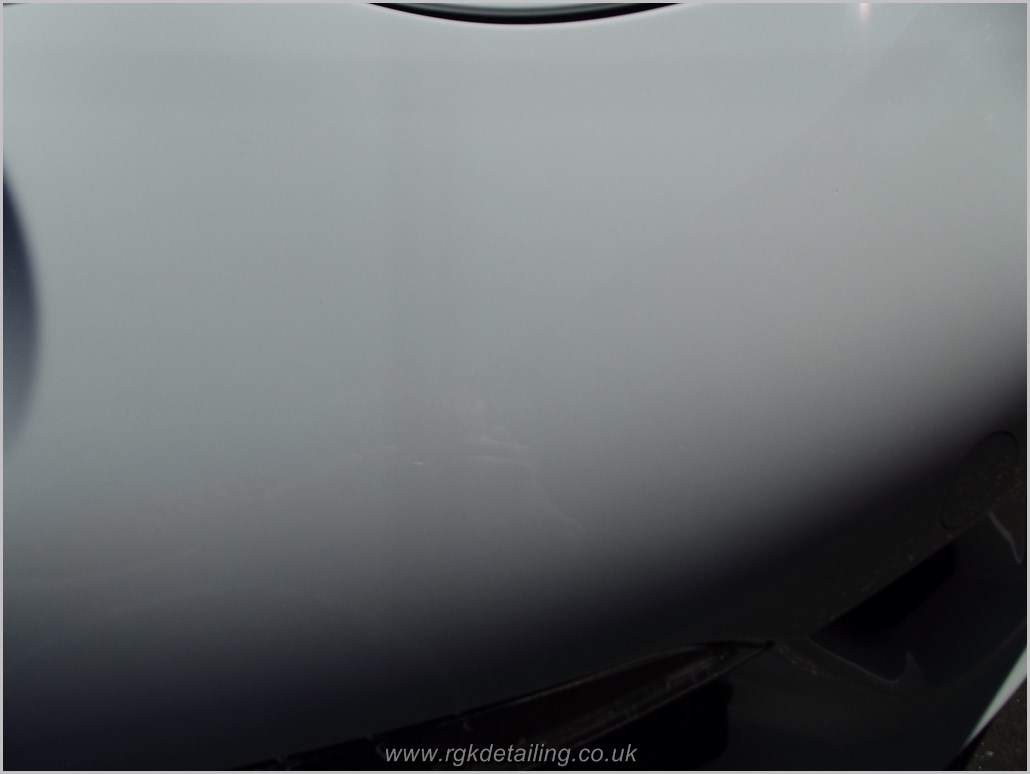
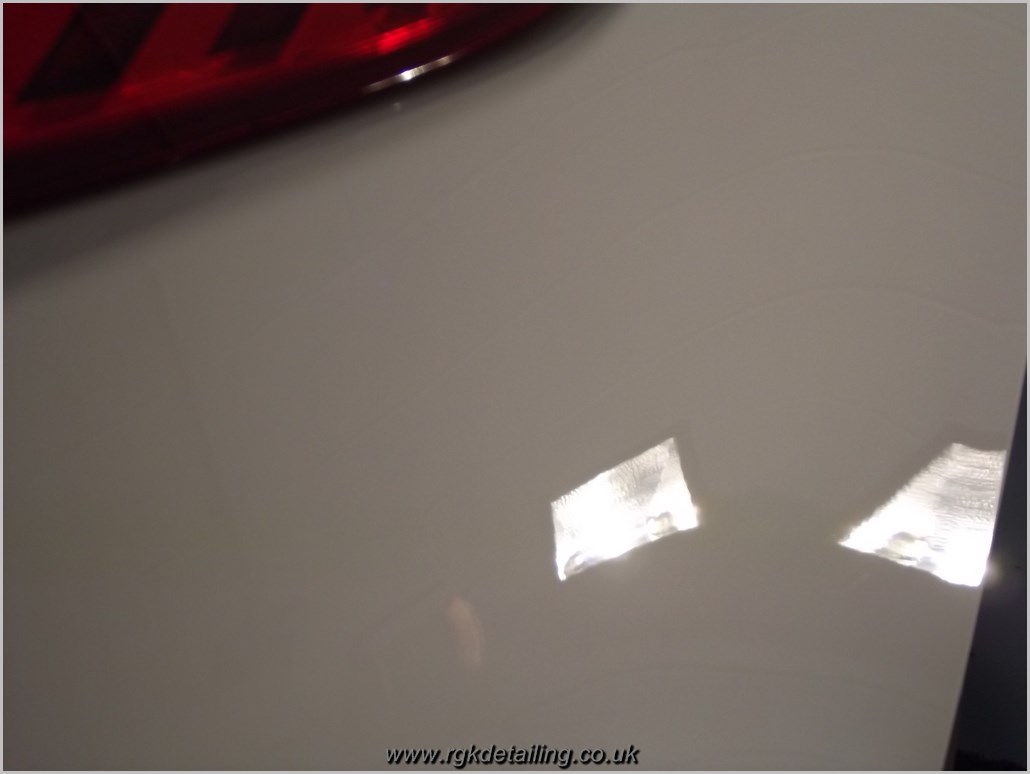
Due to the bug splatter being left on the front bumper for so long, this had etched into the paintwork, a light cutting wool pad and medium grade polish was used to help flatten the paintwork, removing the lighter etchings and greatly improving the appearance of the deeper marks.
After
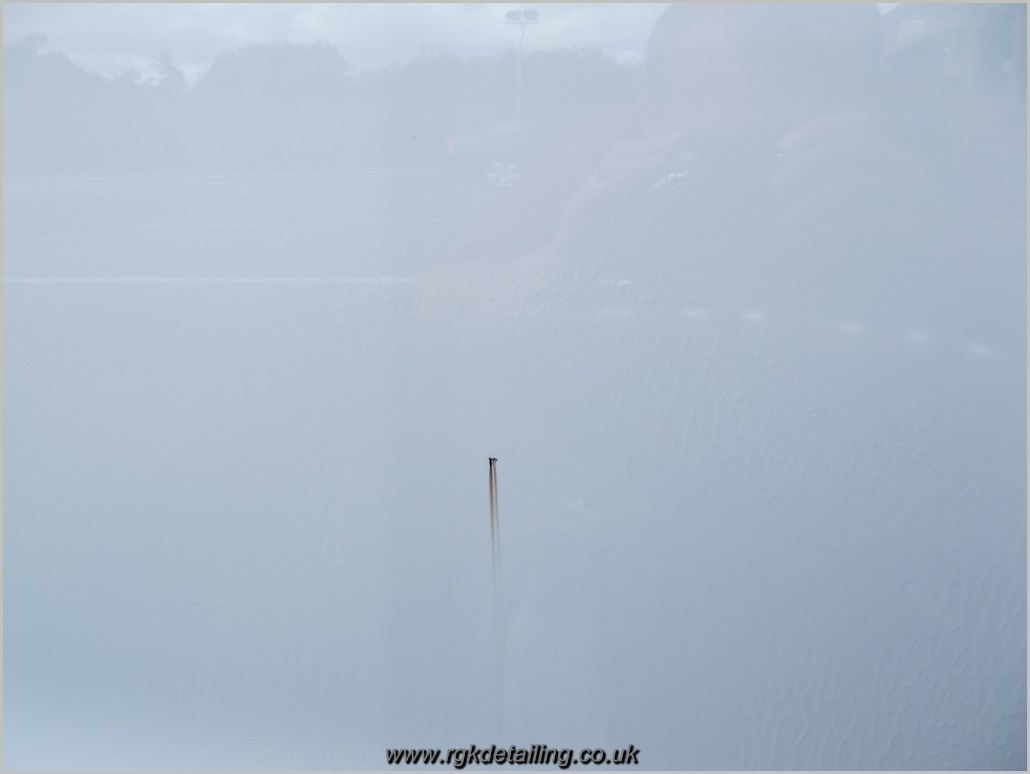
Deep marks in the clear coat on the front offside wing, before.
After polishing, these marks were very deep, so were rounded off as much as possible to reduce their appearance without removing too much clear coat.
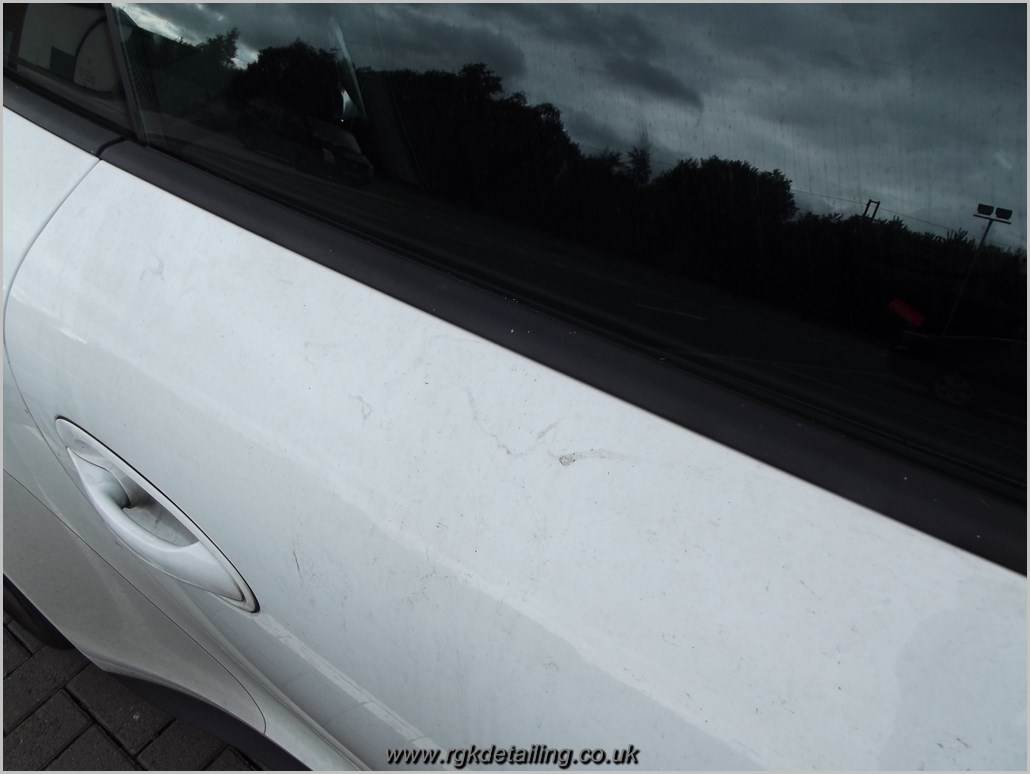
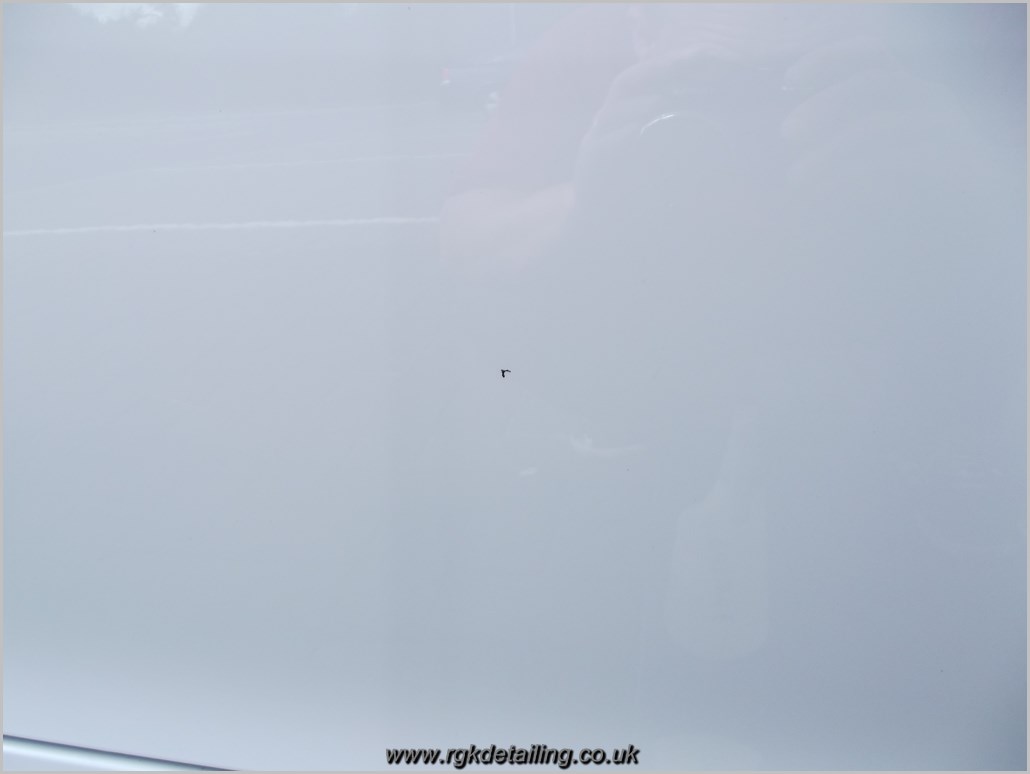
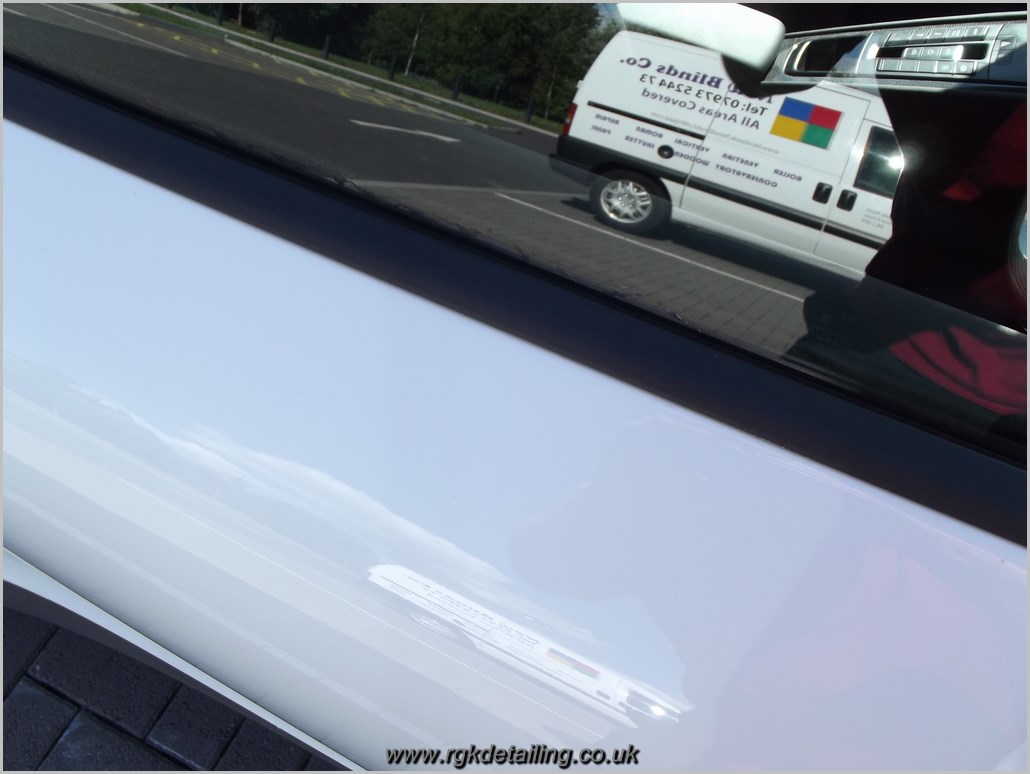
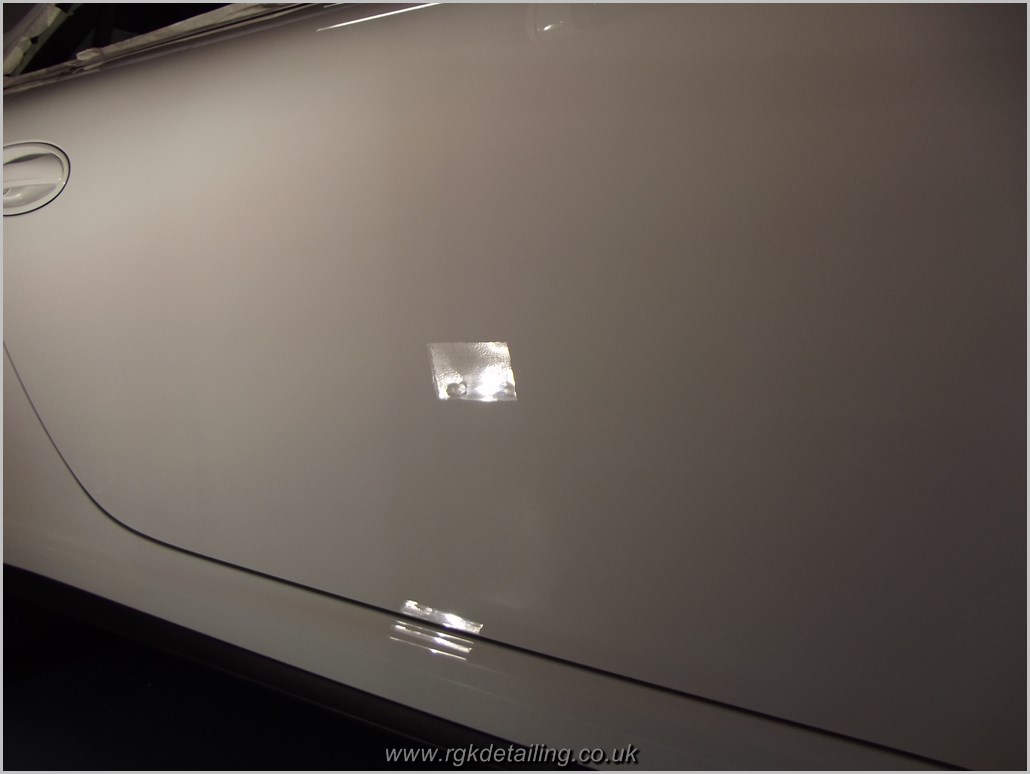
Nearside door prior to polishing, both doors on the 911 had similar random defects throughout the panel.
Before
After
Before
After
Before
After
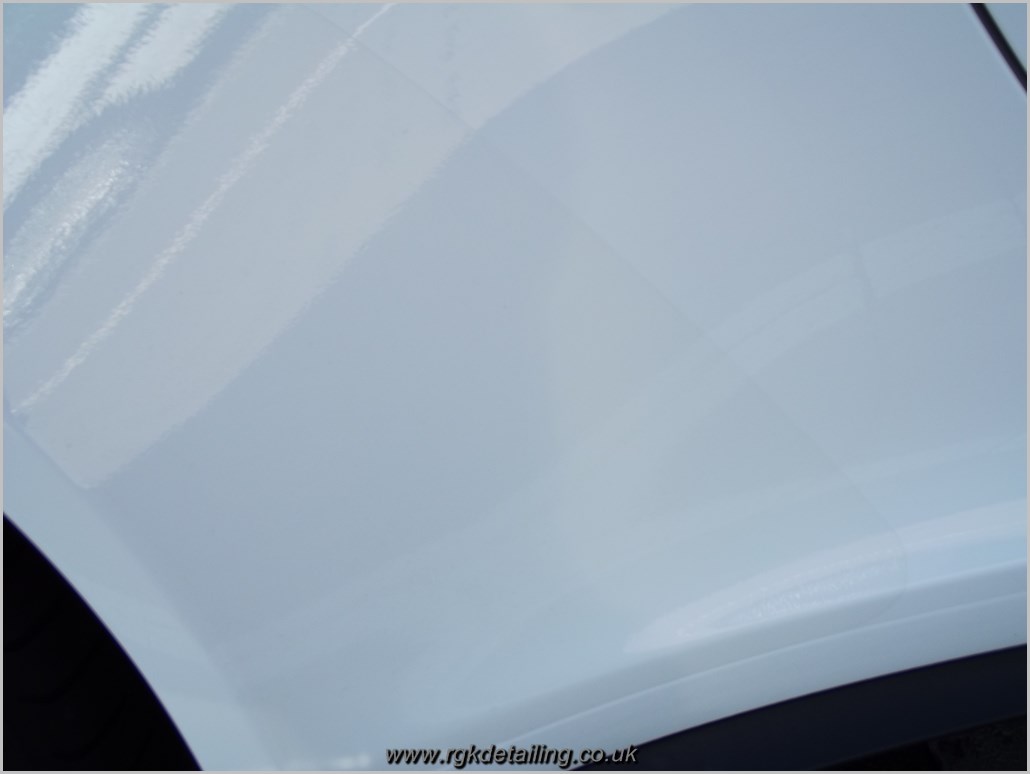
Light marks on the nearside rear wheel arch, before
After
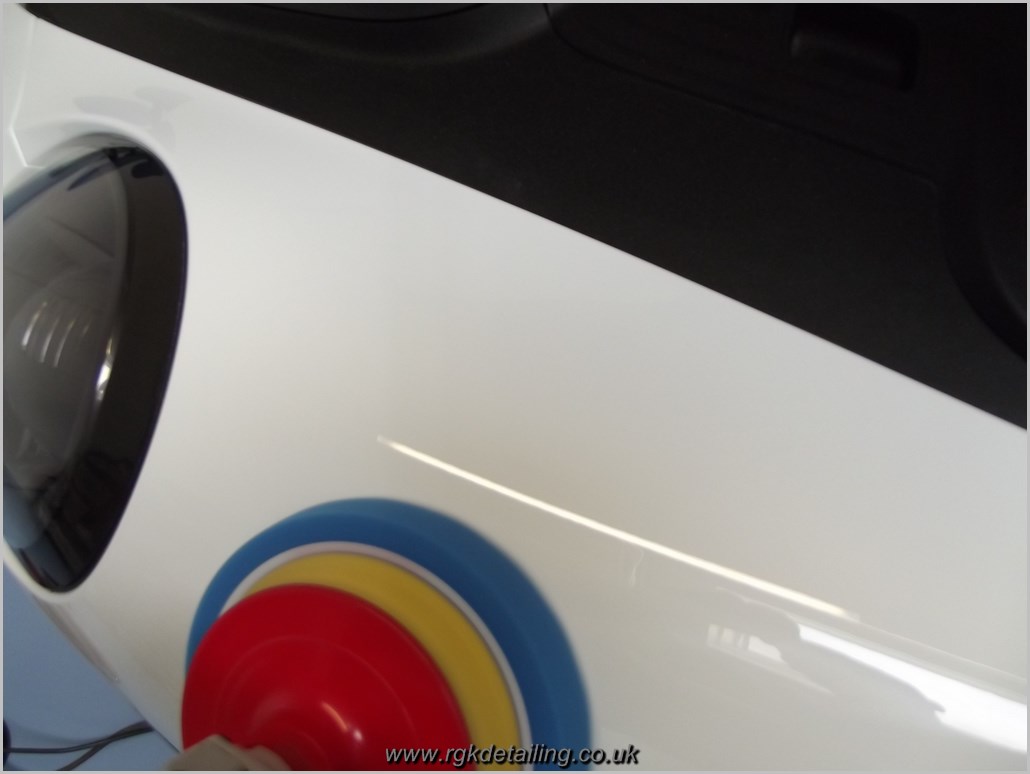
Once the paintwork correction stages were complete, the paintwork was then refined, this was done on the rotary using a new 3M blue pad, and Meguiars 205.
The following day with the sun out, the car was moved outdoors to check the finish under direct sunlight before applying the lsp, and other finishing touches.
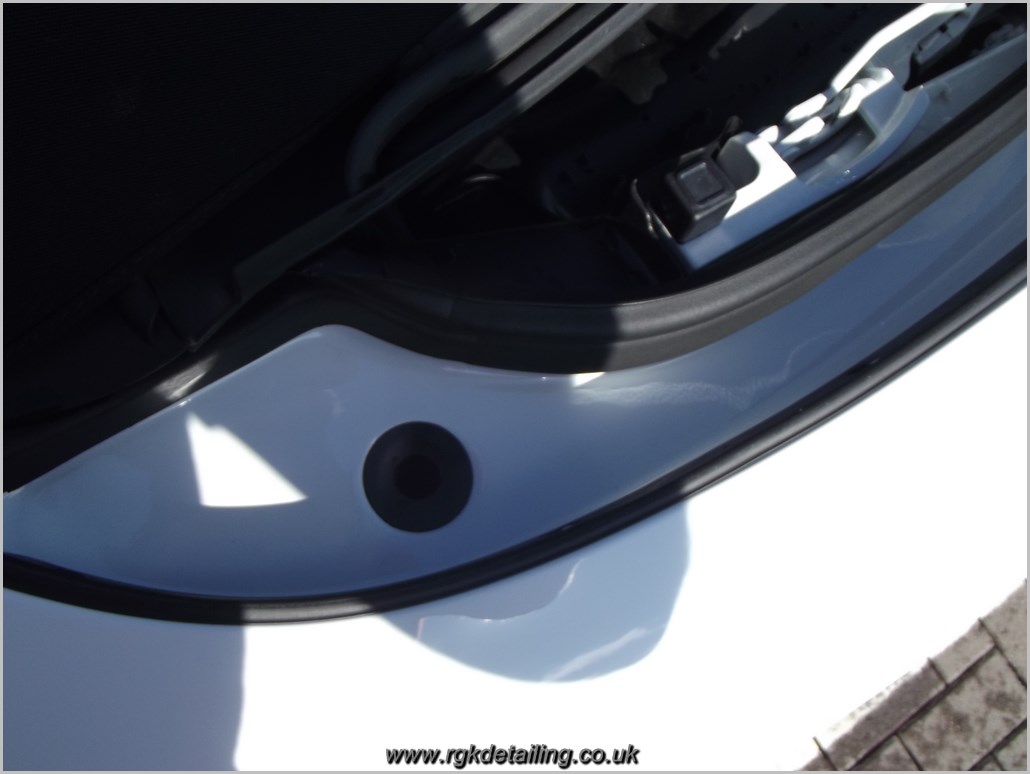
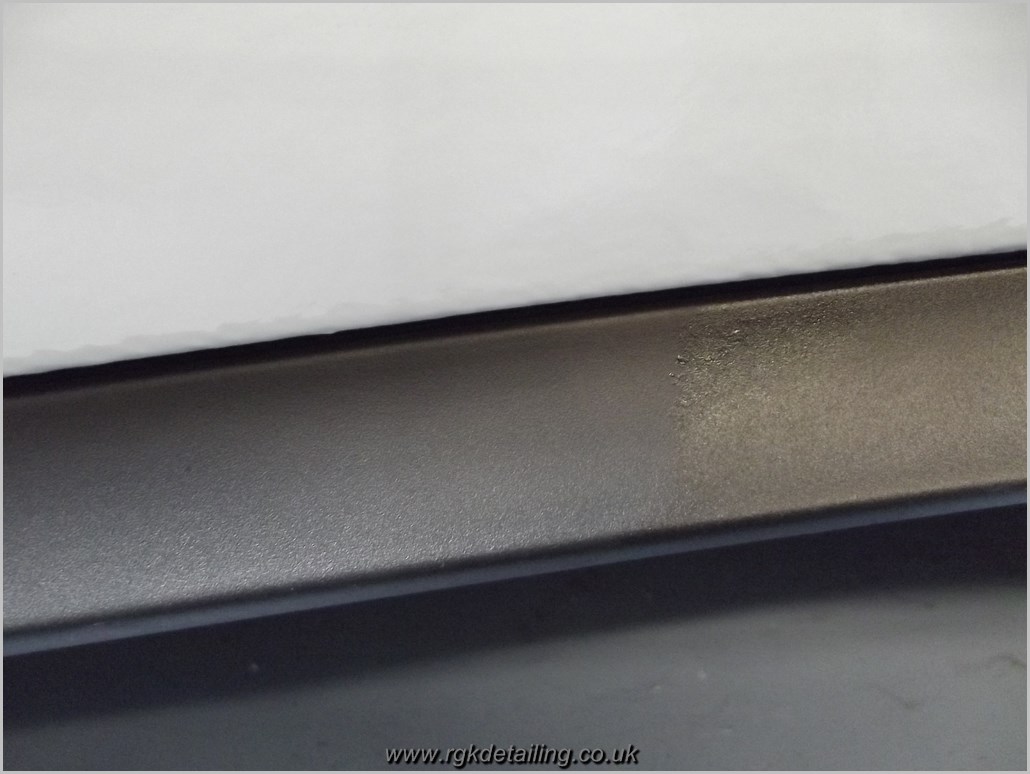
Moved back indoors, any loose dust removed, and panel gaps, vents, and trim cleaned, polishing oils where then removed using U-POL System 20 panel wipe, here are a few close up shots before the paint sealant was applied was applied.
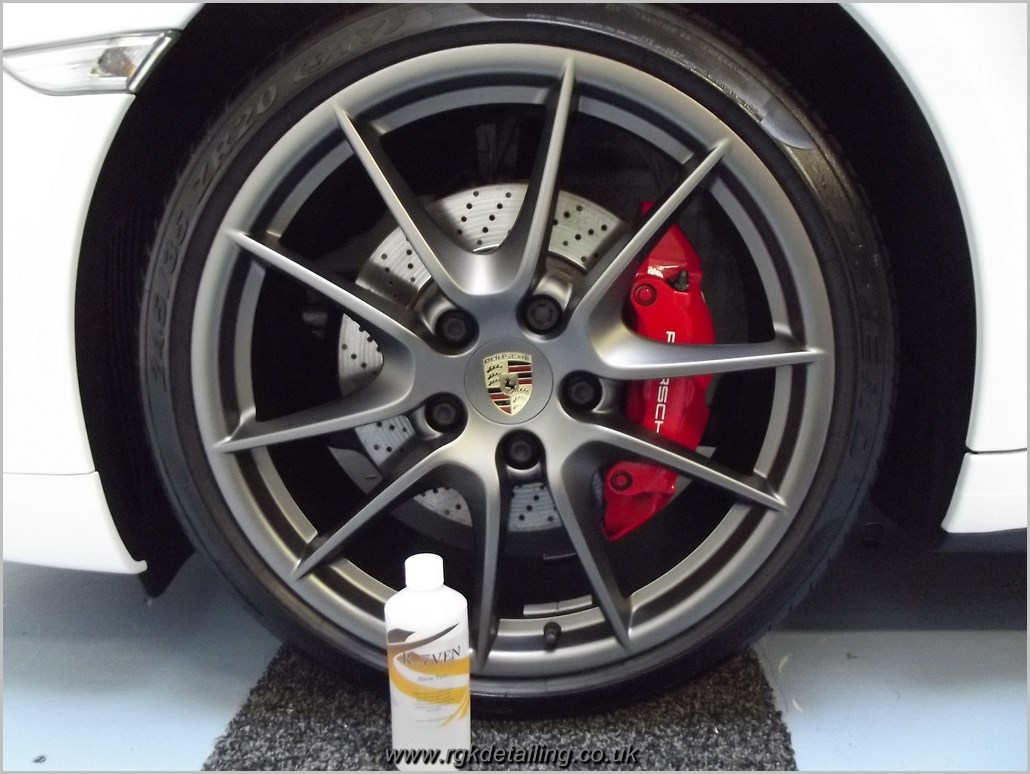
Reflectology Show Tyre, applied to the tyre side walls, and plastic unpainted trim.
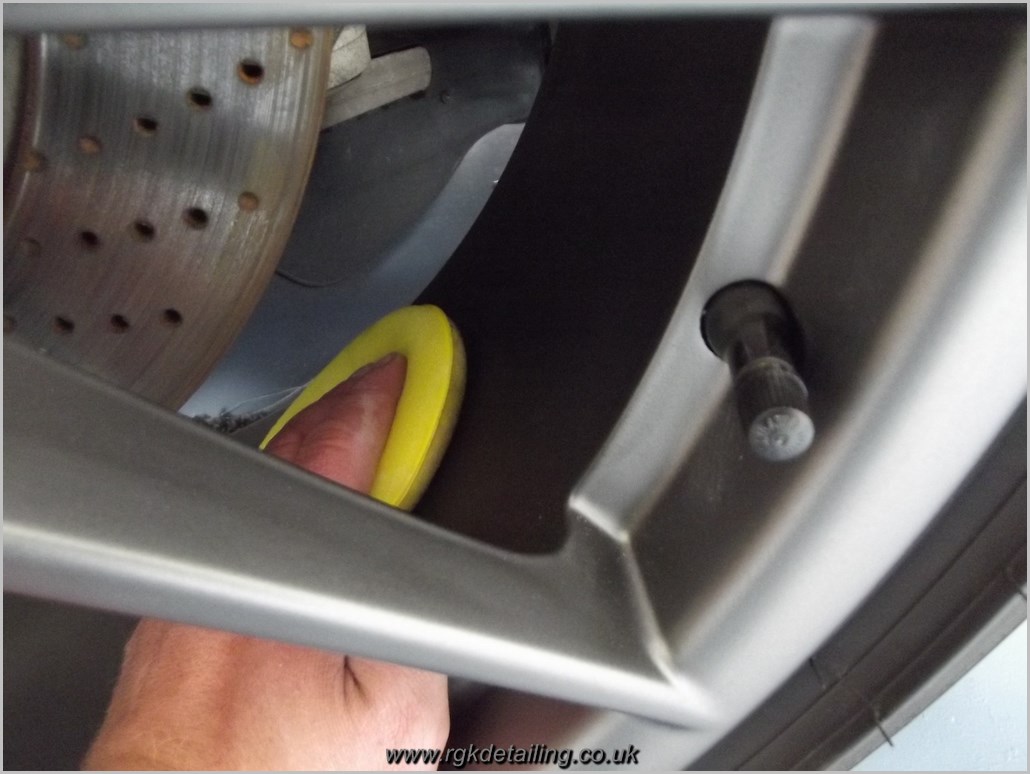
FK1000p applied to the inside and outside of the wheels, to seal the finish.
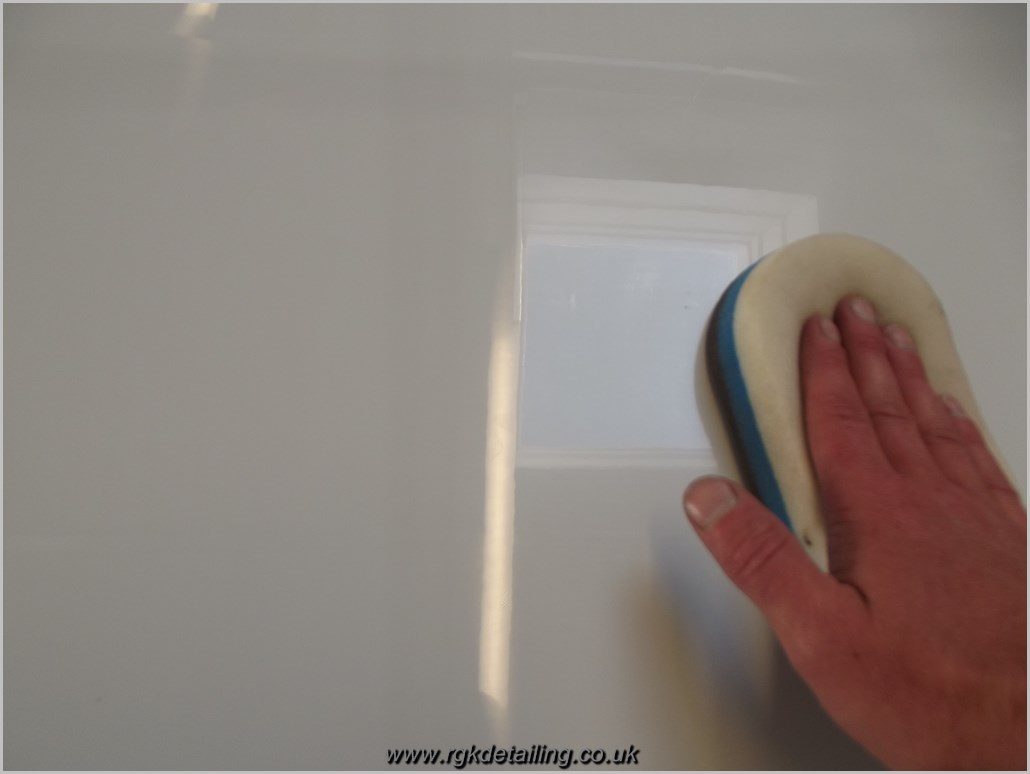
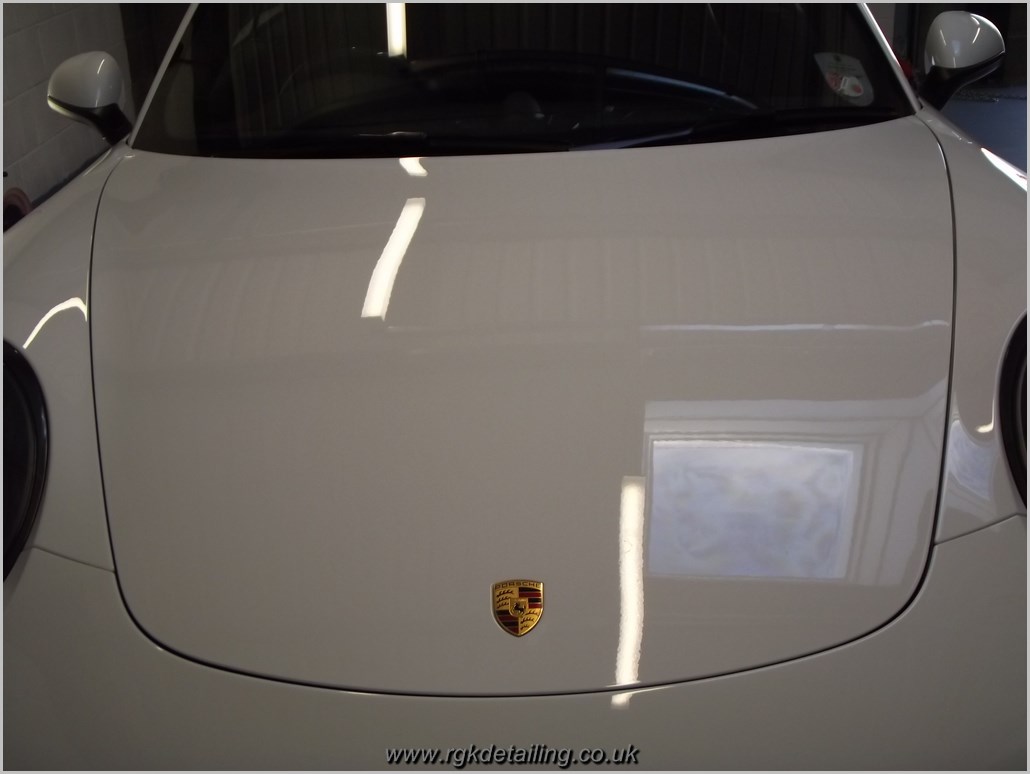
Wolfgang Paint Sealant 3.0 applied to all painted surfaces.
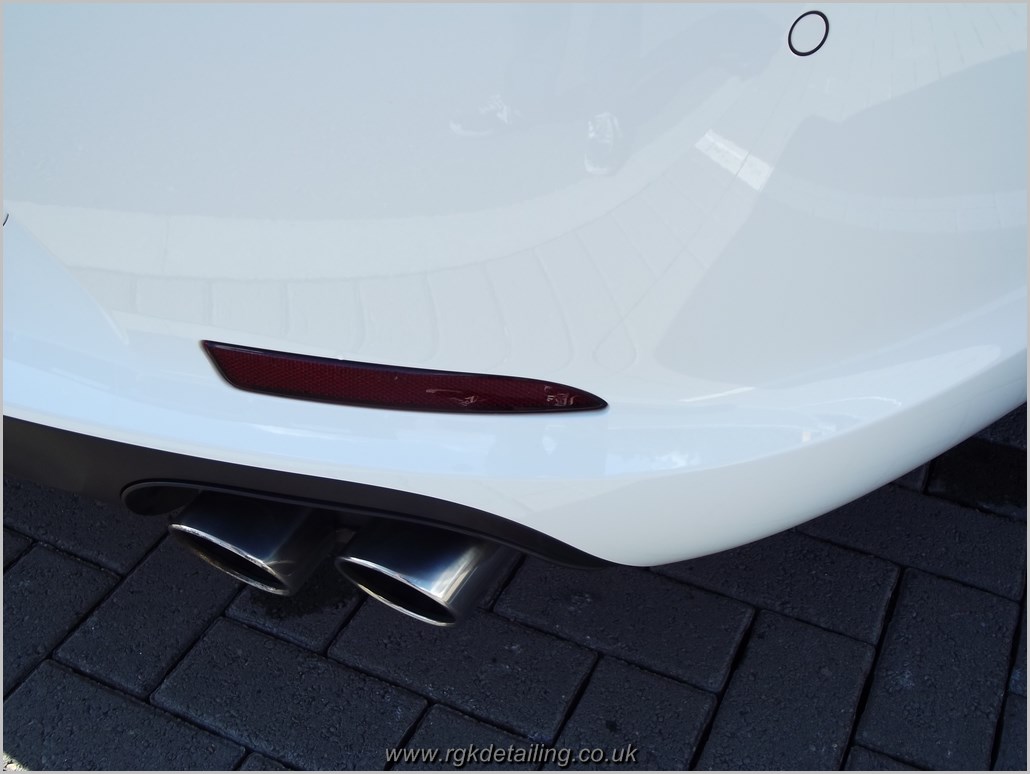
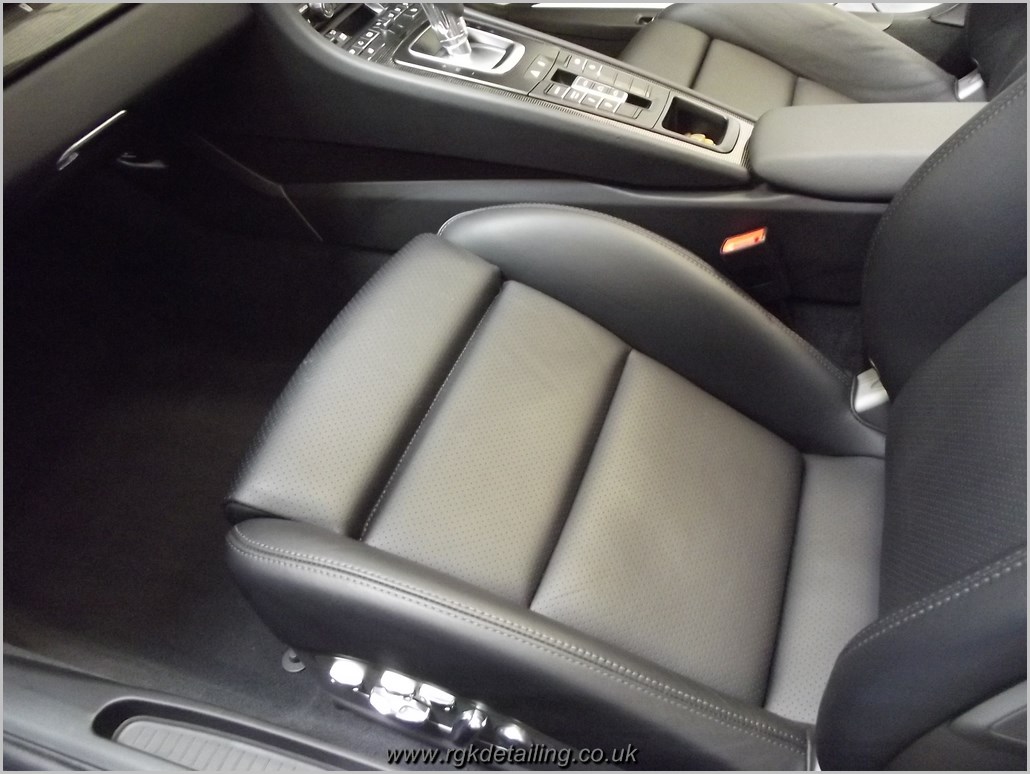
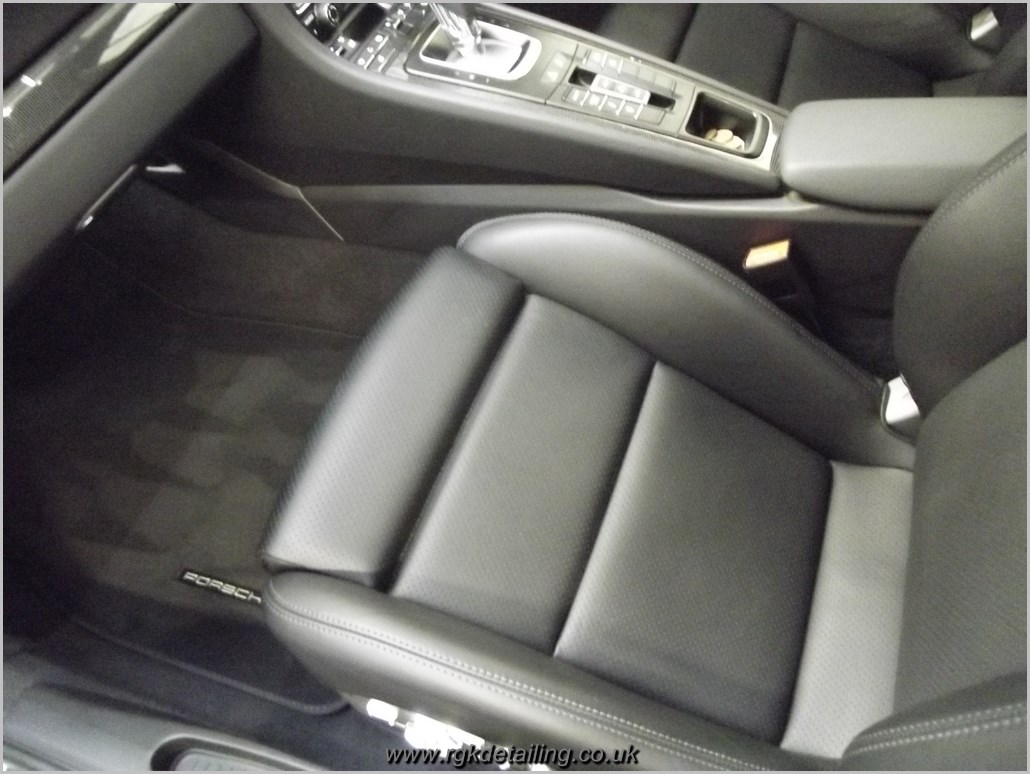
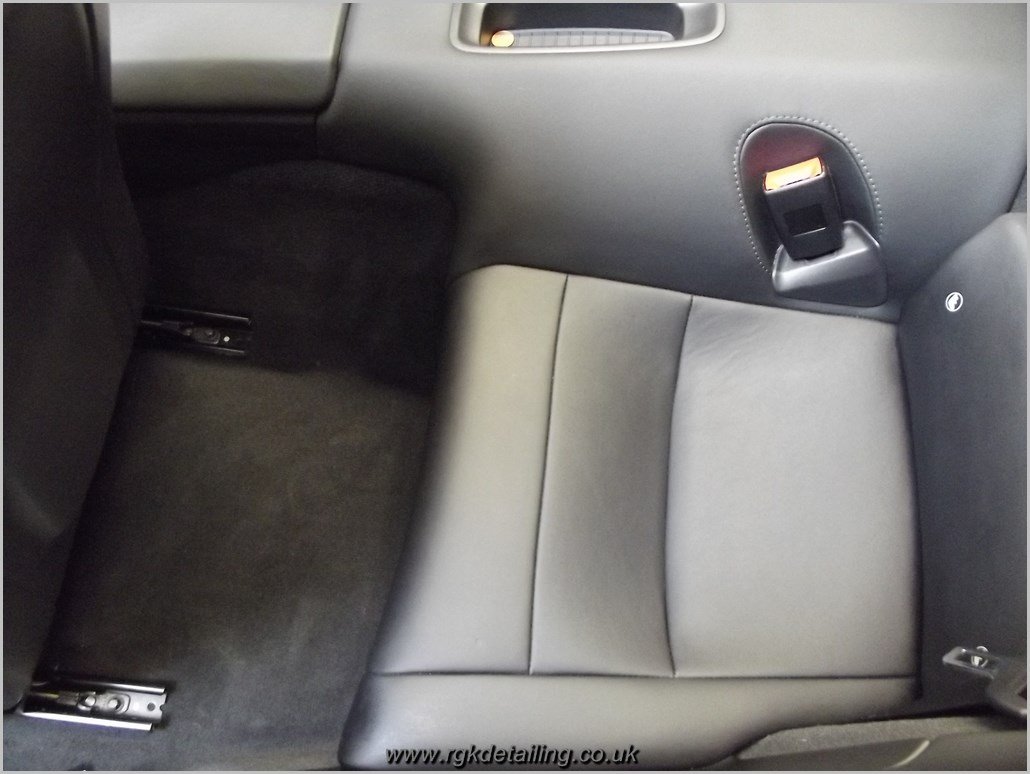
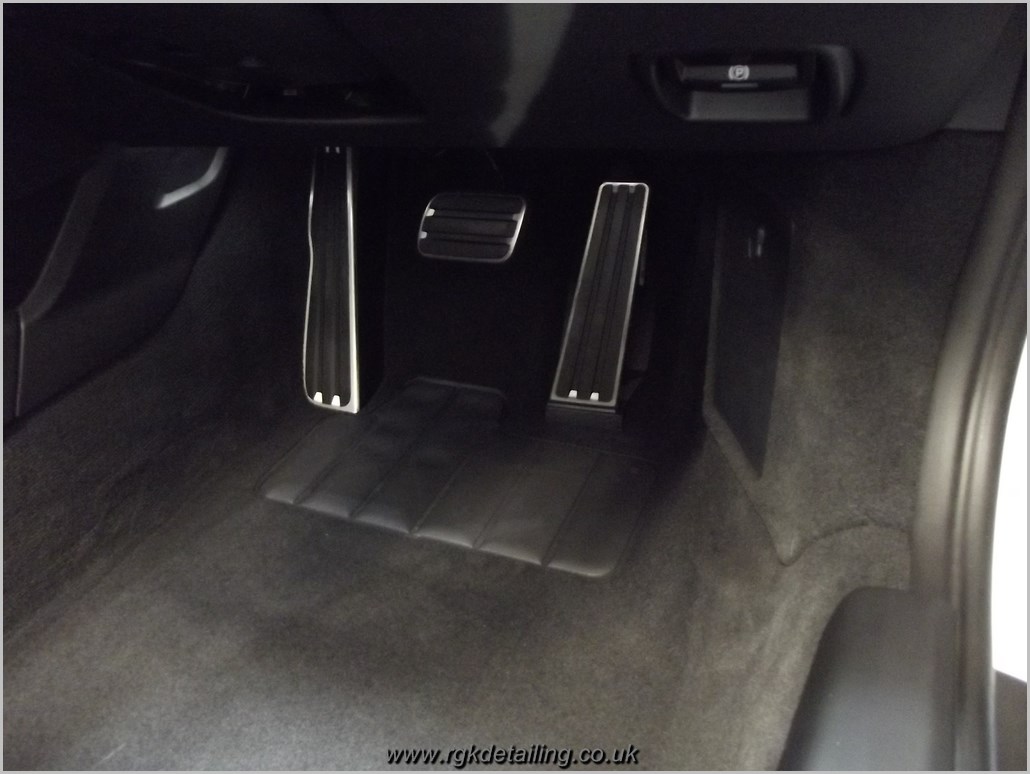
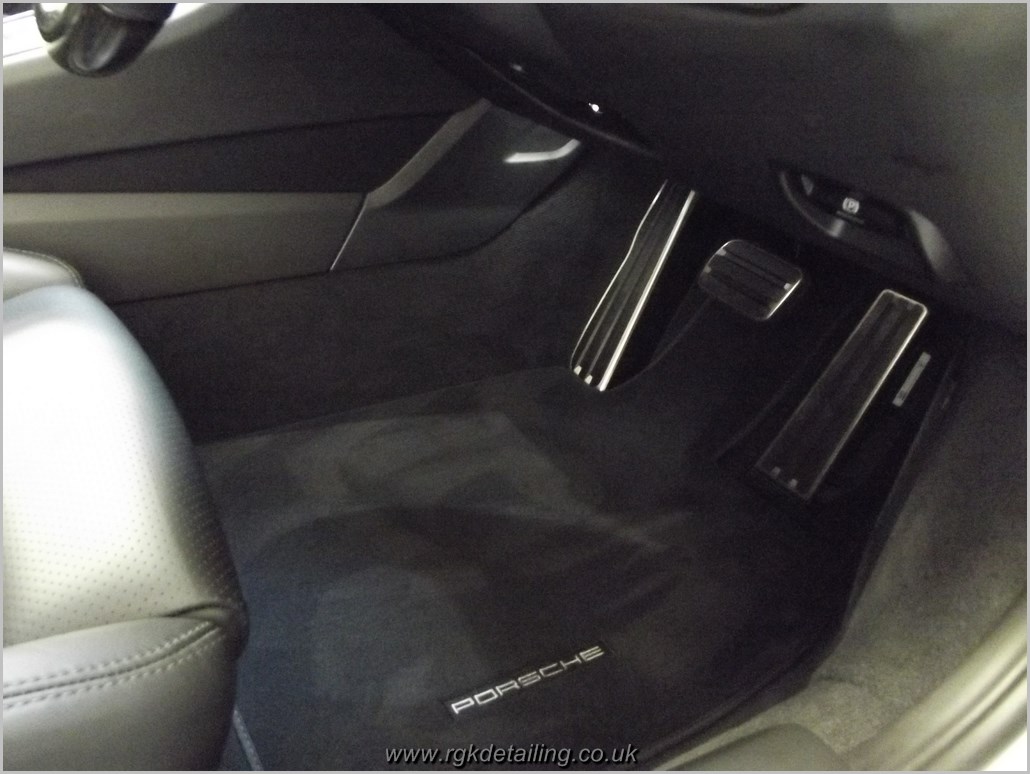
Along with this the tailpipes were also polished and sealed to protect against future dirt build up, all Glass cleaned inside and out with Autoglym Glass polish, to ensure a smear free finish, and the interior was given a thorough clean, including the leather trim, total time spent was 40 hours.
Thanks for reading
Richard
07500903249

